Vermont Castings Jefferson Direct Vent/Natural Vent Gas Heater

Assembly Procedures

WARNING

Failure to position the parts in

accordance with these diagrams or failure to use only parts specifically

approved for use with this heater may result in property damage or personal injury.

This heater and components are heavy. Have help available for assembly.

Tools Required

Phillips screwdriver (stub)

power drill

utility knife

reciprocating saw

metal drill bit: size 28 (.140Ó/3.5mm)

Unpack the Stove

The parts bag containing this manual also includes the following parts:

Remote Switch

Switch Bracket

Switch Wire

Three 1/4-20 x 3/8Ó screws

Cement

Restrictor Plate

(2) #10 sheet metal screws

The Logset and 4Ó Inner Vent Starter Pipe are packed inside the firebox. Use the following procedure to unpack these parts.

1.Lift the Stove Front up and then swing the bottom out and away to disengage it from the stove body. Refer to Figure 37, Page 22.

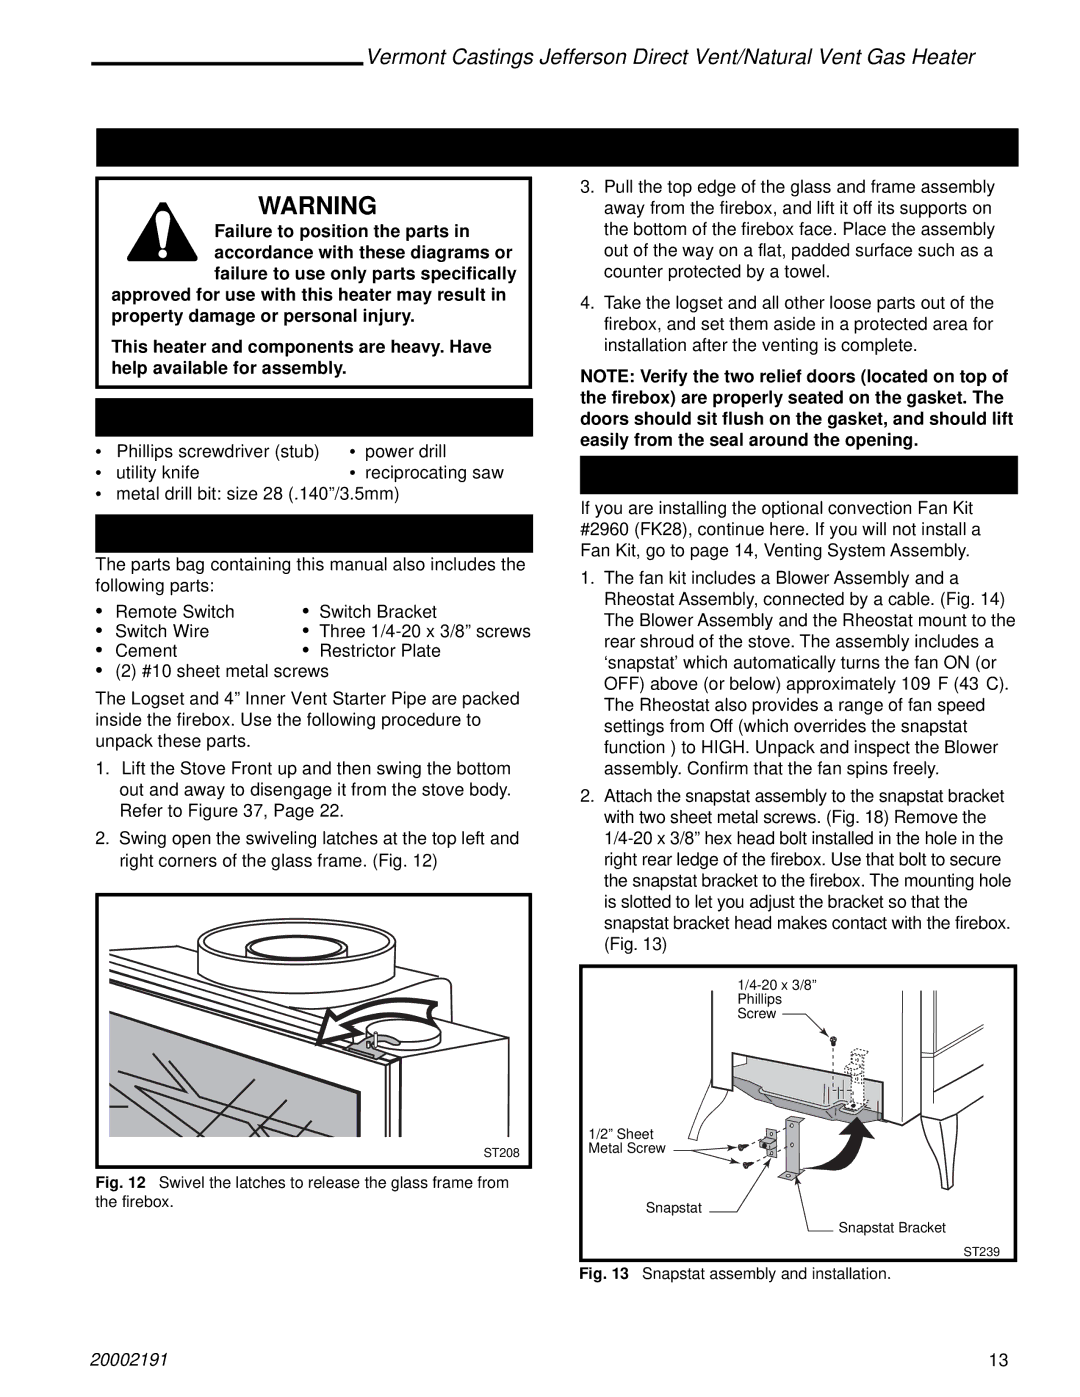
2.Swing open the swiveling latches at the top left and right corners of the glass frame. (Fig. 12)

ST208

Fig. 12 Swivel the latches to release the glass frame from the firebox.

3.Pull the top edge of the glass and frame assembly away from the firebox, and lift it off its supports on the bottom of the firebox face. Place the assembly out of the way on a flat, padded surface such as a counter protected by a towel.

4.Take the logset and all other loose parts out of the firebox, and set them aside in a protected area for installation after the venting is complete.

NOTE: Verify the two relief doors (located on top of the firebox) are properly seated on the gasket. The doors should sit flush on the gasket, and should lift easily from the seal around the opening.

Install the Optional Fan

If you are installing the optional convection Fan Kit #2960 (FK28), continue here. If you will not install a Fan Kit, go to page 14, Venting System Assembly.

1.The fan kit includes a Blower Assembly and a Rheostat Assembly, connected by a cable. (Fig. 14) The Blower Assembly and the Rheostat mount to the rear shroud of the stove. The assembly includes a ÔsnapstatÕ which automatically turns the fan ON (or OFF) above (or below) approximately 109°F (43°C). The Rheostat also provides a range of fan speed settings from Off (which overrides the snapstat function ) to HIGH. Unpack and inspect the Blower assembly. Confirm that the fan spins freely.

2.Attach the snapstat assembly to the snapstat bracket with two sheet metal screws. (Fig. 18) Remove the 1/4-20 x 3/8Ó hex head bolt installed in the hole in the right rear ledge of the firebox. Use that bolt to secure the snapstat bracket to the firebox. The mounting hole is slotted to let you adjust the bracket so that the snapstat bracket head makes contact with the firebox. (Fig. 13)

1/4-20 x 3/8Ó Phillips Screw

1/2Ó Sheet

Metal Screw

Snapstat

Snapstat Bracket

ST239

Fig. 13 Snapstat assembly and installation.

20002191

13

Page 13
Image 13
Vermont Casting 2828, 820, 2823, 2825, 2827 Assembly Procedures, Tools Required, Unpack the Stove, Install the Optional Fan

2823, 2825, 820, 2827, 2828 specifications

Vermont Casting stoves are renowned for their quality and performance, with models such as the 2823, 2822, 2828, 820, and 2825 exemplifying the brand’s dedication to craftsmanship and innovation. Each model presents unique features and technologies that cater to different heating needs and preferences.

The 2823 model is a testament to Vermont Casting's commitment to efficiency and style. It boasts a clean-burning gas system that maximizes heat output while minimizing emissions. Additionally, the model's design emphasizes both aesthetic appeal and functionality, making it a perfect centerpiece for any room. With its user-friendly controls, it allows easy adjustments to heat levels, offering a tailored experience for homeowners.

The 2822 model is known for its compact design, making it an ideal choice for smaller spaces. Despite its size, it does not compromise on performance, delivering a substantial heat output. This model is equipped with a dual-burner system that enhances its heating capabilities, ensuring a consistent and comfortable environment. Furthermore, its built-in safety features provide peace of mind, allowing users to enjoy their heating solution with confidence.

In contrast, the 2828 model offers a higher output, perfect for larger areas. Its innovative heat exchanger technology ensures optimal heat distribution throughout the space, making it a favorite among those with bigger homes. The model’s sleek design and customizable options allow homeowners to choose finishes that complement their existing decor, enhancing both the visual and functional aspects of their living areas.

The 820 model stands out with its unique style, offering a combination of traditional and modern aesthetics. This model features a powerful combustion system that maximizes efficiency while reducing fuel consumption. Its large viewing window provides a beautiful fire display, turning any space into a cozy retreat. The 820 is particularly favored among users who appreciate the ambiance of a traditional fireplace with the convenience of modern technology.

Finally, the 2825 model is designed for users seeking maximum customization. Its adjustable heating options and multiple finish choices allow homeowners to create a truly personalized experience. The advanced technology incorporated into the 2825 ensures enhanced performance, making it one of the most sought-after models in the Vermont Casting lineup.

In summary, the Vermont Casting 2823, 2822, 2828, 820, and 2825 models each have their unique features that cater to different heating needs. With advanced combustion technologies, customizable designs, and a commitment to efficiency, these stoves highlight Vermont Casting's reputation for quality and innovation in home heating solutions.