Operation
•Vidikron/ISF Logo Splash Screen Timers: When you turn on the Vision 85, it projects a welcome screen with the Vidikron logo followed by one with the ISF logo. Select Splash Timer from the Splash Configure menu to set the amount of time that these two images appear. The range is from 2 to 60 seconds, in
Use the up or down cursor button to select a timer value to adjust. Use the right or left cursor button to change the timer value. Press MENU when you have finished configuring both timers.
OSD Position: Select OSD Position, press ENTER and use the arrow buttons to change the size and position of the OSD controls.
Use the Service menu to access advanced projector configuration settings. This menu should be used by
You must enter a passcode to access the Service menu.
Note
Test Video: Select Test Video from the Service Menu to access the internal test patterns on the Vision 85. Four patterns are available, consisting of white/gray or colored bars.
Press MENU to exit test pattern mode.
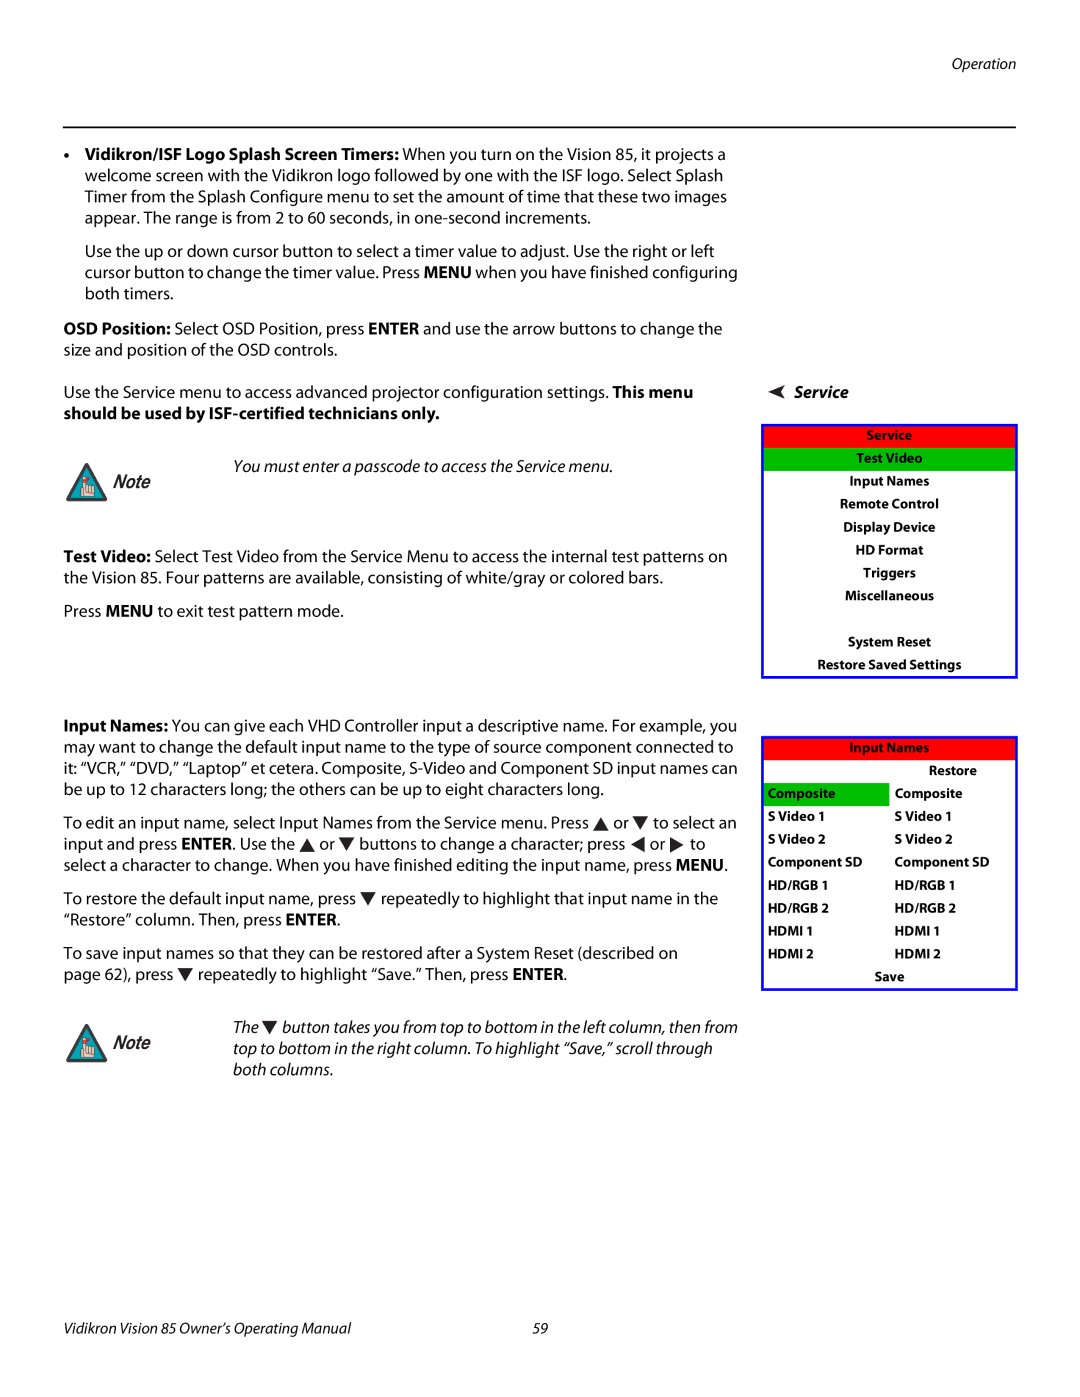
Service
Service
Test Video
Input Names
Remote Control
Display Device
HD Format
Triggers
Miscellaneous
System Reset
Restore Saved Settings
Input Names: You can give each VHD Controller input a descriptive name. For example, you may want to change the default input name to the type of source component connected to it: “VCR,” “DVD,” “Laptop” et cetera. Composite,
To edit an input name, select Input Names from the Service menu. Press ![]() or
or ![]() to select an input and press ENTER. Use the
to select an input and press ENTER. Use the ![]() or
or ![]() buttons to change a character; press
buttons to change a character; press ![]() or
or ![]() to select a character to change. When you have finished editing the input name, press MENU.
to select a character to change. When you have finished editing the input name, press MENU.
To restore the default input name, press ![]() repeatedly to highlight that input name in the “Restore” column. Then, press ENTER.
repeatedly to highlight that input name in the “Restore” column. Then, press ENTER.
To save input names so that they can be restored after a System Reset (described on page 62), press ![]() repeatedly to highlight “Save.” Then, press ENTER.
repeatedly to highlight “Save.” Then, press ENTER.
The ![]() button takes you from top to bottom in the left column, then from
button takes you from top to bottom in the left column, then from
Note top to bottom in the right column. To highlight “Save,” scroll through both columns.
Input Names
|
| Restore |
|
|
|
Composite |
| Composite |
S Video 1 |
| S Video 1 |
S Video 2 |
| S Video 2 |
Component SD |
| Component SD |
HD/RGB 1 |
| HD/RGB 1 |
HD/RGB 2 |
| HD/RGB 2 |
HDMI 1 |
| HDMI 1 |
HDMI 2 |
| HDMI 2 |
| Save | |
Vidikron Vision 85 Owner’s Operating Manual | 59 |