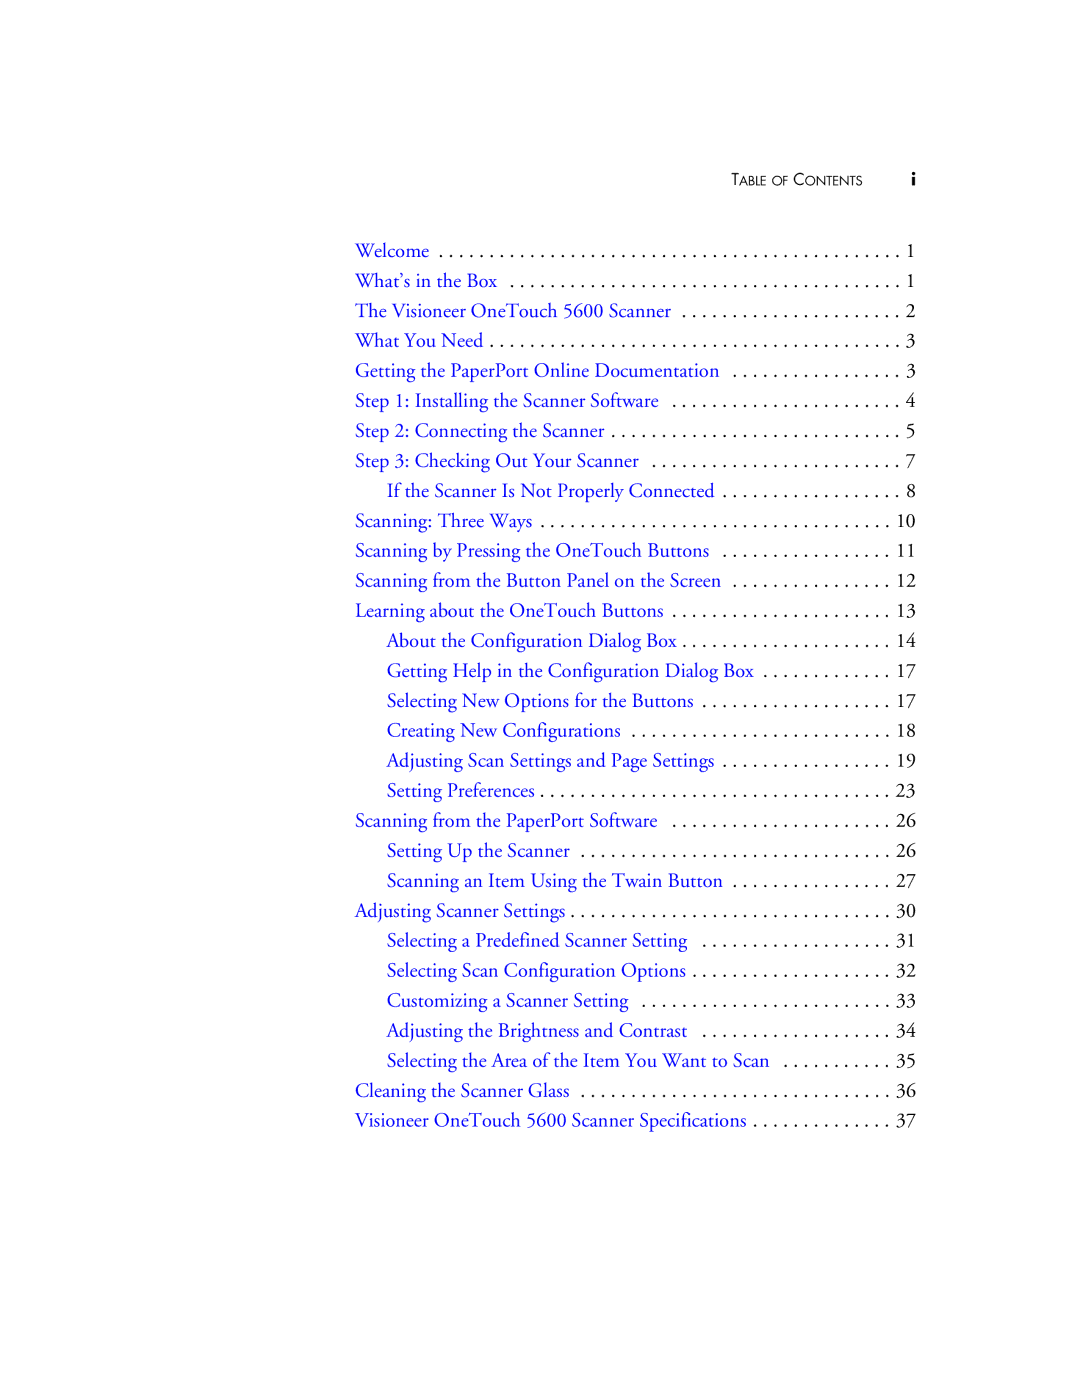
TABLE OF CONTENTS | i |
Welcome | . 1 |
What’s in the Box | . 1 |
The Visioneer OneTouch 5600 Scanner | . 2 |
What You Need | . 3 |
Getting the PaperPort Online Documentation | . 3 |
Step 1: Installing the Scanner Software | . 4 |
Step 2: Connecting the Scanner | . 5 |
Step 3: Checking Out Your Scanner | . 7 |
If the Scanner Is Not Properly Connected | . 8 |
Scanning: Three Ways | 10 |
Scanning by Pressing the OneTouch Buttons | 11 |
Scanning from the Button Panel on the Screen | 12 |
Learning about the OneTouch Buttons | 13 |
About the Configuration Dialog Box | 14 |
Getting Help in the Configuration Dialog Box | 17 |
Selecting New Options for the Buttons | 17 |
Creating New Configurations | 18 |
Adjusting Scan Settings and Page Settings | 19 |
Setting Preferences | 23 |
Scanning from the PaperPort Software | 26 |
Setting Up the Scanner | 26 |
Scanning an Item Using the Twain Button | 27 |
Adjusting Scanner Settings | 30 |
Selecting a Predefined Scanner Setting | 31 |
Selecting Scan Configuration Options | 32 |
Customizing a Scanner Setting | 33 |
Adjusting the Brightness and Contrast | 34 |
Selecting the Area of the Item You Want to Scan | 35 |
Cleaning the Scanner Glass | 36 |
Visioneer OneTouch 5600 Scanner Specifications | 37 |
Page 3
Image 3
