Using the Flash
The flash is designed to function automatically when lighting conditions warrant the use of flash. The ViviCam 8400 has four flash modes: Auto Flash (default), Red Eye Reduction, Forced Flash and No Flash. You can record an image using a flash mode that best suits your requirements.
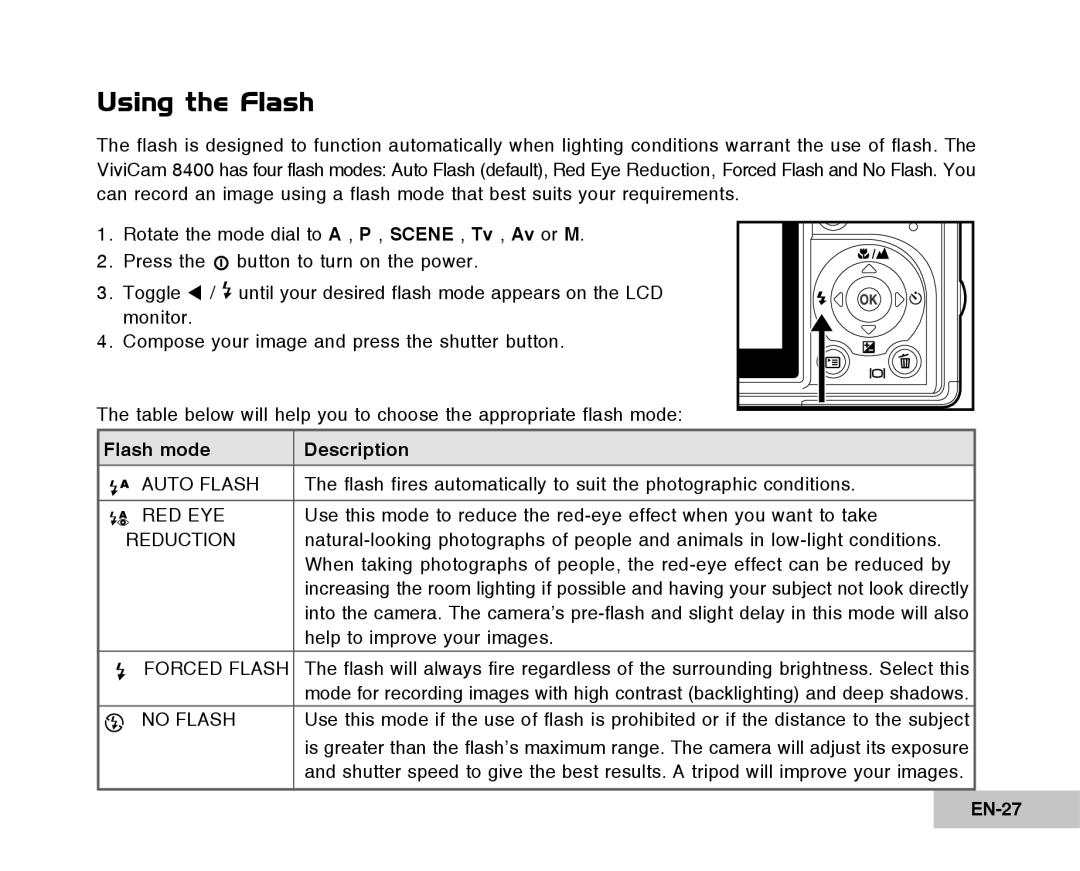
1. | Rotate the mode dial to A , P , SCENE , Tv , Av or M. | / | ||
2. | Press the | button to turn on the power. | ||
| ||||
3. | Toggle W / until your desired flash mode appears on the LCD |
| ||
| monitor. |
|
| |
4. | Compose your image and press the shutter button. |
| ||
The table below will help you to choose the appropriate flash mode: |
| |||
Flash mode | Description |
AUTO FLASH | The flash fires automatically to suit the photographic conditions. |
|
|
RED EYE | Use this mode to reduce the |
REDUCTION | |
| When taking photographs of people, the |
| increasing the room lighting if possible and having your subject not look directly |
| into the camera. The camera’s |
| help to improve your images. |
FORCED FLASH | The flash will always fire regardless of the surrounding brightness. Select this |
| mode for recording images with high contrast (backlighting) and deep shadows. |
NO FLASH | Use this mode if the use of flash is prohibited or if the distance to the subject |
| is greater than the flash’s maximum range. The camera will adjust its exposure |
| and shutter speed to give the best results. A tripod will improve your images. |
|
|