VIVOTEK
Wireless Connection: Using the WPS Button
1� Make sure your AP (Access Point) and Operating System support WPS
2� Disconnect your LAN cable, and wait for the LED to turn red�
3� Press the WPS button for 1 second� You can then hear vocal instructions (in English) from the camera speaker�
4� Press and hold down the WPS button on your AP (some router/AP will have a virtual button on their management software instead)� Refer to your AP's documentation for details using its WPS functions�
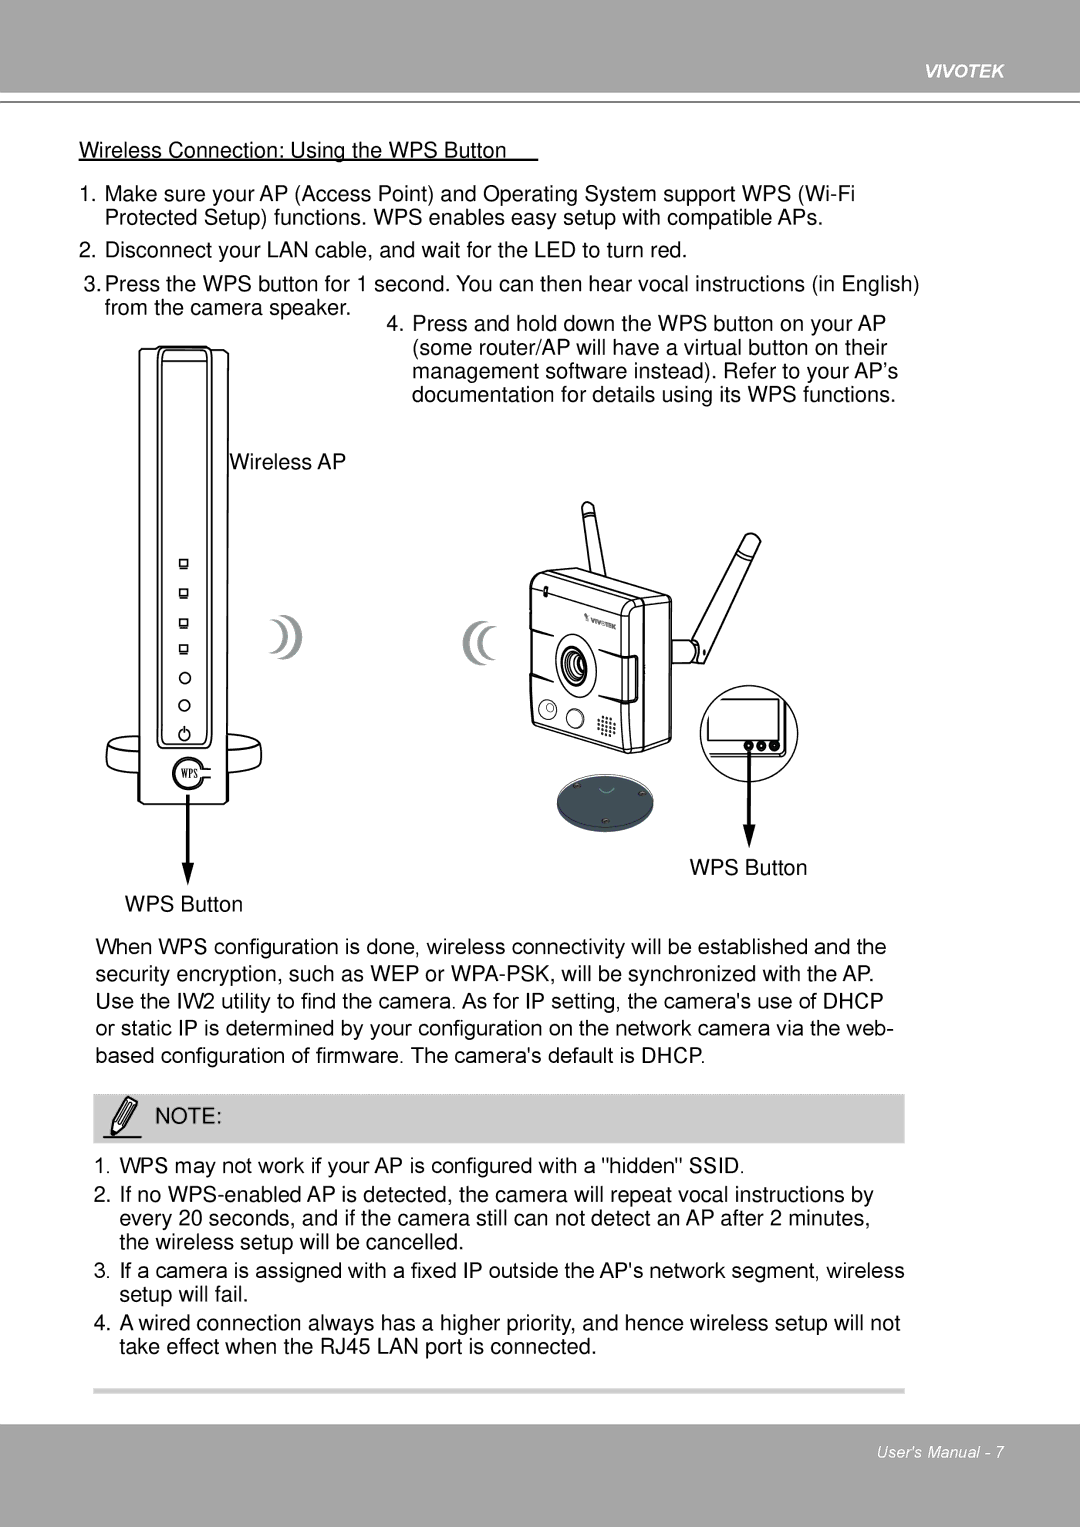
Wireless AP
![]()
![]()
![]() 2
2![]()
WPS
![]() WPS Button WPS Button
WPS Button WPS Button
When WPS configuration is done, wireless connectivity will be established and the
security encryption, such as WEP or
Use the IW2 utility to find the camera. As for IP setting, the camera's use of DHCP or static IP is determined by your configuration on the network camera via the web- based configuration of firmware. The camera's default is DHCP.
NOTE:
1. WPS may not work if your AP is configured with a "hidden" SSID.
2� If no
3.If a camera is assigned with a fixed IP outside the AP's network segment, wireless setup will fail�
4� A wired connection always has a higher priority, and hence wireless setup will not take effect when the RJ45 LAN port is connected�
User's Manual - 7