VIVOTEK
Media Settings
The Media Settings panel on the Application page is displayed when there are existing media settings� They are identical to those configured in the Add Media panel of the Event Settings (See page 91)� Due to the limited size of the onboard memory, the media contents recorded during the occurrences of events should be delivered to the recipient side via Email, FTP, HTTP, or Network Storage� The onboard memory is primarily used as a transaction storage for capturing
Please note that a small amount of memory is preserved for audio recordings that will be used as a vocal message to someone on the scene or intruders� Audio clip playback is one of the
NOTE:
The recorded audio will be saved as mono waves, in 8 KHz and
If you prefer upload audio files to your camera, the following should be noticed:
1� Stereo will be converted to mono�
2� Higher KHz (e�g�, 22�050 KHz) audio will be downgraded to 8 KHz�
3� Only
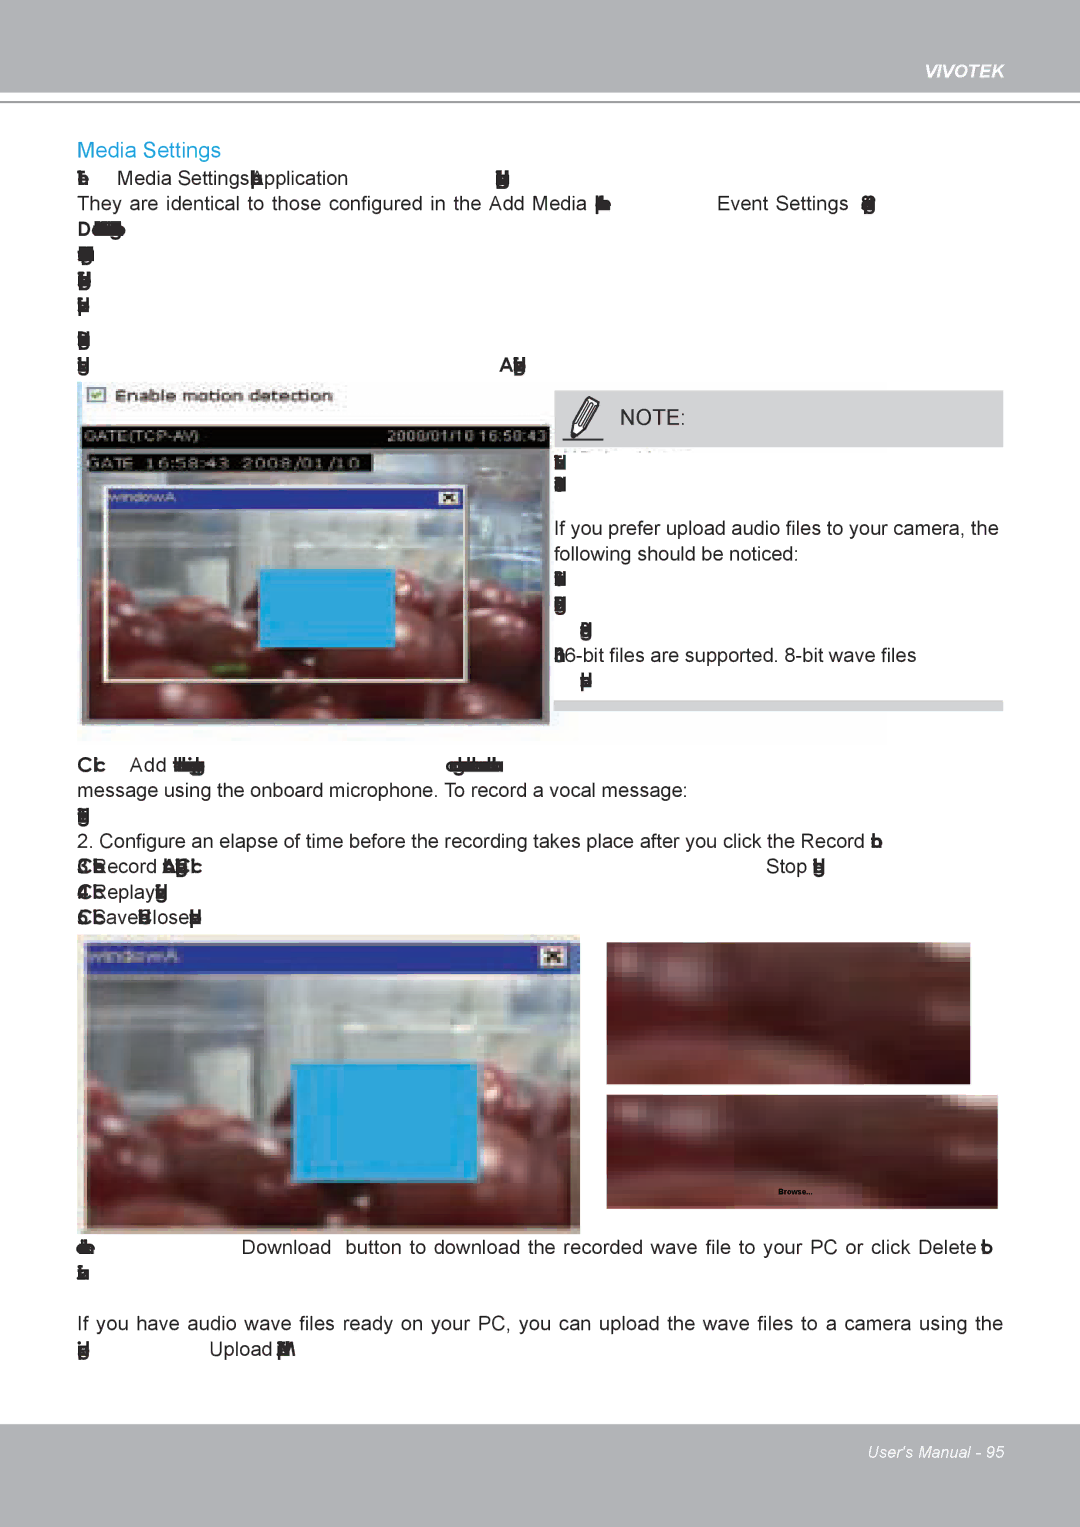
Click Add to enter the recording page� You can grab the camera close to you and record a vocal message using the onboard microphone. To record a vocal message:
1� Enter a name for the recording�
2. Configure an elapse of time before the recording takes place after you click the Record button�
3� Click on the Record button� A recording progress window will prompt� Click Stop to end the recording� 4� Click Replay to ensure you have a satisfactory recording�
5� Click Save and click the Close button to end the process�
Browse...
You can click the Download button to download the recorded wave file to your PC or click Delete to remove it from camera memory�
If you have audio wave files ready on your PC, you can upload the wave files to a camera using the corresponding Upload checkcircle in the Media Type window�
User's Manual - 95