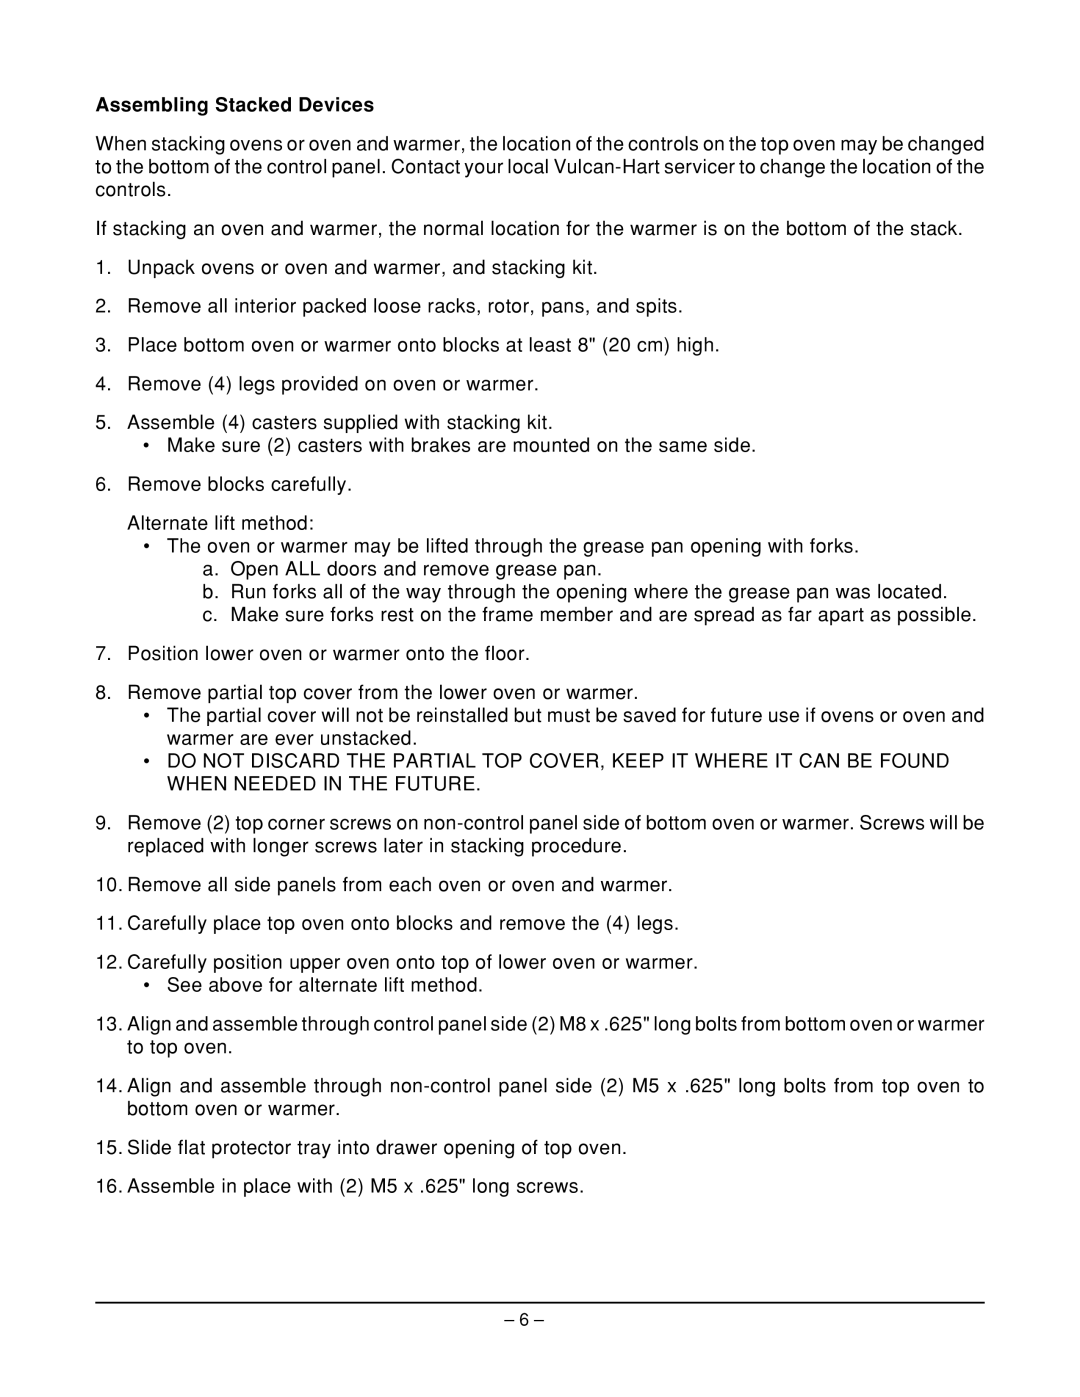
ML-126453, ML-126211, ML-126212, ML-126452, ML-126450 specifications
Vulcan-Hart is a leading manufacturer known for its high-quality commercial kitchen equipment, and the ML series, including models ML-126210, ML-126451, ML-126209, ML-126450, and ML-126452, exemplifies this reputation. These models are specifically designed to meet the demanding needs of commercial kitchens, offering a range of features and technologies that enhance performance, efficiency, and reliability.One of the standout features of the ML series is their robust construction. Made from durable stainless steel, these units are designed to withstand the rigors of a busy kitchen environment. Their sleek, professional appearance not only looks appealing but also facilitates easy cleaning and maintenance, ensuring hygiene standards are met.
The ML series models are equipped with advanced temperature control technologies. Featuring digital thermostats and intuitive controls, they provide precise temperature management, crucial for cooking and holding food at the right temperatures for safety and quality. This level of control helps reduce food waste and improves overall kitchen efficiency.
Another key characteristic of the Vulcan-Hart ML series is their energy efficiency. These models are designed with modern insulation technologies that minimize heat loss, allowing for less energy consumption during operation. This not only translates to lower utility bills but also aligns with sustainable practices in the food service industry.
The versatility of the ML models is another reason they are favored in various commercial settings. Equipped with multiple cooking options, they can handle a diverse range of cooking methods, from baking to steaming, making them suitable for numerous food preparation tasks. This adaptability is essential for restaurants that require flexibility in their cooking processes.
Moreover, the ML series includes features that enhance safety in the kitchen. With built-in safety mechanisms such as automatic shut-off and cool-touch handles, these models prioritize the well-being of kitchen staff while minimizing the risk of accidents.
Overall, the Vulcan-Hart ML-126210, ML-126451, ML-126209, ML-126450, and ML-126452 models stand out for their durability, precise temperature control, energy efficiency, versatility, and safety features. These characteristics make them excellent choices for any professional kitchen looking to improve its operations and service quality. Investing in Vulcan-Hart equipment means choosing reliable performance backed by a trusted brand in the commercial food service industry.
