To Clean:
IMPORTANT: Before cleaning, make sure all controls are off and the oven and cooktop are cool. Do not use oven cleaners, bleach or rust removers.
1.Remove the burner cap from the burner base and clean according to “General Cleaning” section.
2.Clean the gas tube opening with a damp cloth.
3.Clean clogged burner ports with a straight pin as shown. Do not enlarge or distort the port. Do not use a wooden toothpick. If the burner needs to be adjusted, contact a trained repair specialist.
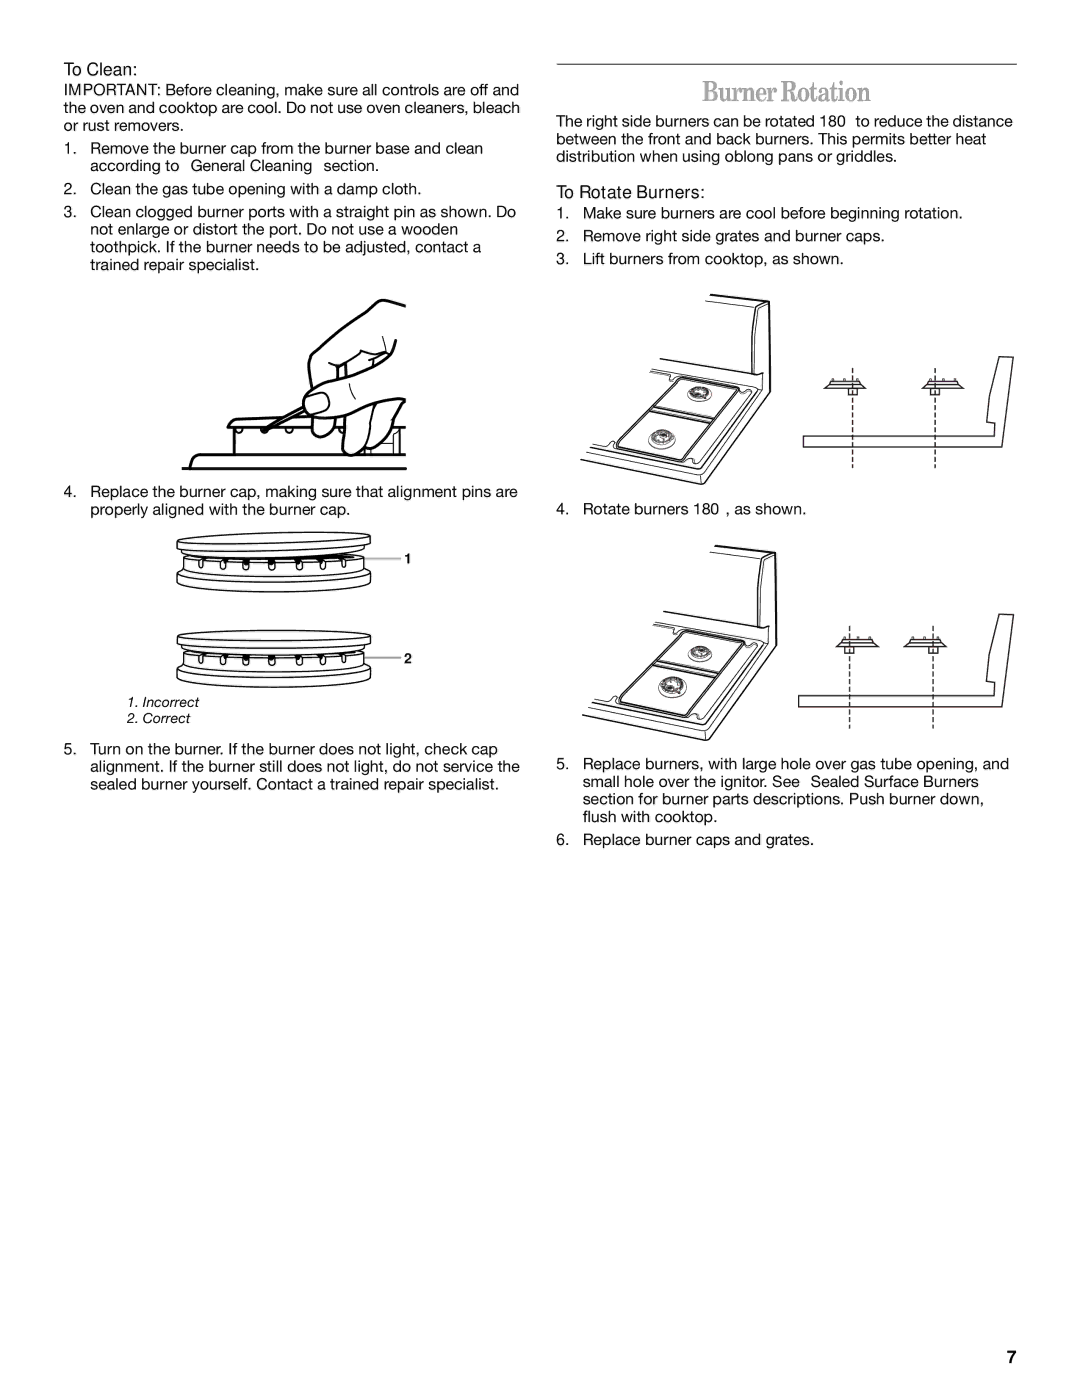
4.Replace the burner cap, making sure that alignment pins are properly aligned with the burner cap.
1
2
1.Incorrect
2.Correct
5.Turn on the burner. If the burner does not light, check cap alignment. If the burner still does not light, do not service the sealed burner yourself. Contact a trained repair specialist.
Burner Rotation
The right side burners can be rotated 180° to reduce the distance between the front and back burners. This permits better heat distribution when using oblong pans or griddles.
To Rotate Burners:
1.Make sure burners are cool before beginning rotation.
2.Remove right side grates and burner caps.
3.Lift burners from cooktop, as shown.
4.Rotate burners 180°, as shown.
5.Replace burners, with large hole over gas tube opening, and small hole over the ignitor. See “Sealed Surface Burners” section for burner parts descriptions. Push burner down, flush with cooktop.
6.Replace burner caps and grates.
7