CHAPTER 6 TROUBLESHOOTING
Dirt on the back of paper
Possible cause | Step | Check | Result | Remedy | |
|
|
|
|
| |
Fixing unit dirty | 1 | Is the pressure roller dirty? | Yes | Clean the pressure roller | |
referring to the following | |||||
|
| Is any other area in the printer |
| ||
|
|
| procedure. | ||
|
| dirty? |
| ||
|
|
|
| ||
|
|
|
|
| |
Dirt in the drum | 2 | Is the transfer roller dirty? | Yes | Replace the drum unit | |
unit |
| Is the problem solved after |
|
| |
|
|
|
| ||
|
| replacing the drum unit? |
|
| |
|
|
|
|
| |
|
|
| No | Replace the | |
|
|
|
| supply PCB. | |
|
|
|
|
|
NOTE:
•This problem may disappear after printing approximately 10 pages of completely blank sheets.
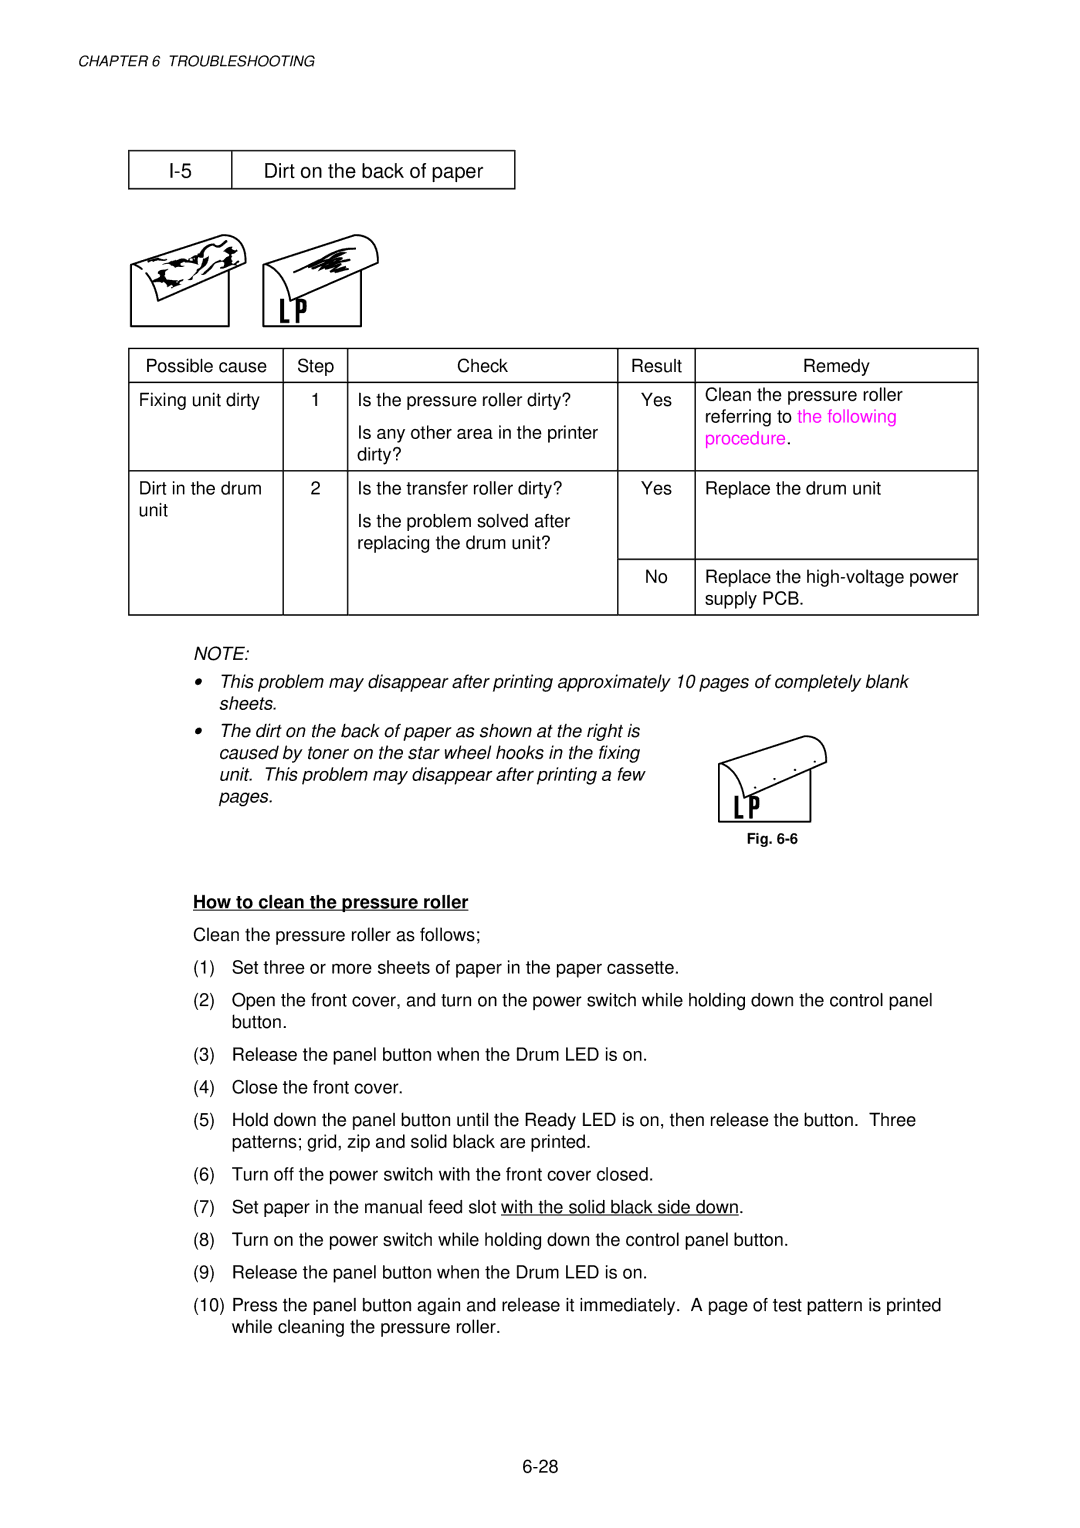
•The dirt on the back of paper as shown at the right is caused by toner on the star wheel hooks in the fixing
unit. This problem may disappear after printing a few pages.
Fig.
How to clean the pressure roller
Clean the pressure roller as follows;
(1)Set three or more sheets of paper in the paper cassette.
(2)Open the front cover, and turn on the power switch while holding down the control panel button.
(3)Release the panel button when the Drum LED is on.
(4)Close the front cover.
(5)Hold down the panel button until the Ready LED is on, then release the button. Three patterns; grid, zip and solid black are printed.
(6)Turn off the power switch with the front cover closed.
(7)Set paper in the manual feed slot with the solid black side down.
(8)Turn on the power switch while holding down the control panel button.
(9)Release the panel button when the Drum LED is on.
(10)Press the panel button again and release it immediately. A page of test pattern is printed while cleaning the pressure roller.
