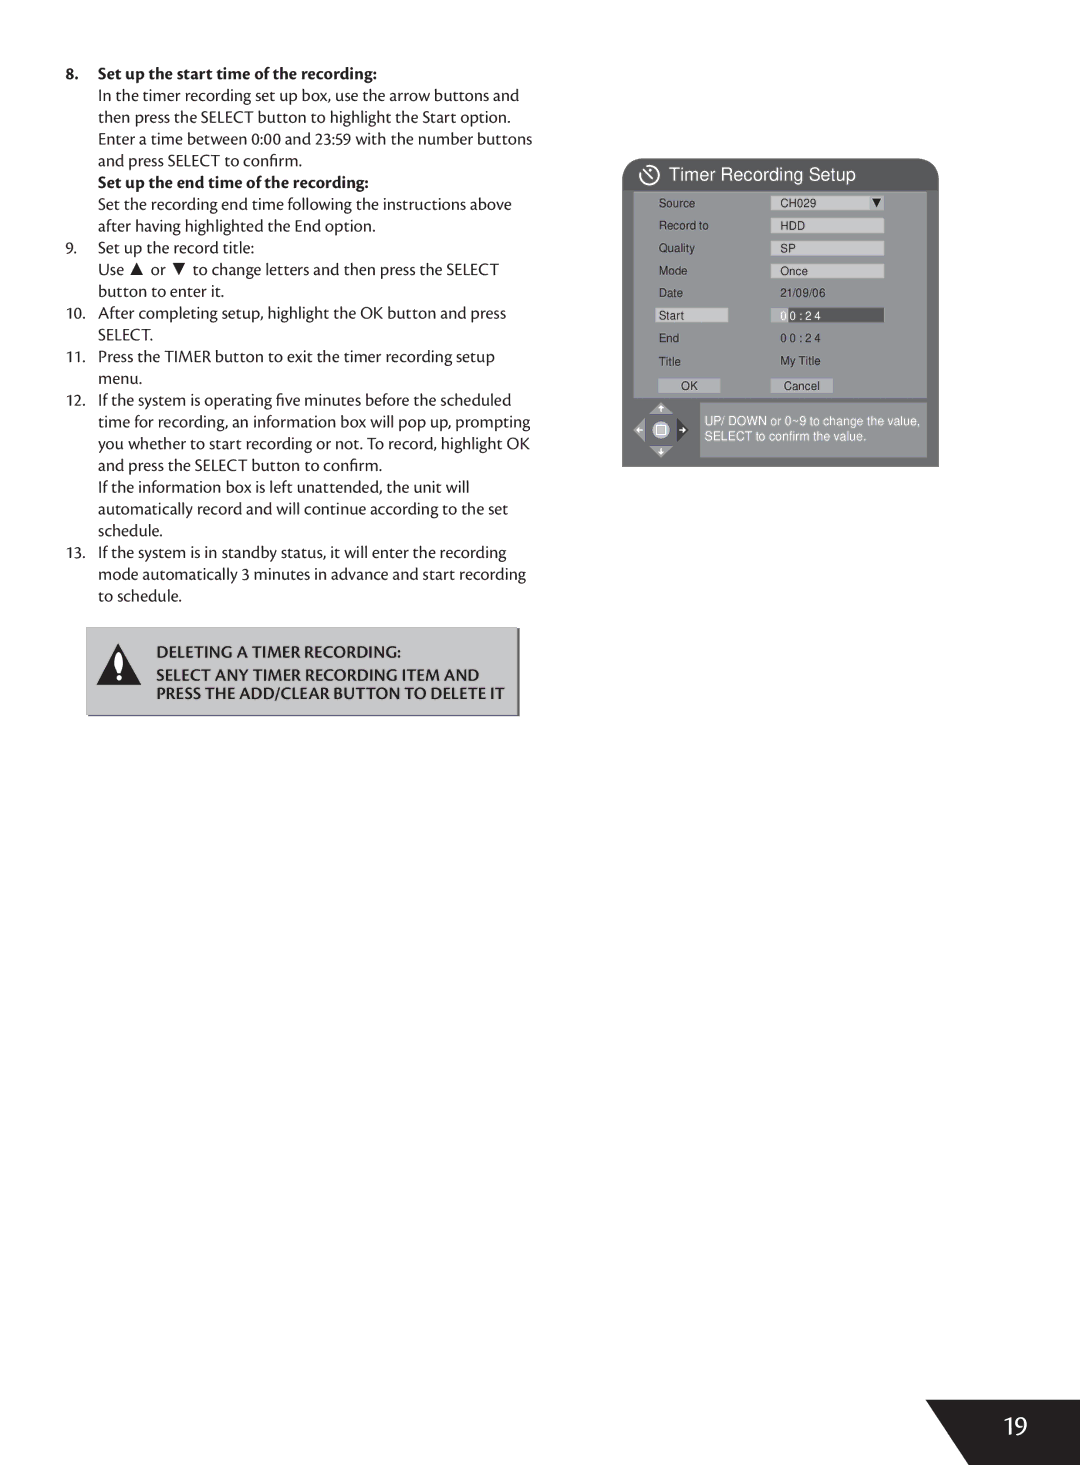
8. Set up the start time of the recording:
In the timer recording set up box, use the arrow buttons and then press the SELECT button to highlight the Start option. Enter a time between 0:00 and 23:59 with the number buttons and press SELECT to confirm.
Set up the end time of the recording:
Set the recording end time following the instructions above after having highlighted the End option.
9.Set up the record title:
Use ▲ or ▼ to change letters and then press the SELECT button to enter it.
10. After completing setup, highlight the OK button and press
SELECT.
11. Press the TIMER button to exit the timer recording setup menu.
12. If the system is operating five minutes before the scheduled time for recording, an information box will pop up, prompting you whether to start recording or not. To record, highlight OK and press the SELECT button to confirm.
If the information box is left unattended, the unit will automatically record and will continue according to the set schedule.
13. If the system is in standby status, it will enter the recording mode automatically 3 minutes in advance and start recording to schedule.
DELETING A TIMER RECORDING:
SELECT ANY TIMER RECORDING ITEM AND
PRESS THE ADD/CLEAR BUTTON TO DELETE IT
 Timer Recording Setup
Source | CH029 | |||
|
| HDD | ||
Record to | ||||
Quality | ||||
SP | ||||
Mode | Once | |||
Date |
|
| ||
21/09/06 | ||||
Start | 0 0 : 2 4 |
| ||
End | 0 0 : 2 4 |
| ||
Title | My Title | |||
OK | Cancel | |||
UP/ DOWN or 0~9 to change the value, SELECT to confirm the value.
19
