Using the take-up roller (con’t)
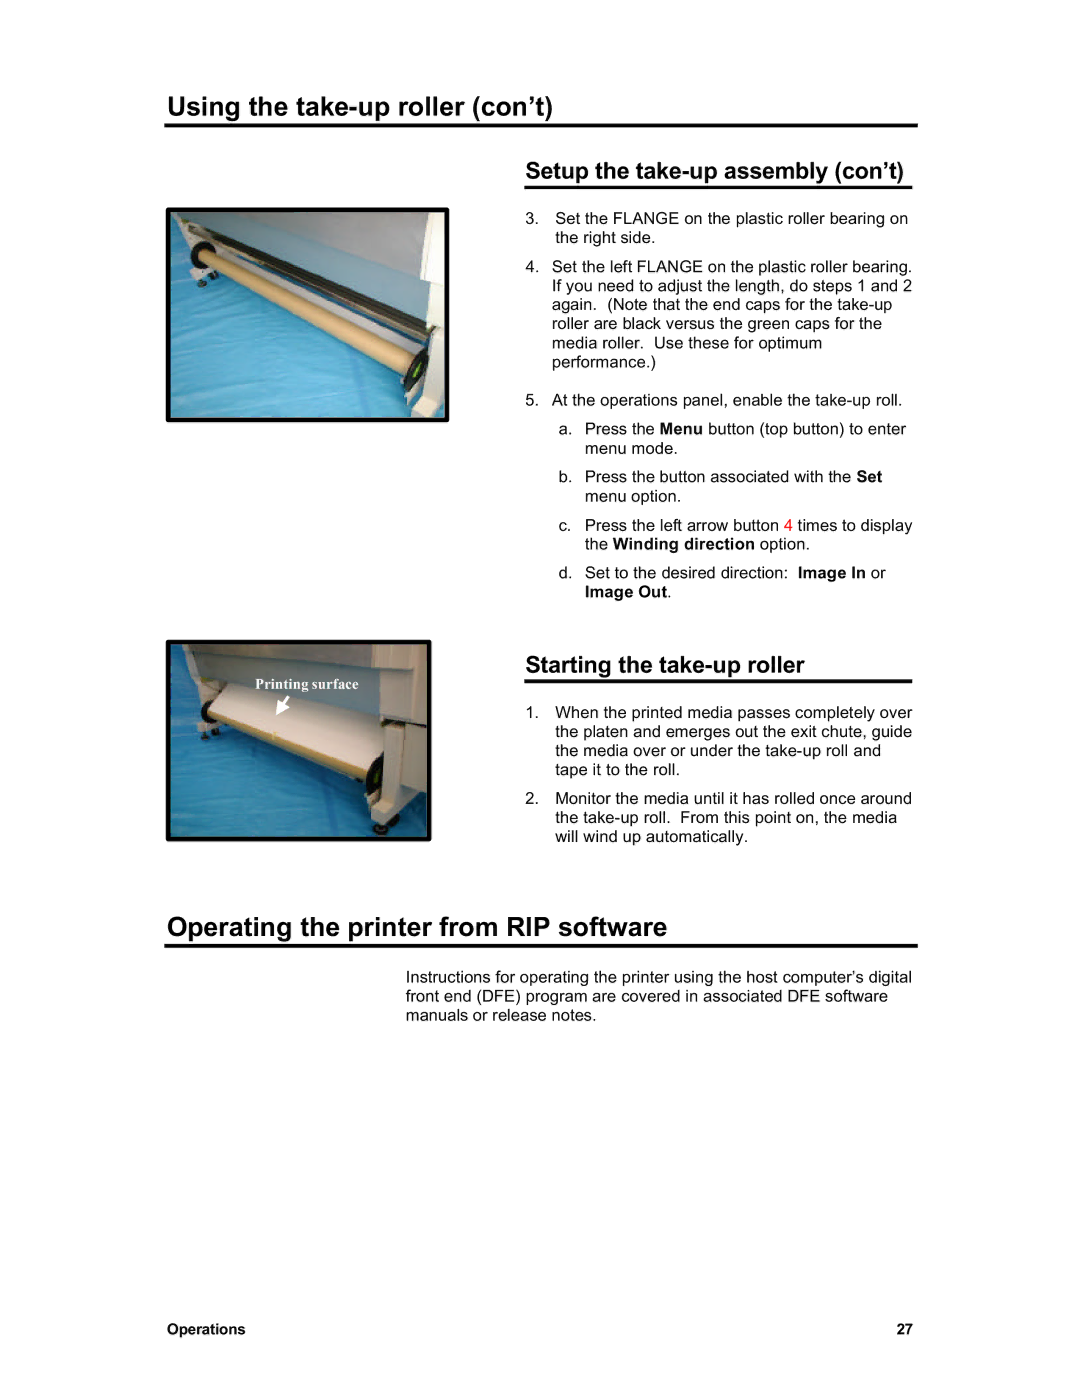
Printing surface
Setup the take-up assembly (con’t)
3.Set the FLANGE on the plastic roller bearing on the right side.
4.Set the left FLANGE on the plastic roller bearing. If you need to adjust the length, do steps 1 and 2 again. (Note that the end caps for the
5.At the operations panel, enable the
a.Press the Menu button (top button) to enter menu mode.
b.Press the button associated with the Set menu option.
c.Press the left arrow button 4 times to display the Winding direction option.
d.Set to the desired direction: Image In or Image Out.
Starting the take-up roller
1.When the printed media passes completely over the platen and emerges out the exit chute, guide the media over or under the
2.Monitor the media until it has rolled once around the
Operating the printer from RIP software
Instructions for operating the printer using the host computer’s digital front end (DFE) program are covered in associated DFE software manuals or release notes.
Operations | 27 |