Operating the cutter (con’t)
Replacing cutter blade (con’t)
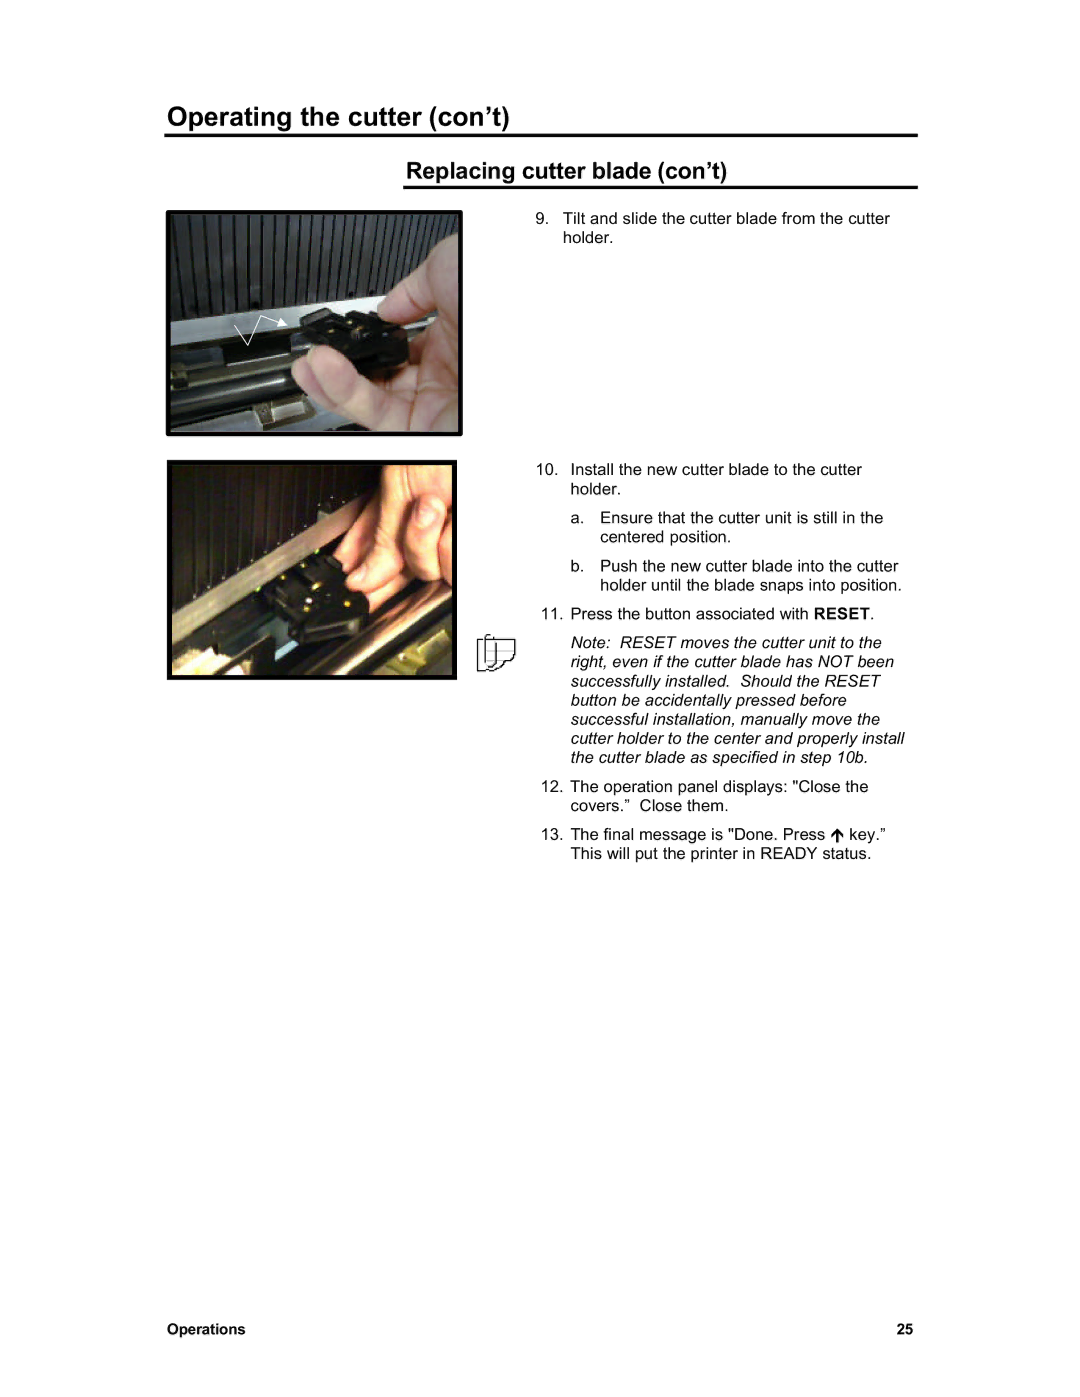
9. Tilt and slide the cutter blade from the cutter holder.
10. Install the new cutter blade to the cutter holder.
a. Ensure that the cutter unit is still in the centered position.
b. Push the new cutter blade into the cutter holder until the blade snaps into position.
11. Press the button associated with RESET.
Note: RESET moves the cutter unit to the right, even if the cutter blade has NOT been successfully installed. Should the RESET button be accidentally pressed before successful installation, manually move the cutter holder to the center and properly install the cutter blade as specified in step 10b.
12. The operation panel displays: "Close the covers.” Close them.
13. The final message is "Done. Press ½ key.” This will put the printer in READY status.
Operations | 25 |