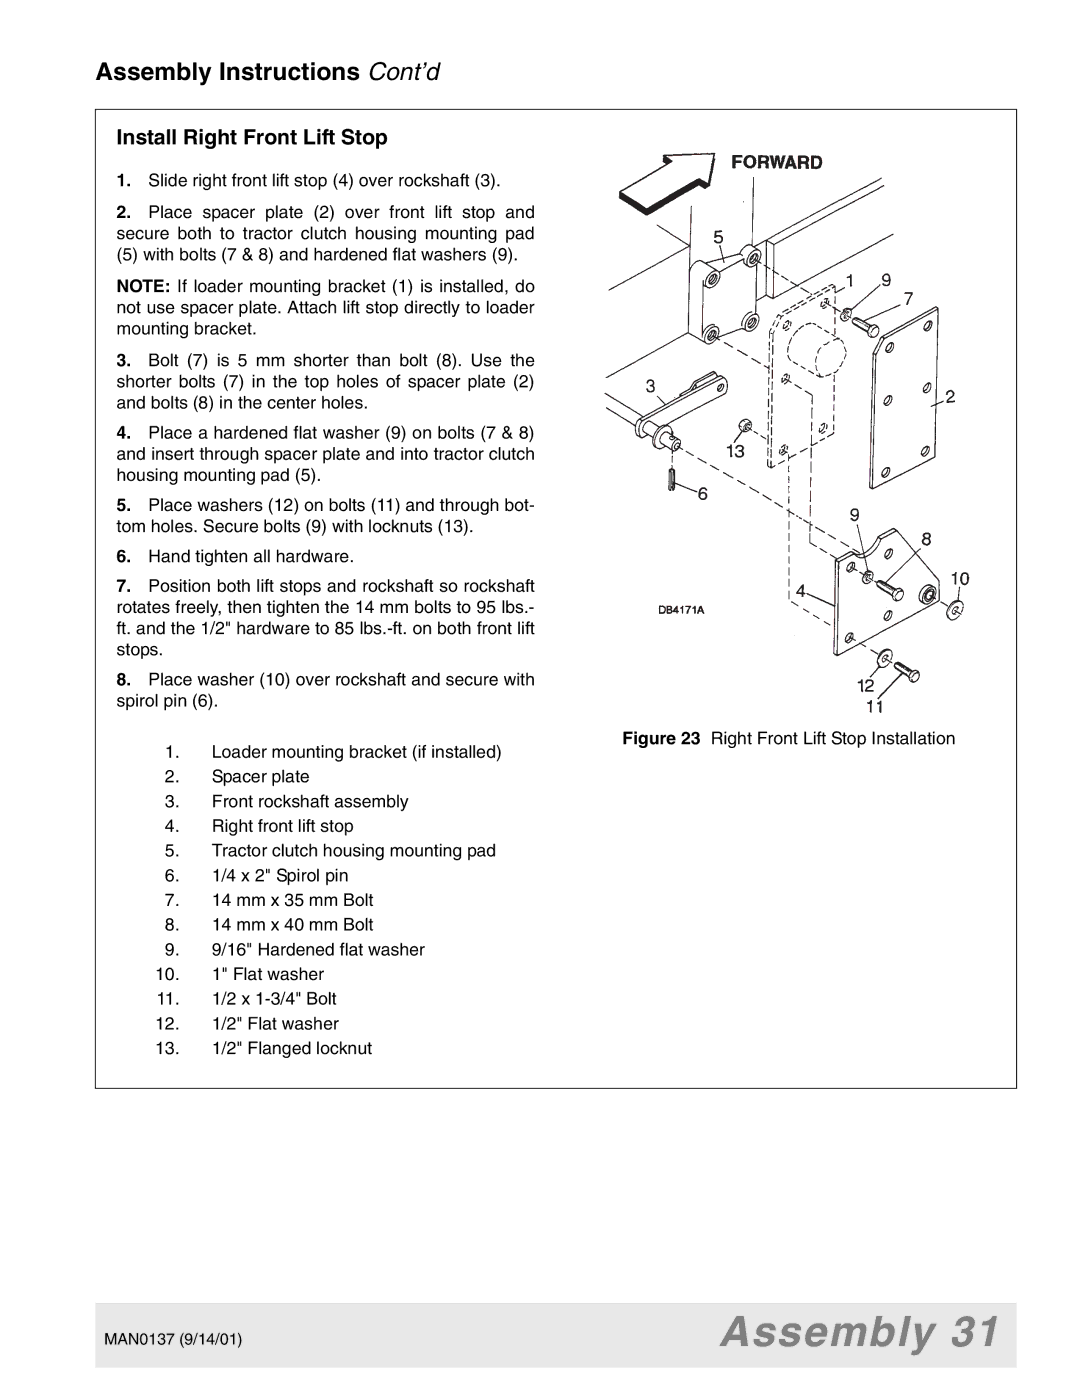
7000, 7192, 7194, 7195, 7200, 7205 specifications
Woods Equipment has long been a pioneer in the agricultural and landscaping industry, consistently delivering high-quality implements designed to enhance productivity and efficiency. The Woods Equipment 7000 series and its notable models—7192, 7194, 7195, 7200, and 7205—represent the culmination of innovative technology, rugged design, and operator comfort.The Woods 7000 series is renowned for its versatility and durability, making it an ideal choice for both large-scale agricultural applications and smaller landscaping tasks. One of the most significant features across these models is their robust build quality, designed to withstand the rigors of daily use in various environments. The heavy-duty construction ensures longevity and reliability, minimizing downtime and maintenance needs.
The 7192 and 7194 models are particularly noted for their high-performance capabilities. Both include advanced hydraulic systems that provide powerful lift and speed, allowing operators to tackle even the toughest tasks with ease. The 7195 model takes this a step further by incorporating an innovative mount system that enhances compatibility with a range of tractors, ensuring seamless operation.
The Woods 7200 and 7205 models focus on precision and ease of use. They come equipped with features such as adjustable cutting heights and user-friendly controls that allow operators of all skill levels to manage their equipment effectively. The enhanced maneuverability of these models is complemented by high-quality tires that provide excellent traction on varied terrains.
All models feature cutting-edge technology aimed at improving overall efficiency. The use of high-strength materials contributes to reduced weight, which can enhance fuel efficiency without sacrificing performance. Additionally, many of these machines are designed to facilitate quick attachment changes, allowing users to switch implements in minutes, thus saving time and increasing productivity.
Woods Equipment also prioritizes operator comfort. Ergonomically designed controls and comfortable seating options minimize fatigue during long working hours. These thoughtful features ensure that users can focus on the task at hand rather than being distracted by discomfort.
In summary, the Woods Equipment 7000 series, including the 7192, 7194, 7195, 7200, and 7205 models, represents an exceptional blend of power, versatility, and user-centric design. These implements demonstrate Woods Equipment's commitment to quality and innovation, making them a mainstay for professionals in agriculture and landscaping alike.

