ASSEMBLY
The following is a description of the components shipped with the Shop Fox® W1683 20" Planer.
Should any parts be missing, examine the packaging carefully to be sure parts are not among the packing materials. If any key parts are missing, contact Woodstock International, Inc. at
Overview
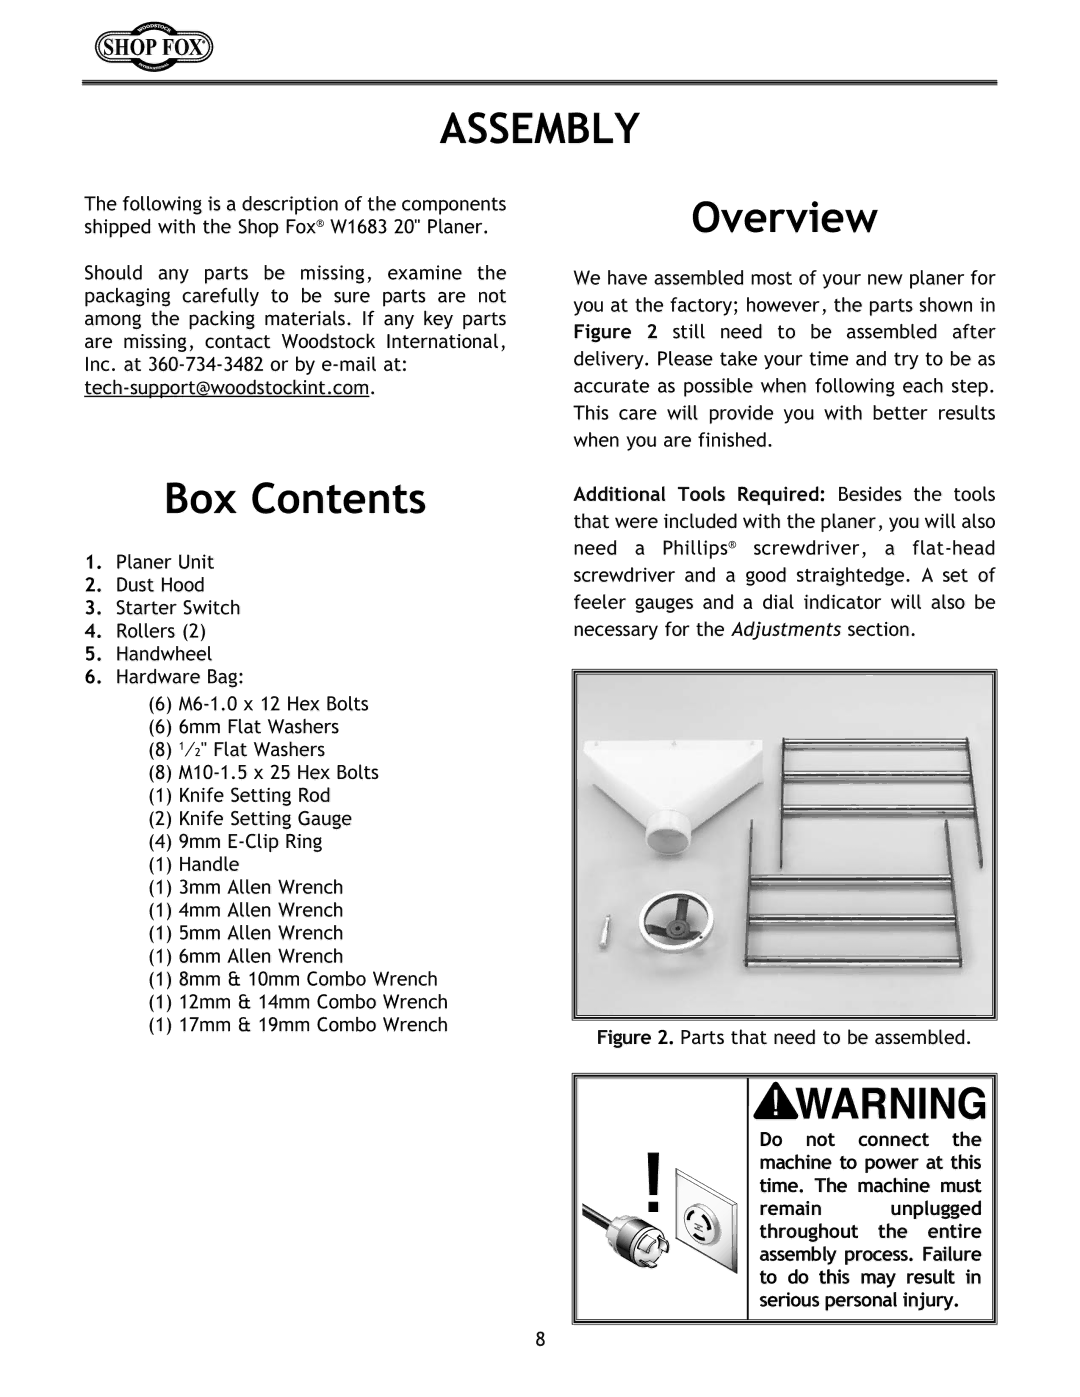
We have assembled most of your new planer for you at the factory; however, the parts shown in Figure 2 still need to be assembled after delivery. Please take your time and try to be as accurate as possible when following each step. This care will provide you with better results when you are finished.
Box Contents
1.Planer Unit
2.Dust Hood
3.Starter Switch
4.Rollers (2)
5.Handwheel
6.Hardware Bag:
(6)
(6)6mm Flat Washers
(8)1⁄2" Flat Washers
(8)
(1)Knife Setting Rod
(2)Knife Setting Gauge
(4)9mm
(1)Handle
(1)3mm Allen Wrench
(1)4mm Allen Wrench
(1)5mm Allen Wrench
(1)6mm Allen Wrench
(1)8mm & 10mm Combo Wrench
(1)12mm & 14mm Combo Wrench
(1)17mm & 19mm Combo Wrench
Additional Tools Required: Besides the tools that were included with the planer, you will also need a Phillips® screwdriver, a
Figure 2. Parts that need to be assembled.
Do not connect the machine to power at this time. The machine must
remain unplugged throughout the entire assembly process. Failure to do this may result in serious personal injury.
8