Switch
The prewired magnetic switch needs to be mounted to the planer head casting.
To mount the switch:
1.Match the holes at the back of the switch with the tapped holes in the front, left- hand corner of the planer.
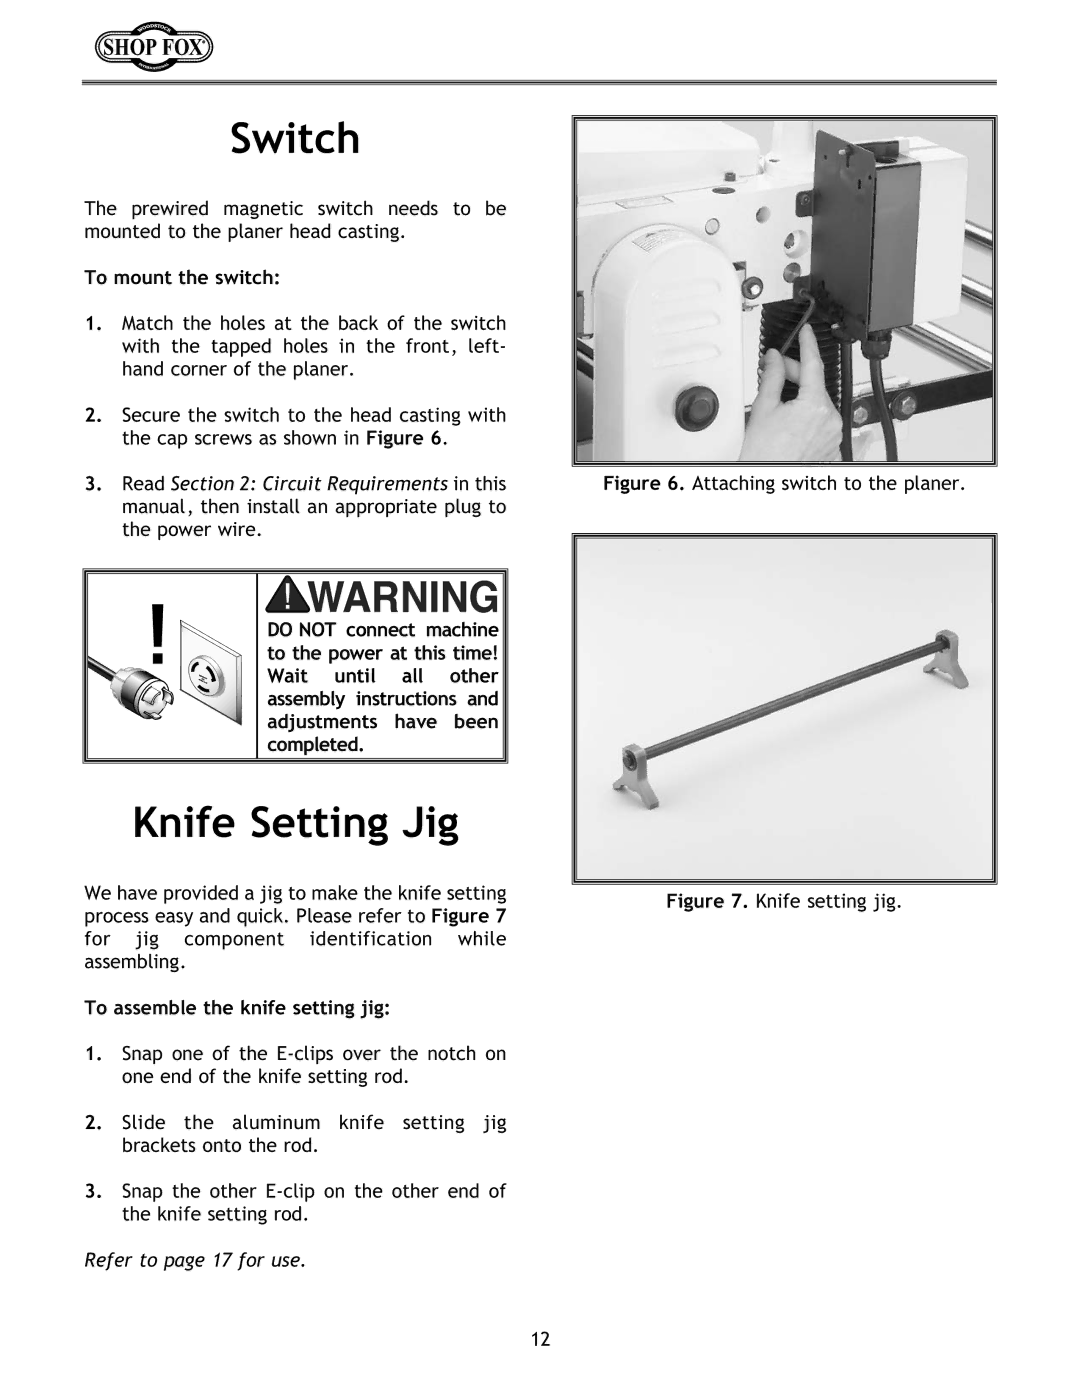
2.Secure the switch to the head casting with the cap screws as shown in Figure 6.
3.Read Section 2: Circuit Requirements in this manual, then install an appropriate plug to the power wire.
DO NOT connect machine to the power at this time! Wait until all other assembly instructions and adjustments have been completed.
Knife Setting Jig
We have provided a jig to make the knife setting process easy and quick. Please refer to Figure 7 for jig component identification while assembling.
To assemble the knife setting jig:
1.Snap one of the
2.Slide the aluminum knife setting jig brackets onto the rod.
3.Snap the other
Refer to page 17 for use.
Figure 6. Attaching switch to the planer.
Figure 7. Knife setting jig.
12