Do not connect power to the machine while performing adjustments. Failure to follow this warning may result in serious personal injury.
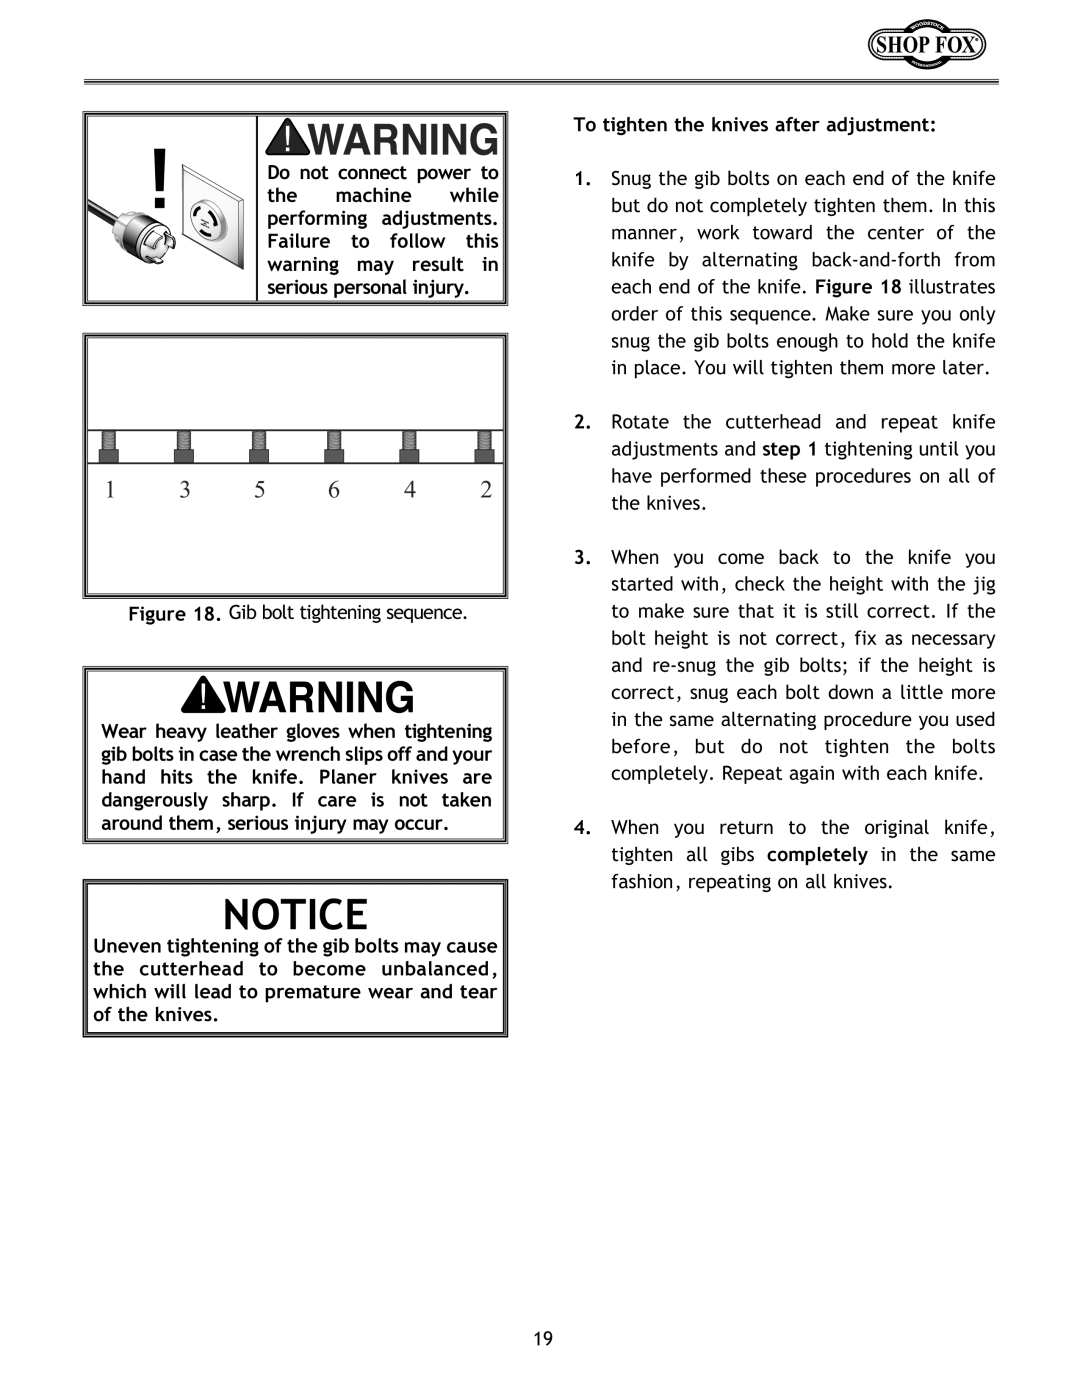
1 3 5 6 4 2
Figure 18. Gib bolt tightening sequence.
Wear heavy leather gloves when tightening gib bolts in case the wrench slips off and your hand hits the knife. Planer knives are dangerously sharp. If care is not taken around them, serious injury may occur.
NOTICE
Uneven tightening of the gib bolts may cause the cutterhead to become unbalanced, which will lead to premature wear and tear of the knives.
To tighten the knives after adjustment:
1.Snug the gib bolts on each end of the knife but do not completely tighten them. In this manner, work toward the center of the knife by alternating
2.Rotate the cutterhead and repeat knife adjustments and step 1 tightening until you have performed these procedures on all of the knives.
3.When you come back to the knife you started with, check the height with the jig to make sure that it is still correct. If the bolt height is not correct, fix as necessary and
4.When you return to the original knife, tighten all gibs completely in the same fashion, repeating on all knives.
19