X10 Macros
Macros allow you to combine a number of commands, including time delays, using a single key press. There are two ways to create a Macro.
The first method using a TM751 that was set up previously:
•Press the Home Button.
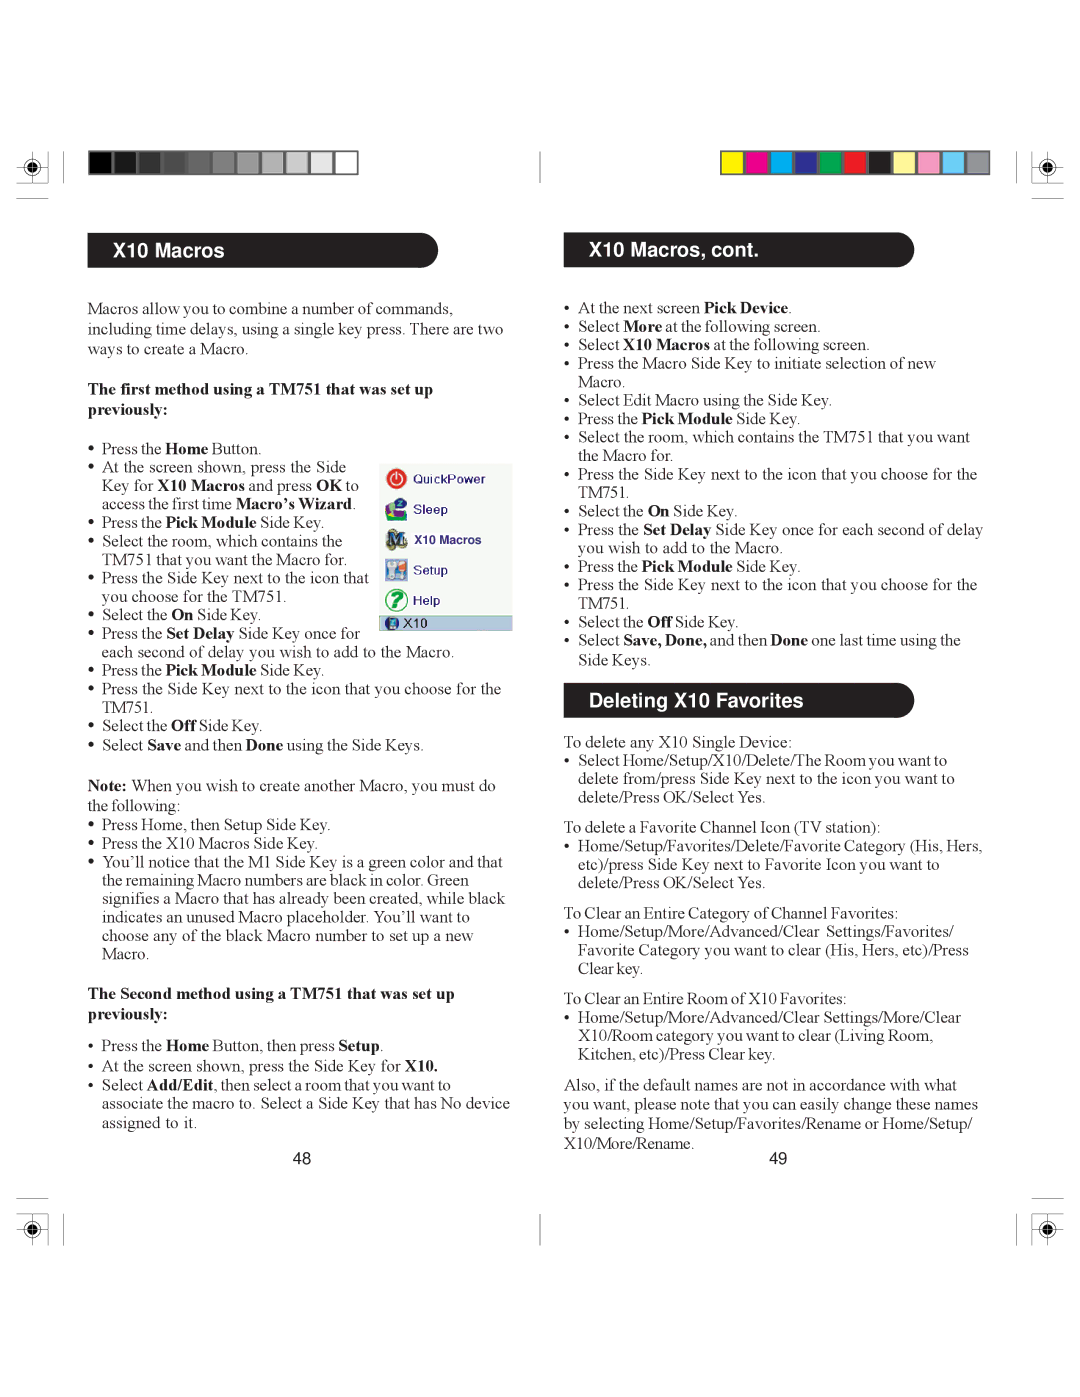
•At the screen shown, press the Side Key for X10 Macros and press OK to access the first time Macro’s Wizard.
•Press the Pick Module Side Key.
• Select the room, which contains the TM751 that you want the Macro for.
•Press the Side Key next to the icon that you choose for the TM751.
•Select the On Side Key.
•Press the Set Delay Side Key once for
each second of delay you wish to add to the Macro.
•Press the Pick Module Side Key.
•Press the Side Key next to the icon that you choose for the TM751.
•Select the Off Side Key.
•Select Save and then Done using the Side Keys.
Note: When you wish to create another Macro, you must do the following:
•Press Home, then Setup Side Key.
•Press the X10 Macros Side Key.
•You’ll notice that the M1 Side Key is a green color and that the remaining Macro numbers are black in color. Green signifies a Macro that has already been created, while black indicates an unused Macro placeholder. You’ll want to choose any of the black Macro number to set up a new Macro.
The Second method using a TM751 that was set up previously:
•Press the Home Button, then press Setup.
•At the screen shown, press the Side Key for X10.
•Select Add/Edit, then select a room that you want to associate the macro to. Select a Side Key that has No device assigned to it.
48
X10 Macros, cont.
•At the next screen Pick Device.
•Select More at the following screen.
•Select X10 Macros at the following screen.
•Press the Macro Side Key to initiate selection of new Macro.
•Select Edit Macro using the Side Key.
•Press the Pick Module Side Key.
•Select the room, which contains the TM751 that you want the Macro for.
•Press the Side Key next to the icon that you choose for the TM751.
•Select the On Side Key.
•Press the Set Delay Side Key once for each second of delay you wish to add to the Macro.
•Press the Pick Module Side Key.
•Press the Side Key next to the icon that you choose for the TM751.
•Select the Off Side Key.
•Select Save, Done, and then Done one last time using the Side Keys.
Deleting X10 Favorites
To delete any X10 Single Device:
•Select Home/Setup/X10/Delete/The Room you want to delete from/press Side Key next to the icon you want to delete/Press OK/Select Yes.
To delete a Favorite Channel Icon (TV station):
•Home/Setup/Favorites/Delete/Favorite Category (His, Hers, etc)/press Side Key next to Favorite Icon you want to delete/Press OK/Select Yes.
To Clear an Entire Category of Channel Favorites:
•Home/Setup/More/Advanced/Clear Settings/Favorites/ Favorite Category you want to clear (His, Hers, etc)/Press Clear key.
To Clear an Entire Room of X10 Favorites:
•Home/Setup/More/Advanced/Clear Settings/More/Clear X10/Room category you want to clear (Living Room, Kitchen, etc)/Press Clear key.
Also, if the default names are not in accordance with what you want, please note that you can easily change these names by selecting Home/Setup/Favorites/Rename or Home/Setup/ X10/More/Rename.
49
