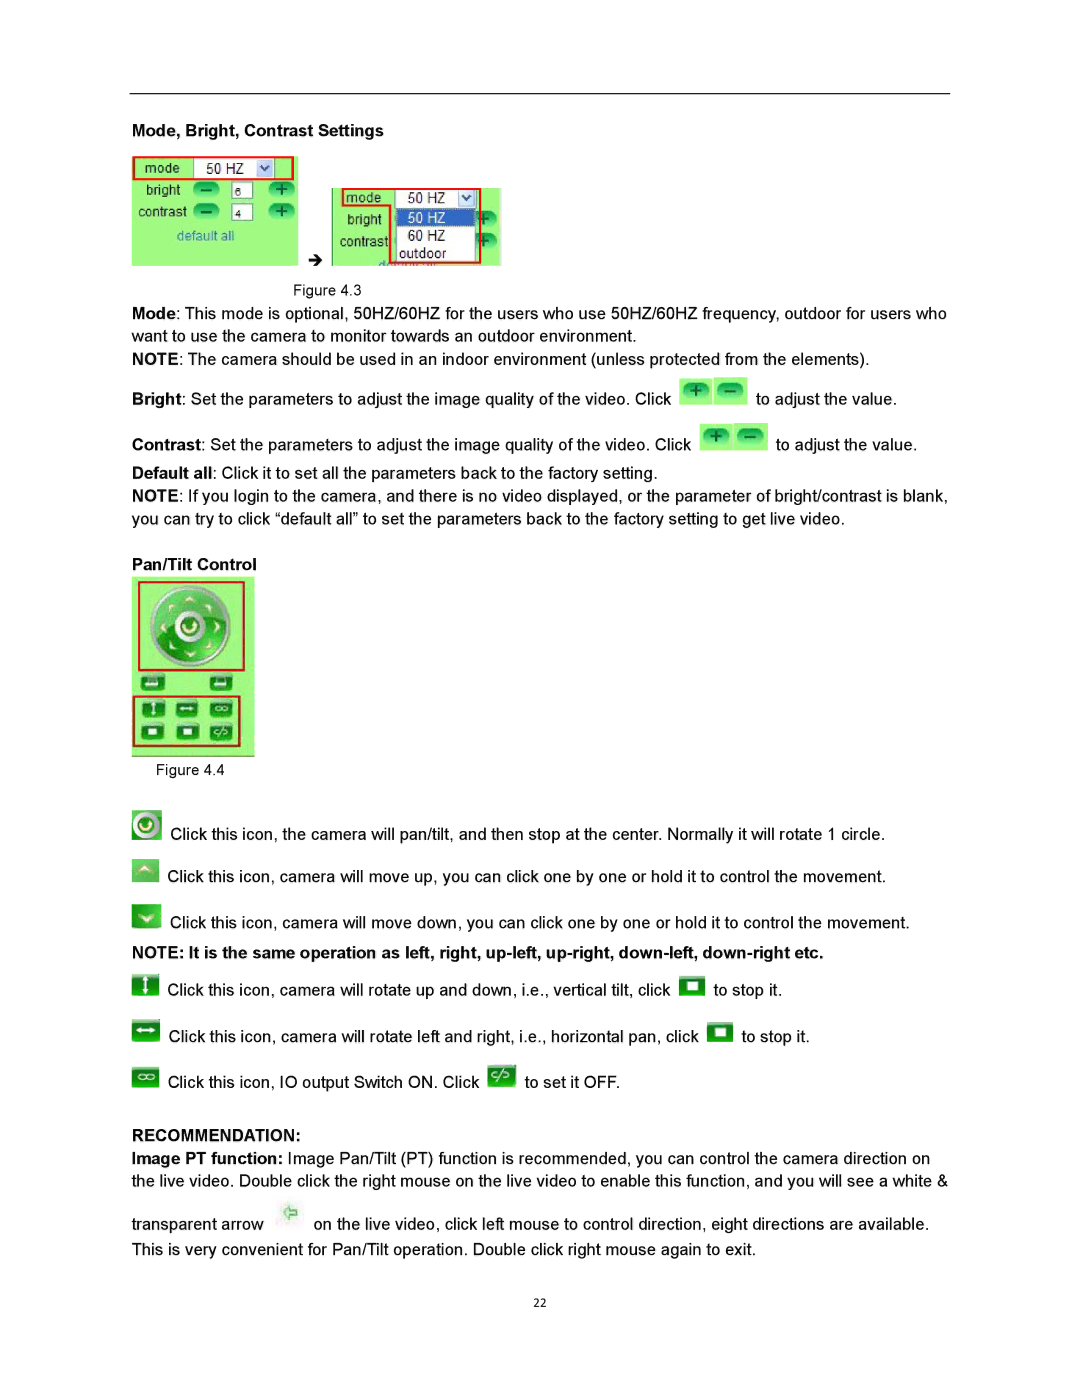
Mode, Bright, Contrast Settings

Figure 4.3
Mode: This mode is optional, 50HZ/60HZ for the users who use 50HZ/60HZ frequency, outdoor for users who want to use the camera to monitor towards an outdoor environment.
NOTE: The camera should be used in an indoor environment (unless protected from the elements).
Bright: Set the parameters to adjust the image quality of the video. Click ![]() to adjust the value.
to adjust the value.
Contrast: Set the parameters to adjust the image quality of the video. Click ![]() to adjust the value.
to adjust the value.
Default all: Click it to set all the parameters back to the factory setting.
NOTE: If you login to the camera, and there is no video displayed, or the parameter of bright/contrast is blank, you can try to click “default all” to set the parameters back to the factory setting to get live video.
Pan/Tilt Control
Figure 4.4
![]() Click this icon, the camera will pan/tilt, and then stop at the center. Normally it will rotate 1 circle.
Click this icon, the camera will pan/tilt, and then stop at the center. Normally it will rotate 1 circle.
![]() Click this icon, camera will move up, you can click one by one or hold it to control the movement.
Click this icon, camera will move up, you can click one by one or hold it to control the movement.
![]() Click this icon, camera will move down, you can click one by one or hold it to control the movement.
Click this icon, camera will move down, you can click one by one or hold it to control the movement.
NOTE: It is the same operation as left, right,
![]() Click this icon, camera will rotate up and down, i.e., vertical tilt, click
Click this icon, camera will rotate up and down, i.e., vertical tilt, click ![]() to stop it.
to stop it.
![]() Click this icon, camera will rotate left and right, i.e., horizontal pan, click
Click this icon, camera will rotate left and right, i.e., horizontal pan, click ![]() to stop it.
to stop it.
![]() Click this icon, IO output Switch ON. Click
Click this icon, IO output Switch ON. Click ![]() to set it OFF.
to set it OFF.
RECOMMENDATION:
Image PT function: Image Pan/Tilt (PT) function is recommended, you can control the camera direction on the live video. Double click the right mouse on the live video to enable this function, and you will see a white &
transparent arrow ![]() on the live video, click left mouse to control direction, eight directions are available. This is very convenient for Pan/Tilt operation. Double click right mouse again to exit.
on the live video, click left mouse to control direction, eight directions are available. This is very convenient for Pan/Tilt operation. Double click right mouse again to exit.
22
