HTR-6060 specifications
The Yamaha HTR-6060 is a versatile and powerful home theater receiver that stands out for its impressive performance and array of advanced features. Designed to deliver a superior audio and visual experience, this receiver is suitable for both cinephiles and music enthusiasts alike.At the heart of the HTR-6060 is its 7.2-channel amplifier, capable of delivering up to 100 watts per channel. This robust amplification capacity allows users to enjoy dynamic sound that fills a large room, making it ideal for home theater setups. The receiver is equipped with a comprehensive array of connectivity options, including multiple HDMI inputs, which support 4K Ultra HD video and with HDR pass-through for an enhanced viewing experience.
One of the standout features of the HTR-6060 is its support for various surround sound formats. It offers Dolby TrueHD and DTS-HD Master Audio, ensuring high-resolution audio playback that brings movies and music to life. The inclusion of Yamaha’s proprietary CINEMA DSP technology adds depth and richness to soundtracks, creating an immersive sound field that transports viewers into the story.
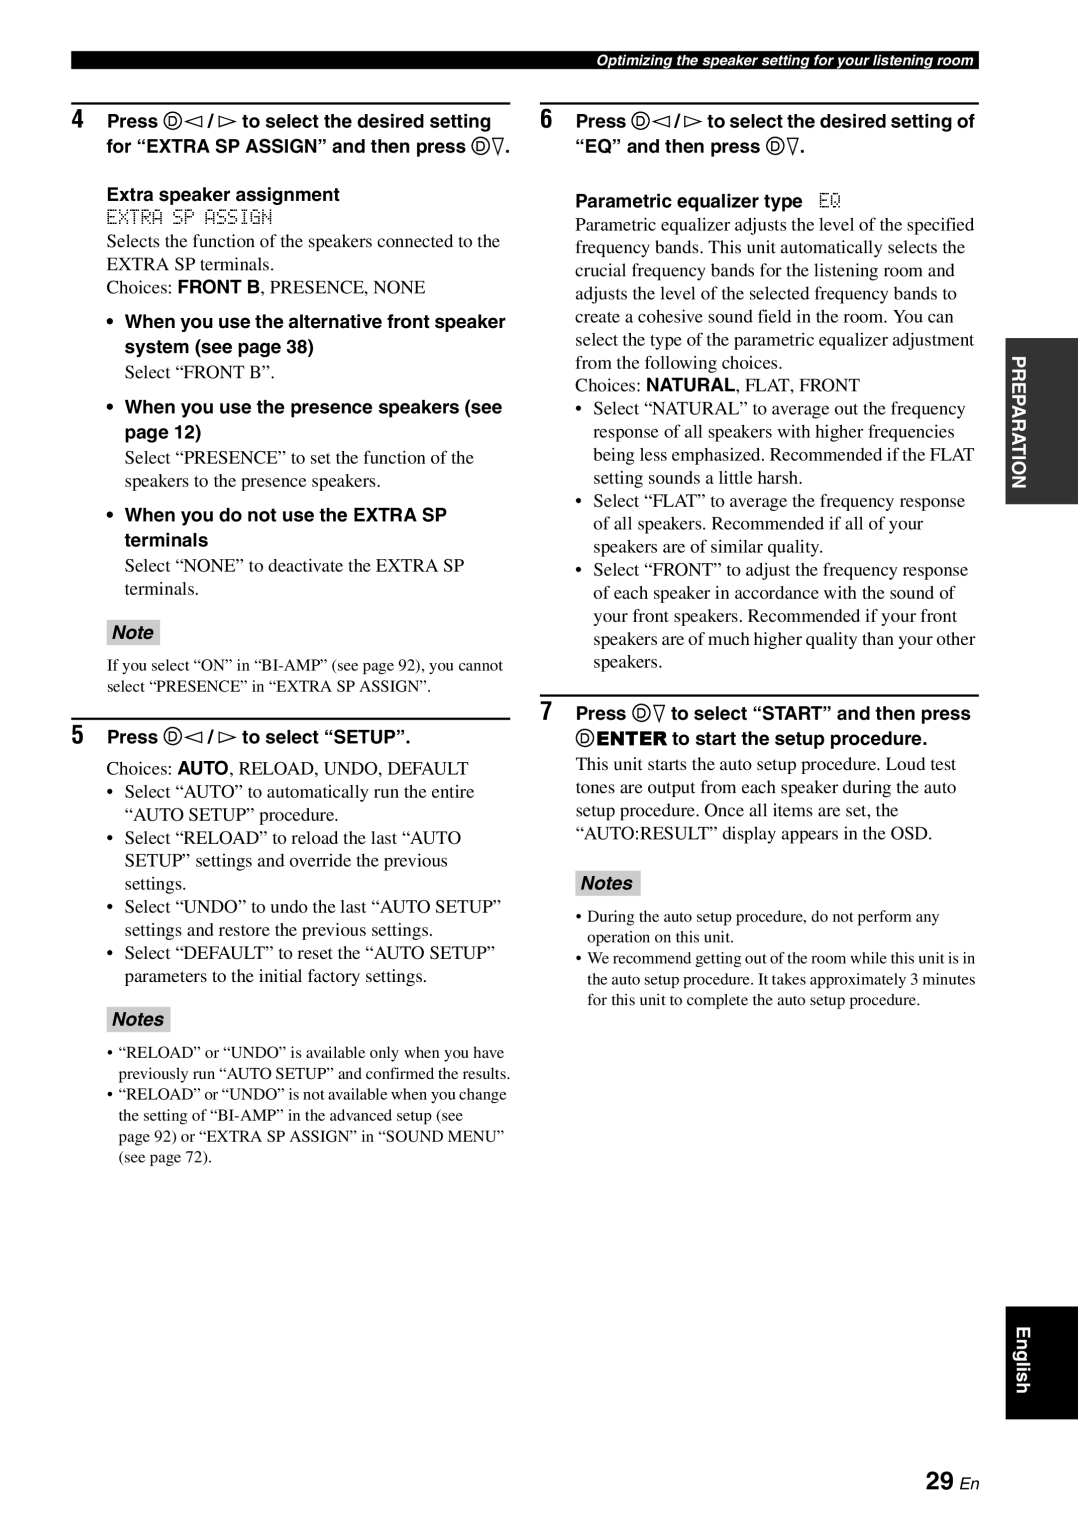
Yamaha’s YPAO (Yamaha Parametric room Acoustic Optimizer) feature is another key characteristic. This technology analyzes the room’s acoustics and automatically calibrates speaker settings for optimal performance, ensuring that users achieve the best possible sound regardless of their room’s layout. With YPAO, the receiver fine-tunes settings for each speaker, balancing volumes and frequencies to harmonize the listening experience.
The HTR-6060 is also equipped with Zone 2 and Zone 3 audio capabilities, allowing users to extend their listening experience beyond the main room. This feature makes it easy to distribute audio to different areas of the home, providing flexibility for parties or gatherings.
In terms of usability, the HTR-6060 includes a user-friendly interface and an informative on-screen display. The remote control is intuitive, putting all key functions at the user’s fingertips, further enhancing the overall experience.
In conclusion, the Yamaha HTR-6060 is a powerful home theater receiver that combines cutting-edge technology with user-friendly features. With its excellent audio performance, advanced surround sound formats, and versatile connectivity options, it offers an outstanding experience for any home entertainment setup. Whether it’s for movies, music, or gaming, the HTR-6060 is engineered to deliver exceptional sound quality that meets the demands of modern audio consumption.

