Officejet 4610/4620
Page
Contents
Where is the user guide?
Detailed instructions for using the printer
Use the printer
English
HP Digital Solutions
Scan to Computer
HP Digital Fax Fax to PC and Fax to Mac
Learn more
Set up HP ePrint
HP ePrint
Use HP ePrint
HP ePrint guidelines
English Finding your HP ePrint email address
Update the printer
Remove Web Services
Button
Set up and use fax
Set up fax
Finding fax setup information
Connect the printer to the phone line
English Before you begin…
What is a distinctive ring service?
Connecting to a DSL/ADSL line
Connecting additional equipment
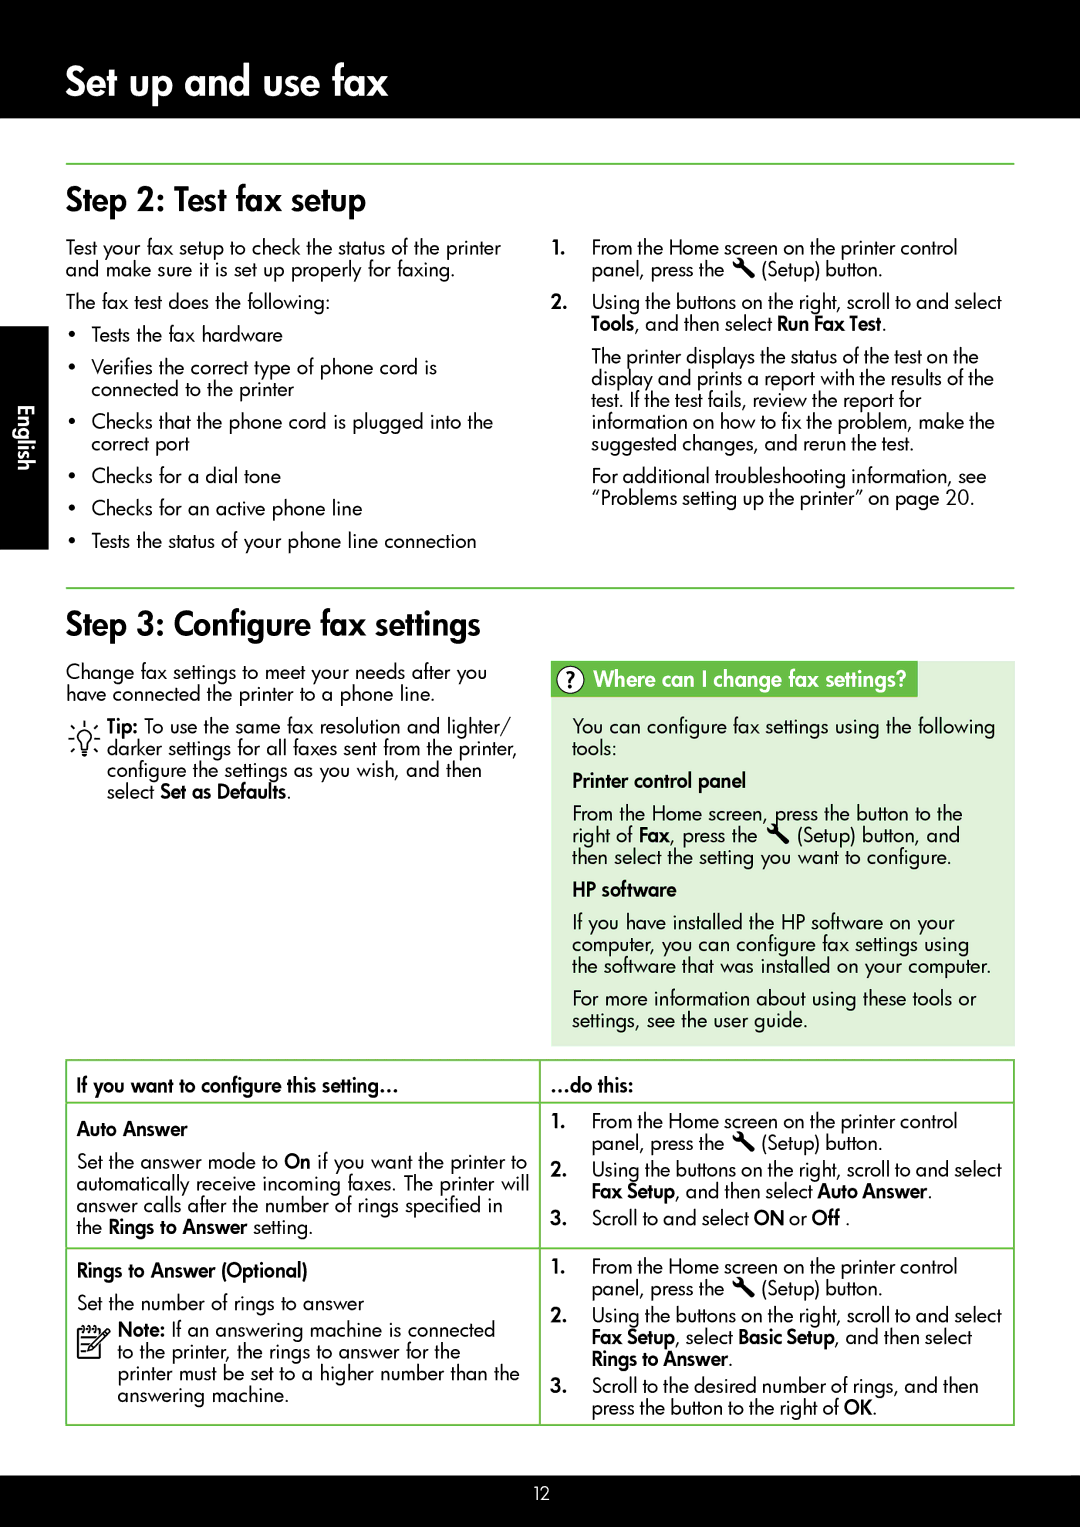
Test fax setup
Configure fax settings
Where can I change fax settings?
Fax Setup, select Basic Setup, and then select
Fax Setup, select Advanced Setup, and then
Panel, press Setup button
Printer and other fax machines when sending
On the same telephone line. You can change
This section, you will learn how to send and receive faxes
Use fax
Send faxes
Send a fax from the printer control panel
Faxes and your voice mail service
Receive faxes
Receive a fax automatically
Receive a fax manually
Working with reports and logs
Reprint received faxes from memory
To print a report
Fax and digital phone services
Set up wireless 802.11 communication
Install software for your printer
What is my wireless network name and password?
Test the wireless connection
Change the connection type
Windows
Mac OS
Solve setup problems
Problems setting up the printer
How do I install the user guide?
Problems installing the software
Problems setting up fax
Check the fax setup
Check the list of possible problems
Printer is having problems sending and receiving faxes
Printer can send faxes but cannot receive faxes
After resolving the problems…
Printer cannot send faxes but can receive faxes
Venezuela Vietnam
Make sure the wireless 802.11 light is turned on
Restart components of the wireless network
Run the Wireless Test Report
Make sure the computer is connected to the network
Problems using HP ePrint
Use the embedded web server EWS
To open the EWS
HP limited warranty statement
Hewlett-Packard limited warranty statement
Page
Consignes de sécurité Français
Être réalisé par lutilisateur
Utilisation de limprimante
Français Où trouver le guide de lutilisateur ?
Charge sils sont disponibles pour limprimante
Instructions détaillées pour lutilisation de limprimante
Solutions numériques HP
Numériser vers un ordinateur
Informations supplémentaires
Configuration de HP ePrint
Pour configurer HP ePrint, procédez comme suit
Informations supplémentaires Français
Utilisation de HP ePrint
Directives HP ePrint
Suppression des services Web
Mise à jour de limprimante
Installation et utilisation du télécopieur
Configuration du télécopieur
Obtention des informations de configuration du télécopieur
Étape 1 Connexion de limprimante à la ligne téléphonique
Français Avant de commencer
Quest-ce quun service de sonnerie distincte ?
Connexion à une ligne DSL/ADSL
Français Connexion déquipements supplémentaires
Étape 2 Test de la configuration du télécopieur
Étape 3 Configuration des paramètres de télécopie
Où puis-je modifier les paramètres de télécopie ?
Si limprimante détecte un signal derreur pendant
Téléphonique par satellite Volume
Modifiez le volume des sons de limprimante, y
Vitesse de télécopie
Utilisation du télécopieur
Envoi de télécopies
Envoi dune télécopie depuis un téléphone personnel
Télécopies et service de messagerie vocale
Réception dune télécopie en mode automatique
Réception dune télécopie en mode manuel
Réception de télécopies
Utilisation de rapports et de journaux
Réimpression des télécopies reçues en mémoire
Pour imprimer un rapport
Pour effacer le journal de télécopies
Services de télécopie et de téléphonie numérique
Configuration de la communication sans fil
Étape 1 Installation du logiciel de votre imprimante
Pour établir une connexion sans
Mac OS X Double-cliquez sur licône
Étape 2 Test de la connexion sans fil
Changement de type de connexion
Résolution des problèmes de configuration
Problèmes de configuration de limprimante
Comment puis-je installer le guide de lutilisateur ?
Problèmes liés à linstallation du logiciel
Problèmes de configuration du télécopieur
Étape 1 Vérification de la configuration de limprimante
Étape 2 Consultez la liste des problèmes possibles
Vérifiez quaucun téléphone secondaire
Une fois les problèmes résolus
Est situé dans le dossier Hewlett-Packard
Dans le dossier Applications au sommet de
Connexion que vous souhaitez utiliser Instructions à lécran
Étape 2 Assurez-vous que lordinateur est connecté au réseau
Étape 3 Redémarrez les composants du réseau sans fil
Étape 4 Exécutez le rapport test sans fil
Réduction des interférences
Problèmes liés à lutilisation de HP ePrint
Pour vous connecter à limprimante, déconnectez-vous du VPN
Utilisation du serveur Web intégré EWS
Pour ouvrir le serveur Web intégré
Obtenez ladresse IP ou le nom dhôte de limprimante
Déclaration de garantie limitée HP
Déclaration de garantie limitée Hewlett-Packard
Page
Información de seguridad
Español
Uso de la impresora
Español ¿Dónde se encuentra la guía del usuario?
Encuentran disponibles para la impresora
Instrucciones detalladas para el uso de la impresora
Soluciones digitales HP
Escanear a PC
Fax digital HP Fax a PC y Fax a Mac
Más información
Configuración de HP ePrint
Más información Español
Uso de HP ePrint
Pautas de HP ePrint
Actualización de la impresora
Eliminación de servicios web
En el panel de control de la impresora, pulse el Botón
Configurar y usar el fax
Configurar para fax
Búsqueda de información de configuración de fax
Paso 1 Conecte la impresora a la línea telefónica
Español Antes de comenzar…
¿Qué es un servicio de timbre especial?
Conexión a línea DSL/ADSL
Conexión de equipo adicional
Paso 2 Prueba de la configuración de fax
Paso 3 Configure los ajustes de fax
¿Dónde puedo cambiar los ajustes de fax?
Después de la cantidad de timbres estipulada en la
La impresora, presione el botón Configurar
Seleccione Configuración de fax, seleccione
Externas, debe llamar al número de fax desde
Usar el fax
Enviar faxes
Enviar un fax desde el panel de control de la impresora
Enviar un fax desde una extensión
Recibir faxes
Faxes y servicio de correo de voz
Recibir un fax automáticamente
Recepción de un fax manualmente
Trabajo con informes y registros
Reimpresión de faxes recibidos desde la memoria
Para imprimir un informe
Para borrar el registro de fax
Fax y servicios telefónicos digitales
Configuración de comunicación inalámbrica
Paso 1 Instale el software de la impresora
¿Cuál es el nombre de mi red inalámbrica y contraseña?
Impresión inalámbrica HP
Paso 2 Pruebe la conexión inalámbrica
Cambio del tipo de conexión
Español Windows
Resolver problemas de configuración
Problemas para configurar la impresora
Español ¿Cómo instalo la guía del usuario?
Página
Problemas durante la instalación del software
Problemas para configurar el fax
Paso 1 Compruebe la configuración del fax
Paso 2 Revise la lista de posibles problemas
La impresora puede enviar faxes pero no recibirlos
Español Después de resolver los problemas
La impresora no puede enviar faxes pero sí recibirlos
Paso 2. Asegúrese de que el equipo esté conectado a la red
Paso 3 Reinicie los componentes de la red inalámbrica
Paso 4 Ejecutar el informe de prueba inalámbrica
Reducción de la interferencia
Problemas al utilizar HP ePrint
Uso del servidor web incorporado EWS
Para abrir el EWS
Declaración de garantía limitada de HP
Declaración de garantía limitada de Hewlett-Packard
CR771-90049* *CR771-90049

 Where can I change fax settings?