Step 3: Press SCENE 1 button
Check the type of the connected speakers.
If the speakers are 6 ohm speakers, set “SP IMP.” to “6Ω MIN” before using this unit (see page 23).
1Turn on the video monitor and then set the input source selector of the video monitor to this unit.
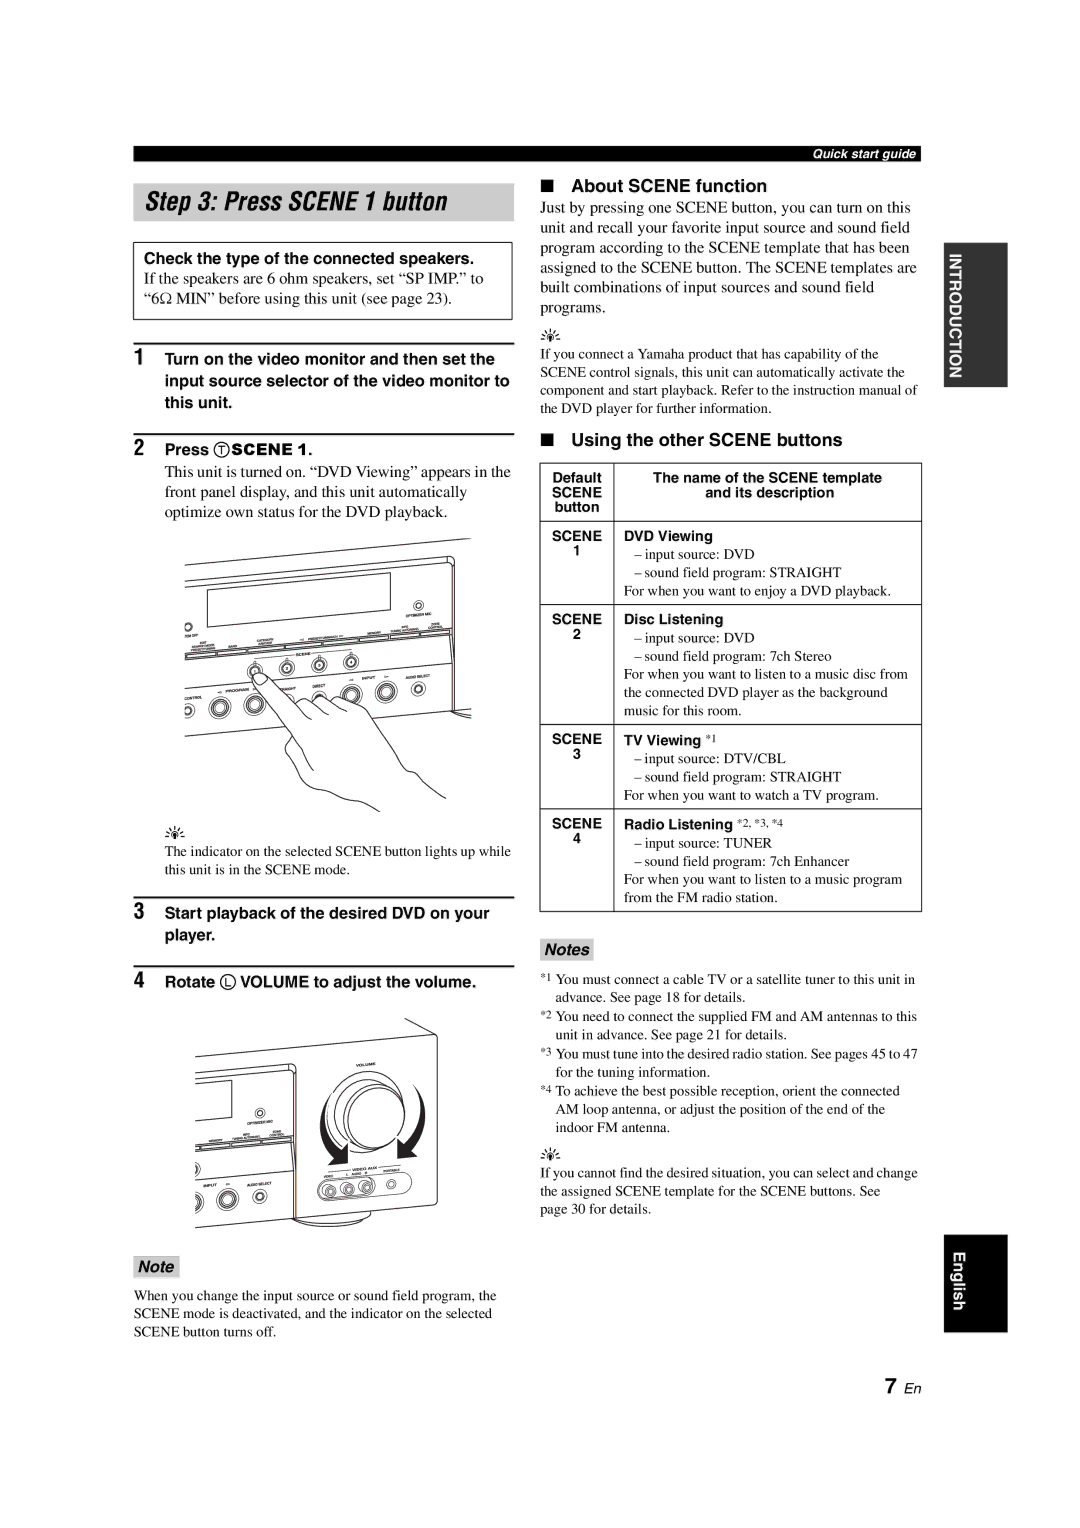
2Press T SCENE 1.
This unit is turned on. “DVD Viewing” appears in the front panel display, and this unit automatically optimize own status for the DVD playback.
y
The indicator on the selected SCENE button lights up while this unit is in the SCENE mode.
3Start playback of the desired DVD on your player.
4Rotate L VOLUME to adjust the volume.
Quick start guide
■About SCENE function
Just by pressing one SCENE button, you can turn on this unit and recall your favorite input source and sound field program according to the SCENE template that has been assigned to the SCENE button. The SCENE templates are built combinations of input sources and sound field programs.
y
If you connect a Yamaha product that has capability of the SCENE control signals, this unit can automatically activate the component and start playback. Refer to the instruction manual of the DVD player for further information.
■Using the other SCENE buttons
Default | The name of the SCENE template |
SCENE | and its description |
button |
|
|
|
SCENE | DVD Viewing |
1 | – input source: DVD |
| – sound field program: STRAIGHT |
| For when you want to enjoy a DVD playback. |
|
|
SCENE | Disc Listening |
2 | – input source: DVD |
| – sound field program: 7ch Stereo |
| For when you want to listen to a music disc from |
| the connected DVD player as the background |
| music for this room. |
|
|
SCENE | TV Viewing *1 |
3 | – input source: DTV/CBL |
| |
| – sound field program: STRAIGHT |
| For when you want to watch a TV program. |
|
|
SCENE | Radio Listening *2, *3, *4 |
4 | – input source: TUNER |
| |
| – sound field program: 7ch Enhancer |
| For when you want to listen to a music program |
| from the FM radio station. |
|
|
Notes
*1 You must connect a cable TV or a satellite tuner to this unit in advance. See page 18 for details.
*2 You need to connect the supplied FM and AM antennas to this unit in advance. See page 21 for details.
*3 You must tune into the desired radio station. See pages 45 to 47 for the tuning information.
*4 To achieve the best possible reception, orient the connected
AM loop antenna, or adjust the position of the end of the indoor FM antenna.
y
If you cannot find the desired situation, you can select and change the assigned SCENE template for the SCENE buttons. See page 30 for details.
INTRODUCTION
Note
When you change the input source or sound field program, the SCENE mode is deactivated, and the indicator on the selected SCENE button turns off.
English
7 En
