Replacing the Print Head
In the event you need to replace the print head, make sure your work area is prepared by protecting against static discharge. Your work area must be
Removal
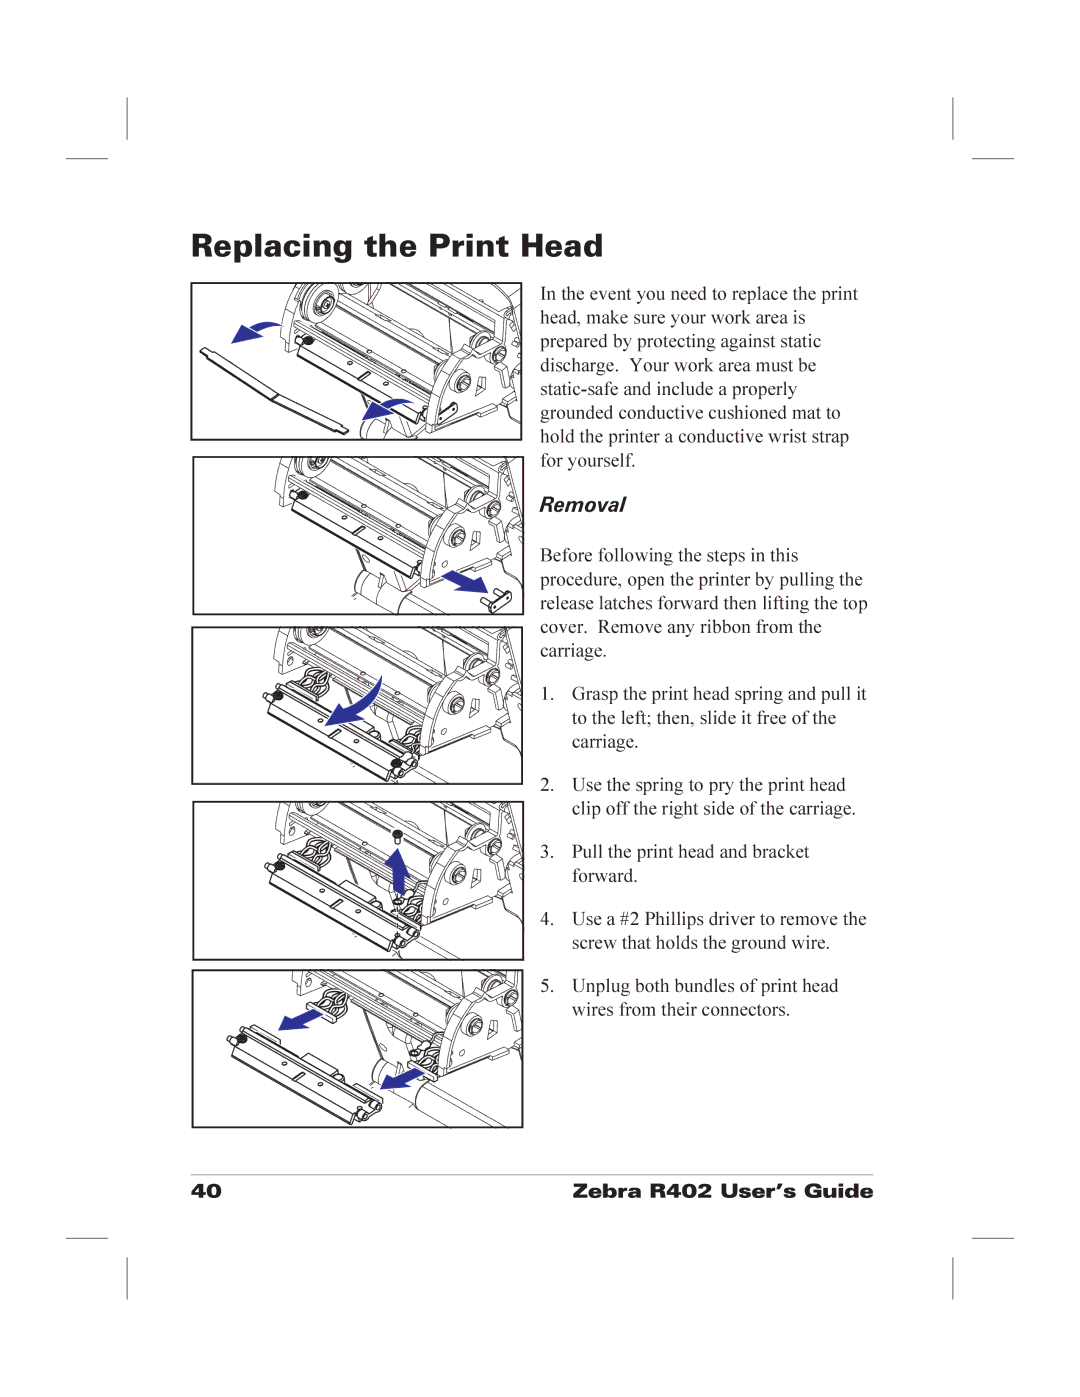
Before following the steps in this procedure, open the printer by pulling the release latches forward then lifting the top cover. Remove any ribbon from the carriage.
1. Grasp the print head spring and pull it
to the left; then, slide it free of the carriage.
2. Use the spring to pry the print head clip off the right side of the carriage.
3. Pull the print head and bracket forward.
4. Use a #2 Phillips driver to remove the screw that holds the ground wire.
5. Unplug both bundles of print head wires from their connectors.