Installer’s Menus
Use the Installer Menu to set up or change operational settings
See descriptions of the Installer items on the following pages...
Accessing the Installer’s Menu
Installer’s menu items can be accessed by using the optional LP702 installer’s remote control. Just press and hold MENU (about 8 seconds) until the display changes, then press 9, 8, 7, 6, then ENTER. To exit the Installer’s Menu, press ENTER again. Any changes you make will be stored in nonvolatile memory.
The Installer’s menu opens with item
Using the Installer’s Menu
Items
Installer Menu Items
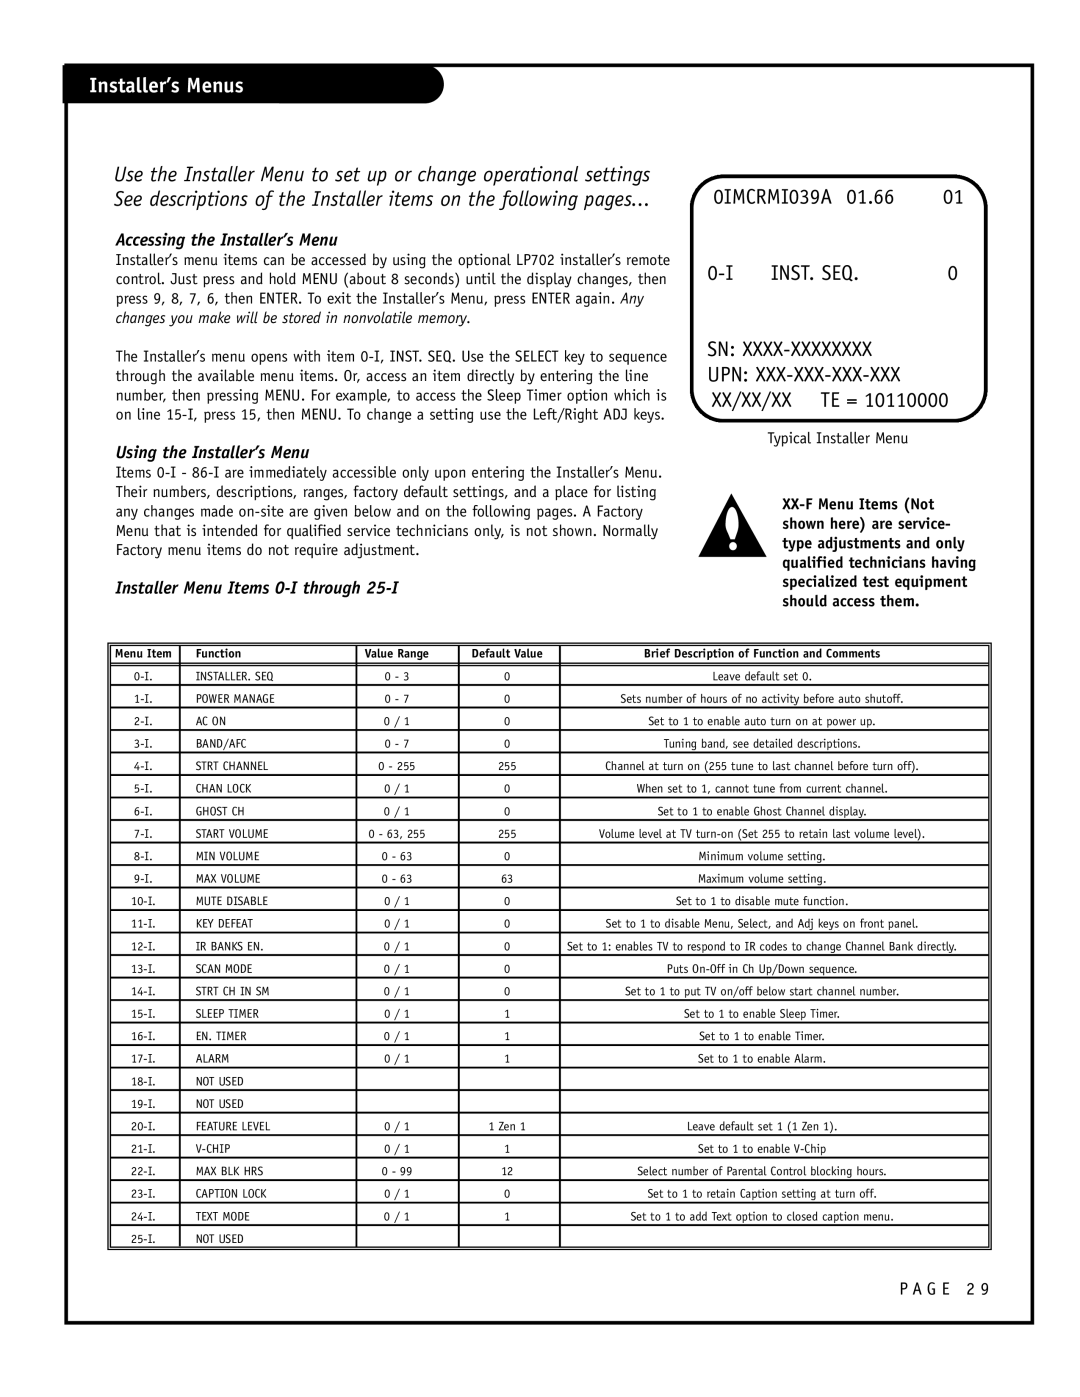
0IMCRMI039A 01.66 | 01 | |
INST. SEQ. | 0 | |
SN:
UPN: XXX-XXX-XXX-XXX XX/XX/XX TE = 10110000
Typical Installer Menu
Menu Item | Function | Value Range | Default Value | Brief Description of Function and Comments |
|
|
|
|
|
INSTALLER. SEQ | 0 - 3 | 0 | Leave default set 0. | |
POWER MANAGE | 0 - 7 | 0 | Sets number of hours of no activity before auto shutoff. | |
AC ON | 0 / 1 | 0 | Set to 1 to enable auto turn on at power up. | |
BAND/AFC | 0 - 7 | 0 | Tuning band, see detailed descriptions. | |
STRT CHANNEL | 0 - 255 | 255 | Channel at turn on (255 tune to last channel before turn off). | |
CHAN LOCK | 0 / 1 | 0 | When set to 1, cannot tune from current channel. | |
GHOST CH | 0 / 1 | 0 | Set to 1 to enable Ghost Channel display. | |
START VOLUME | 0 - 63, 255 | 255 | Volume level at TV | |
MIN VOLUME | 0 - 63 | 0 | Minimum volume setting. | |
MAX VOLUME | 0 - 63 | 63 | Maximum volume setting. | |
MUTE DISABLE | 0 / 1 | 0 | Set to 1 to disable mute function. | |
KEY DEFEAT | 0 / 1 | 0 | Set to 1 to disable Menu, Select, and Adj keys on front panel. | |
IR BANKS EN. | 0 / 1 | 0 | Set to 1: enables TV to respond to IR codes to change Channel Bank directly. | |
SCAN MODE | 0 / 1 | 0 | Puts | |
STRT CH IN SM | 0 / 1 | 0 | Set to 1 to put TV on/off below start channel number. | |
SLEEP TIMER | 0 / 1 | 1 | Set to 1 to enable Sleep Timer. | |
EN. TIMER | 0 / 1 | 1 | Set to 1 to enable Timer. | |
ALARM | 0 / 1 | 1 | Set to 1 to enable Alarm. | |
NOT USED |
|
|
| |
NOT USED |
|
|
| |
FEATURE LEVEL | 0 / 1 | 1 Zen 1 | Leave default set 1 (1 Zen 1). | |
0 / 1 | 1 | Set to 1 to enable | ||
MAX BLK HRS | 0 - 99 | 12 | Select number of Parental Control blocking hours. | |
CAPTION LOCK | 0 / 1 | 0 | Set to 1 to retain Caption setting at turn off. | |
TEXT MODE | 0 / 1 | 1 | Set to 1 to add Text option to closed caption menu. | |
NOT USED |
|
|
| |
|
|
|
|
|
P A G E 2 9