There are four color temperature* settings are available.
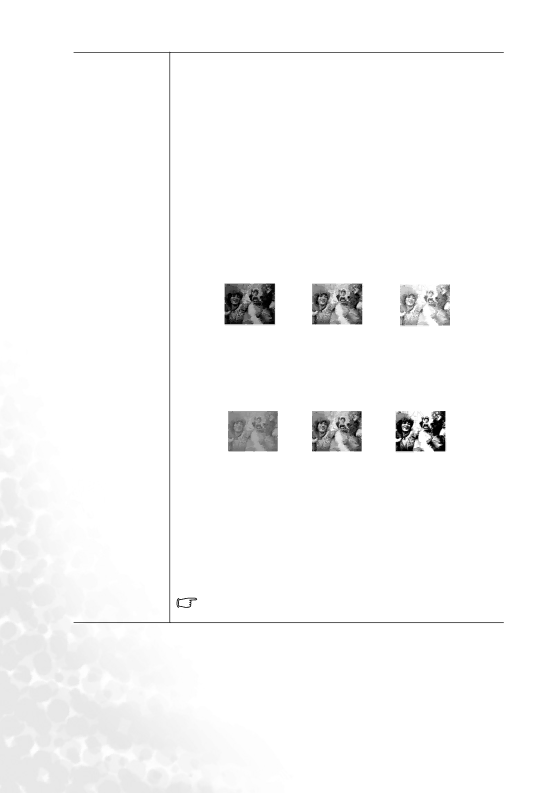
1.T1: With the highest color temperature, T1 makes the image appear the most bluish white than other settings.
Color Temp | 2. T2: Makes images appear bluish white. |
|
|
|
|
|
| ||||||||||||||||||
(depends on | 3. T3: Maintains normal colorings for white. |
|
|
|
|
|
| ||||||||||||||||||
the selected | 4. T4: Makes images appear reddish white. |
|
|
|
|
|
| ||||||||||||||||||
Application | *About color temperatures: |
|
|
|
|
|
|
|
|
|
|
| |||||||||||||
mode) | There are many different shades that are considered to be “white” for | ||||||||||||||||||||||||
| various purposes. One of the common methods of representing white | ||||||||||||||||||||||||
| color is known as the “color temperature”. A white color with a low color | ||||||||||||||||||||||||
| temperature appears to be reddish white. A white color with a high color | ||||||||||||||||||||||||
| temperature appears to have more blue in it. |
|
|
|
|
|
| ||||||||||||||||||
|
|
|
|
|
|
|
|
|
|
|
|
|
|
|
|
|
|
|
|
|
|
|
|
|
|
| Adjusts the brightness of the image. The higher the value, the brighter | ||||||||||||||||||||||||
| the image. And lower the setting, darker the image. Adjust this control | ||||||||||||||||||||||||
Brightness | so the black areas of the image appear just as black and that detail in the | ||||||||||||||||||||||||
dark areas is visible. |
|
|
|
|
|
|
|
|
|
|
| ||||||||||||||
(depends on |
|
|
|
|
|
|
|
|
|
|
| ||||||||||||||
|
|
|
|
|
|
|
|
|
|
|
|
|
|
|
|
|
|
|
|
|
|
|
|
| |
|
|
|
|
|
|
|
|
|
|
|
|
|
|
|
|
|
|
|
|
|
|
|
|
| |
the selected |
|
|
|
|
|
|
|
|
|
|
|
|
|
|
|
|
|
|
|
|
|
|
|
|
|
input source) |
|
|
|
|
|
|
|
|
|
|
|
|
|
|
|
|
|
|
|
|
|
|
|
|
|
|
|
|
|
|
|
|
|
|
|
|
|
|
|
|
|
|
|
|
|
|
|
|
|
|
|
|
|
|
|
|
|
|
|
|
|
| 50 |
|
|
|
|
| +70 | ||||||||
|
|
|
|
|
|
|
|
|
|
|
|
|
|
| |||||||||||
|
|
|
|
|
|
|
|
|
|
|
|
|
|
|
|
|
|
|
|
|
|
|
|
|
|
| Adjusts the degree of difference between dark and light in the image. | ||||||||||||||||||||||||
Contrast | The higher the value, the greater the contrast. Use this to set the peak | ||||||||||||||||||||||||
white level after you have previously adjusted the Brightness setting to | |||||||||||||||||||||||||
| suit your selected input and viewing environment. |
|
|
|
|
|
| ||||||||||||||||||
(depends on |
|
|
|
|
|
|
|
|
|
|
|
|
|
|
|
|
|
|
|
|
|
|
|
|
|
|
|
|
|
|
|
|
|
|
|
|
|
|
|
|
|
|
|
|
|
|
|
|
|
| |
the selected |
|
|
|
|
|
|
|
|
|
|
|
|
|
|
|
|
|
|
|
|
|
|
|
|
|
input source) |
|
|
|
|
|
|
|
|
|
|
|
|
|
|
|
|
|
|
|
|
|
|
|
|
|
|
|
|
|
|
|
|
|
|
|
|
|
|
|
|
|
|
|
|
|
| |||||
|
|
|
|
|
|
|
|
|
| 50 |
|
|
|
| +70 |
| |||||||||
|
|
|
|
|
|
|
|
|
|
|
|
|
|
|
|
|
|
|
|
|
|
|
|
|
|
Color | Increases or decreases the color intensity of the image. |
|
|
|
|
|
| ||||||||||||||||||
(depends on |
|
|
|
|
|
|
|
|
|
|
|
|
|
|
|
|
|
|
|
|
|
|
|
|
|
the selected |
|
|
|
|
|
|
|
|
|
|
|
|
|
|
|
|
|
|
|
|
|
|
|
|
|
input source) |
|
|
|
|
|
|
|
|
|
|
|
|
|
|
|
|
|
|
|
|
|
|
|
|
|
|
|
|
|
|
|
|
|
|
|
|
|
|
|
|
|
|
|
|
|
|
|
|
|
|
|
| Adjusts the color tones of the image. The higher the value, the more | ||||||||||||||||||||||||
| greenish the image becomes. The lower the value, the more reddish the | ||||||||||||||||||||||||
Tint (50) | image becomes. |
|
|
|
|
|
|
|
|
|
|
| |||||||||||||
|
|
|
|
|
|
|
|
|
|
|
|
|
|
|
|
|
|
|
|
|
|
|
|
| |
|
|
| When a Video or | ||||||||||||||||||||||
|
|
| |||||||||||||||||||||||
|
|
| available with NTSC system selected. |
|
|
|
|
|
| ||||||||||||||||
34 Operation