30![]()
![]()
![]() EN
EN![]()
![]()
![]()
![]()
![]()
![]()
![]()
![]()
![]()
![]()
![]()
![]()
![]()
![]()
![]()
![]()
![]()
![]()
![]()
![]()
![]()
![]()
![]()
![]()
![]()
![]()
![]()
![]()
![]()
![]()
![]()
![]()
![]()
![]()
![]()
![]()
![]()
![]()
![]()
![]()
![]()
![]()
![]()
![]()
![]()
![]()
![]()
![]()
![]()
![]()
![]()
![]()
![]()
![]()
![]()
![]()
![]()
![]()
![]()
![]()
![]()
![]()
![]()
![]()
![]()
![]()
![]()
![]()
![]()
![]()
![]()
![]()
![]()
![]()
![]()
![]()
![]()
![]()
![]()
![]()
![]()
![]()
![]() EDITING
EDITING![]()
![]()
![]()
Edit To Or
From Another
Video
Recorder
| 2 |
|
1 | 2 | 3 |
4 | 5 | 6 |
7 | 8 | 9 |
NUMBER "0" | 0 | 4 |
|
|
TV PROG.
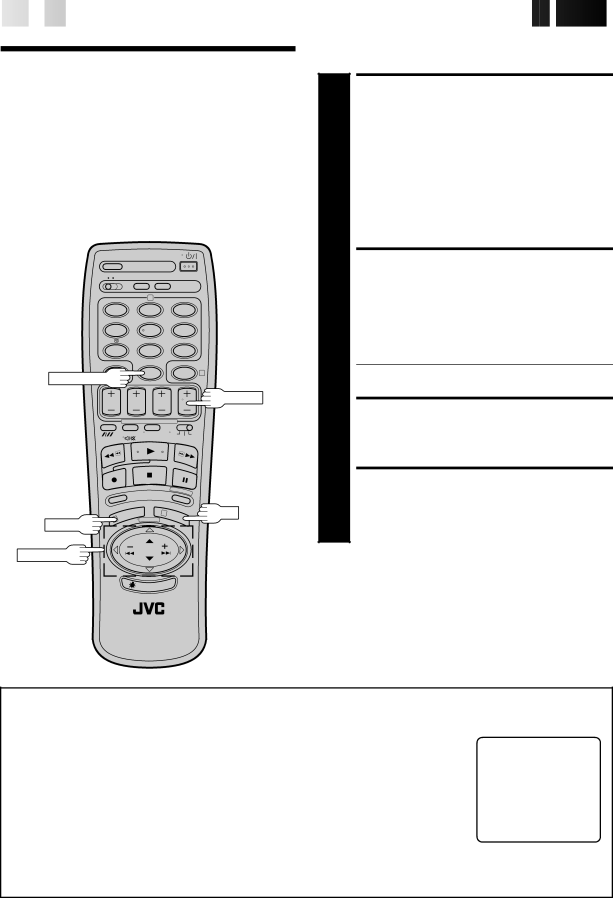
3 | OK |
MENU | 1 |
|
PUSH JOG
You can use your video recorder as the source player or the recording deck.
| MAKE CONNECTIONS |
| Connect the player’s |
| recorder’s |
1 page 31. | |
| When Using Your Video Recorder As The Source |
| Player . . . |
| . . . connect its AV1 IN/OUT connector to the recording |
| deck. |
| When Using Your Video Recorder As The Recording |
| Deck . . . |
. | . . . connect its AV2 IN/DECODER or AV1 IN/OUT |
| connector to the source player. |
SET RECORDING DECK’S INPUT MODE
2 Set to AUX. With this video recorder, press NUMBER key "0" and/or TV PROG. to select depending on the connector being used —
● When using the AV2 IN/DECODER connector, make sure "AV2 SELECT" is set to "AV2" (see below).
START SOURCE PLAYER
3 Engage its Play mode.
START RECORDING DECK
4 Engage its Record mode.
NOTE:
All necessary cables can be obtained from your dealer.
AV2 SELECT Setting
1Press MENU twice to access the Main Menu screen.
2Press PUSH JOG %Þto move the highlight bar (pointer) to "MODE SET", then press OK.
3Press PUSH JOG %Þto move the highlight bar (pointer) to "AV2 SELECT".
4Press PUSH JOG Þ to move the highlight bar (pointer) to your choice:
5 Press MENU to return to normal screen.
MODE SET
AUTO TIMER | : OFF |
O. S. D. | : ON |
B. E. S. T. | : ON |
AV2 SELECT | : AV2 |
● If you have a decoder, be sure to set "AV2 SELECT" back to "DECODER" after editing. | [5°] = [5] : AV2/DECODER |
[MENU] : EXIT |
●If you're not using a decoder, leave "AV2 SELECT" set to "AV2".
●The default setting is "AV2"; if the recorder's memory backup has expired due to a power cut or because the AC was removed from the recorder, "AV2" will be automatically selected when the power is restored to the recorder. If you are using a decoder, be sure to set "AV2 SELECT" back to "DECODER".