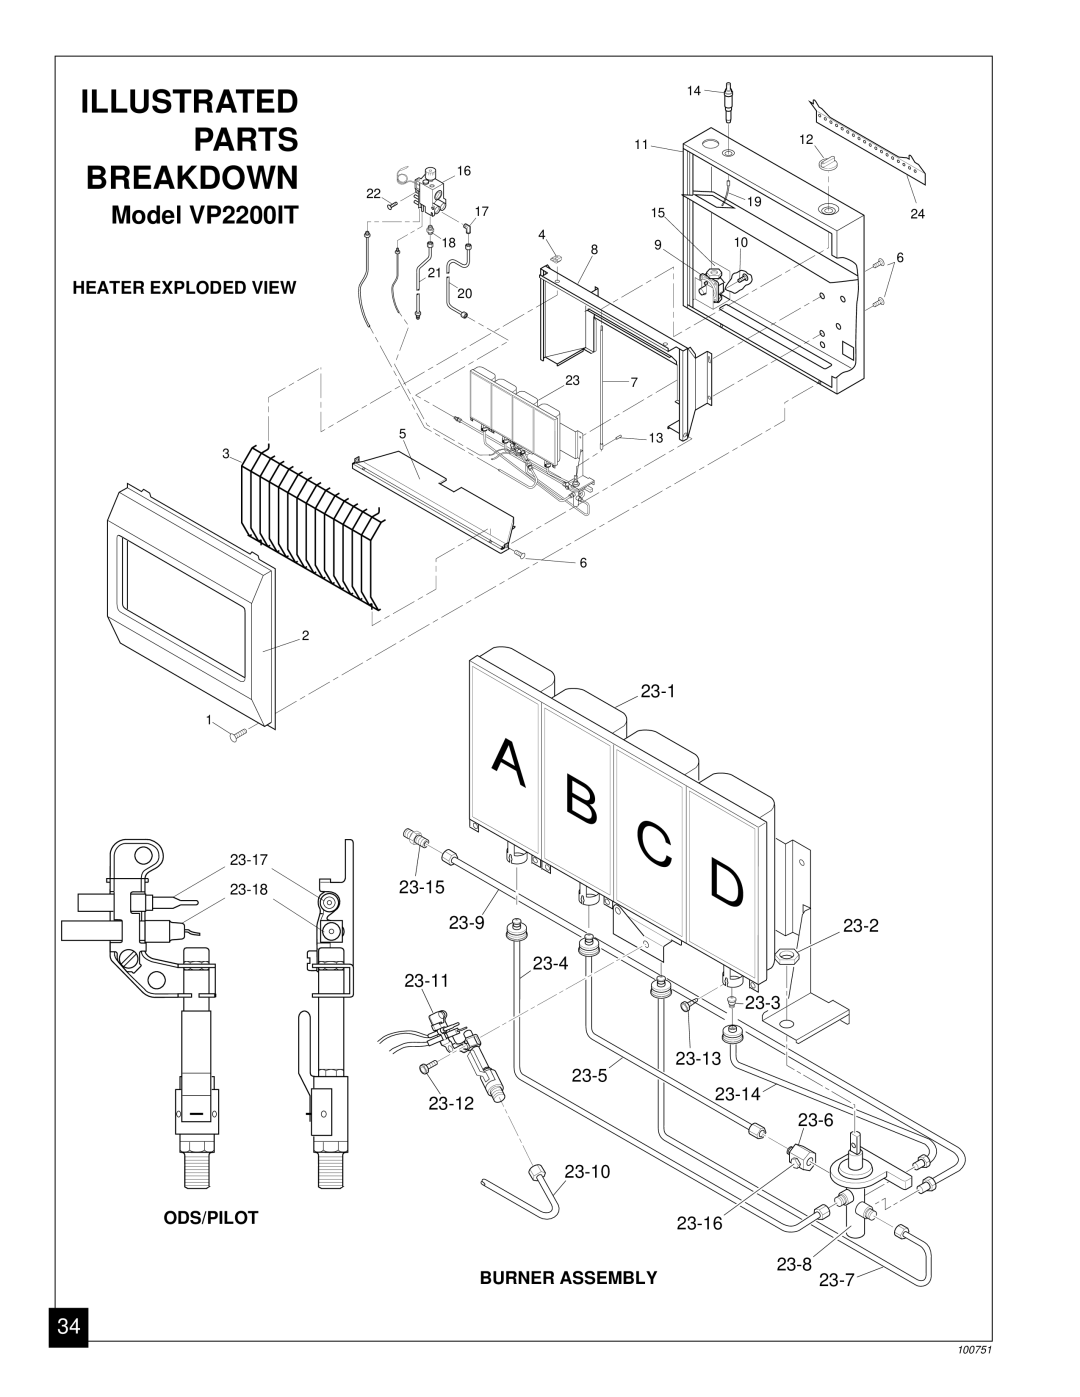
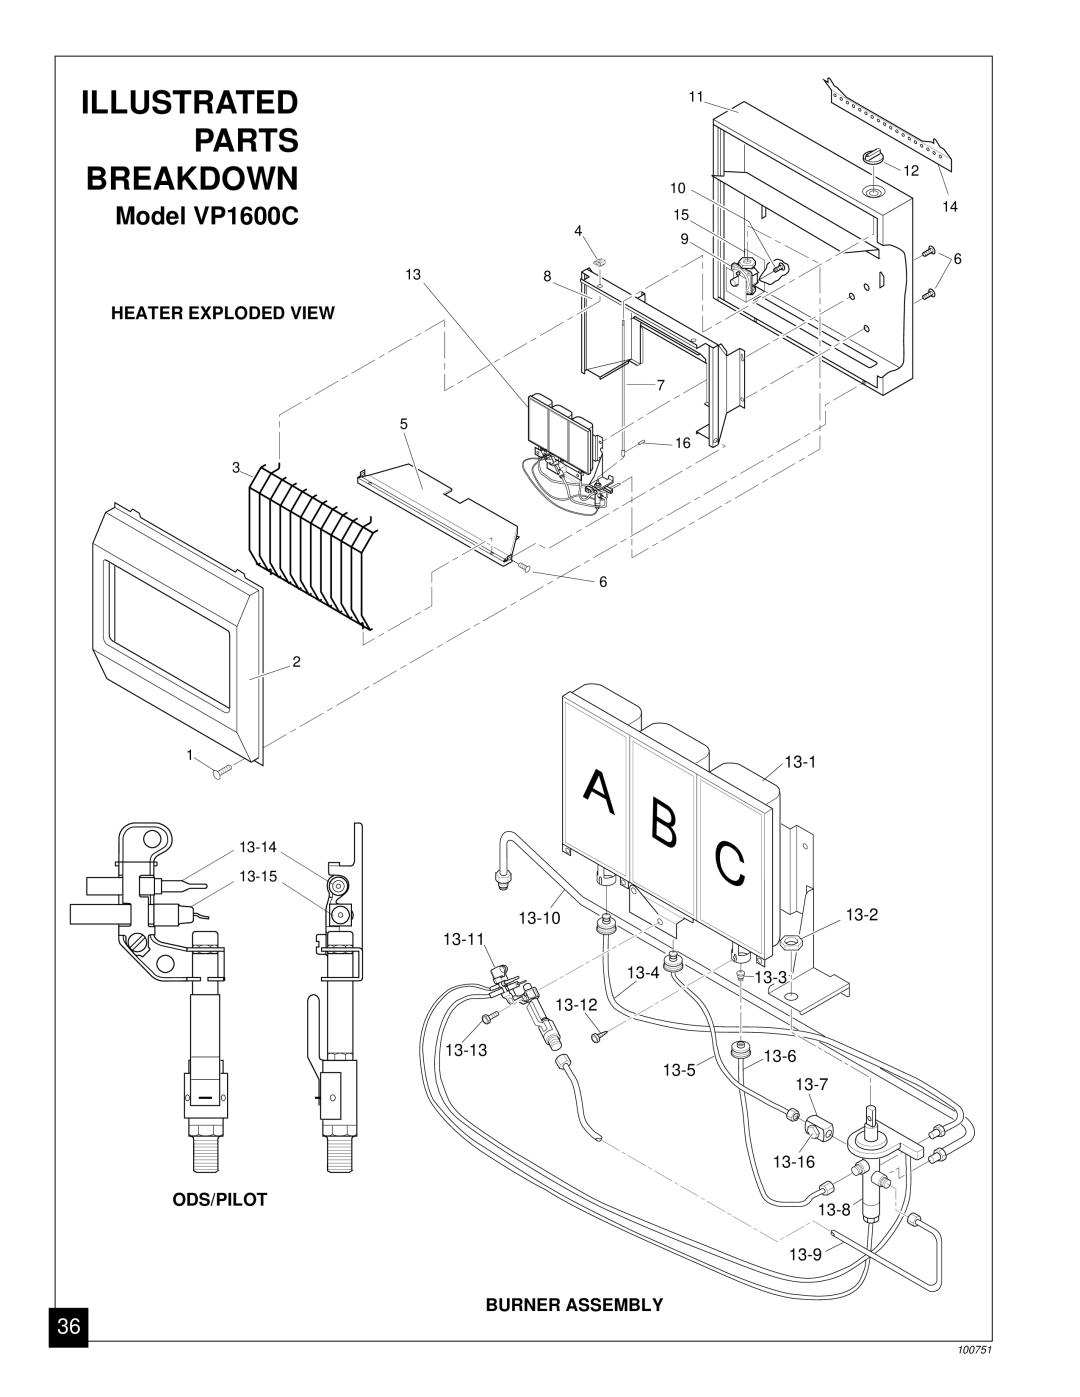
Desa VP1600IT, VP2600C Placing Heater On Mounting Bracket, Installing Bottom Mounting Screws

Page 13

INSTALLING TO WALL

Continued

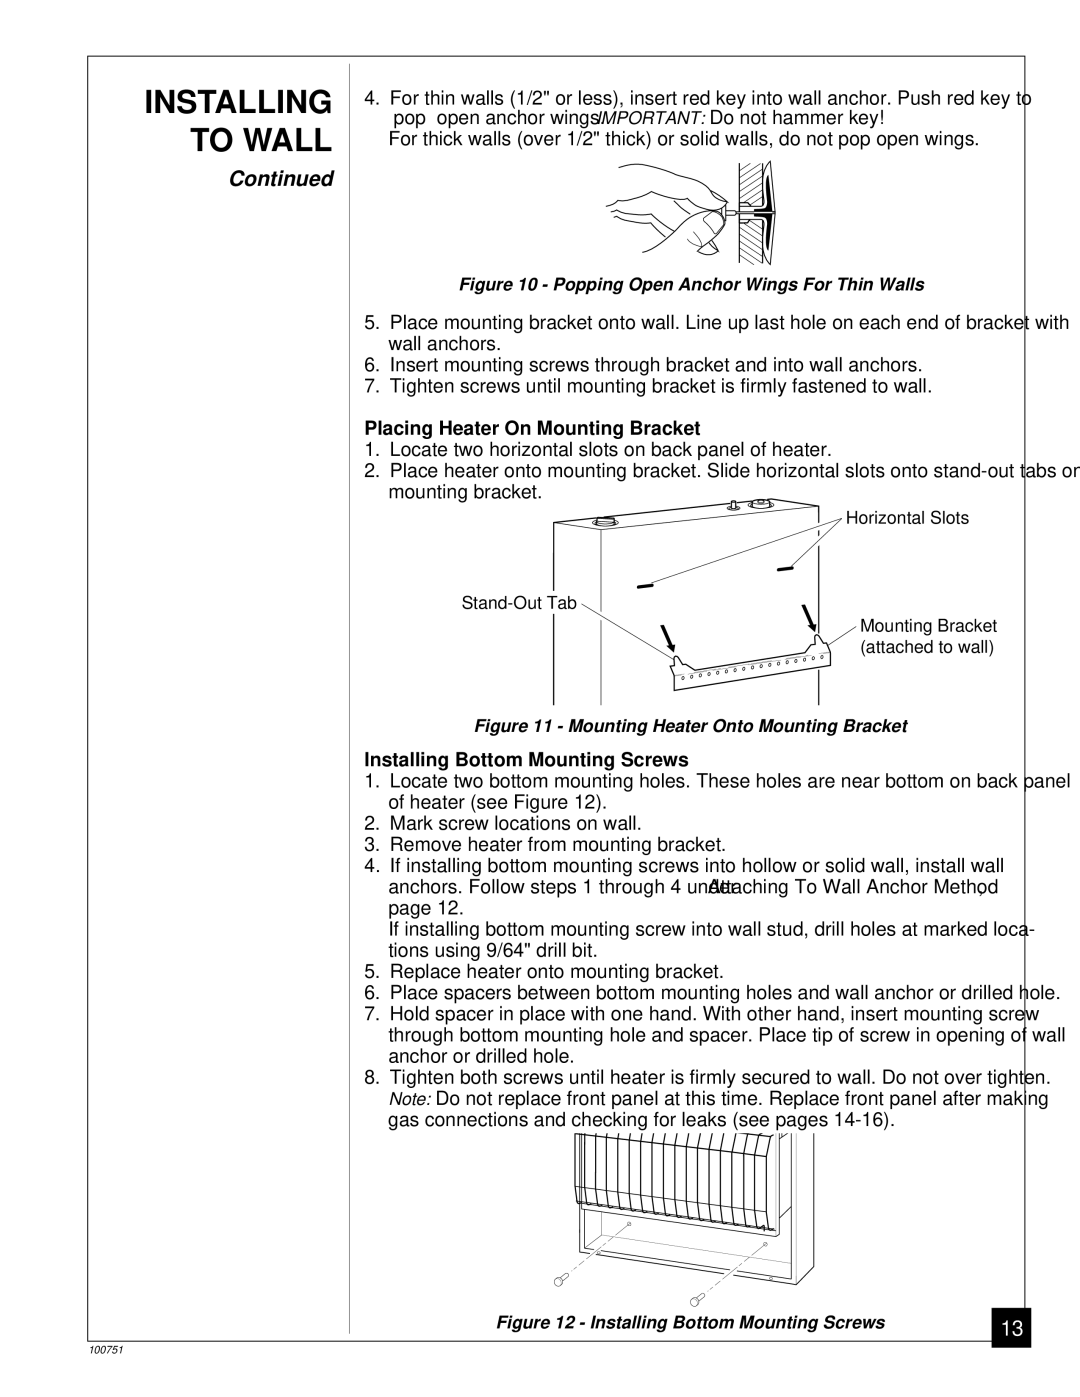
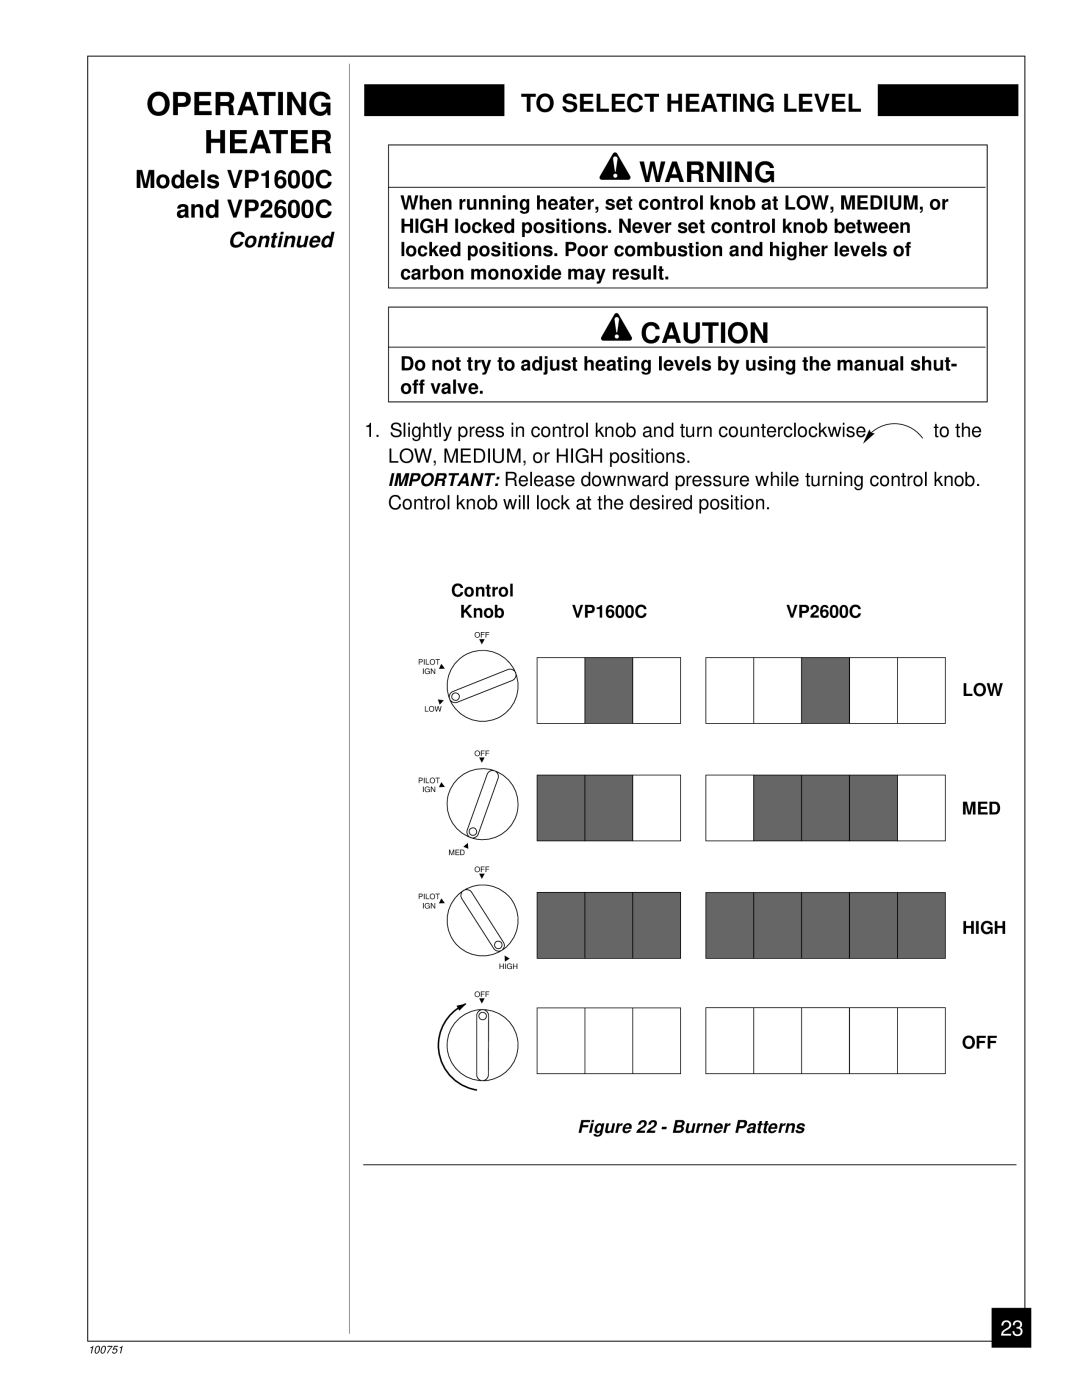
4.For thin walls (1/2" or less), insert red key into wall anchor. Push red key to “pop” open anchor wings. IMPORTANT: Do not hammer key!

For thick walls (over 1/2" thick) or solid walls, do not pop open wings.

Figure 10 - Popping Open Anchor Wings For Thin Walls

5.Place mounting bracket onto wall. Line up last hole on each end of bracket with wall anchors.

6.Insert mounting screws through bracket and into wall anchors.

7.Tighten screws until mounting bracket is firmly fastened to wall.

Placing Heater On Mounting Bracket

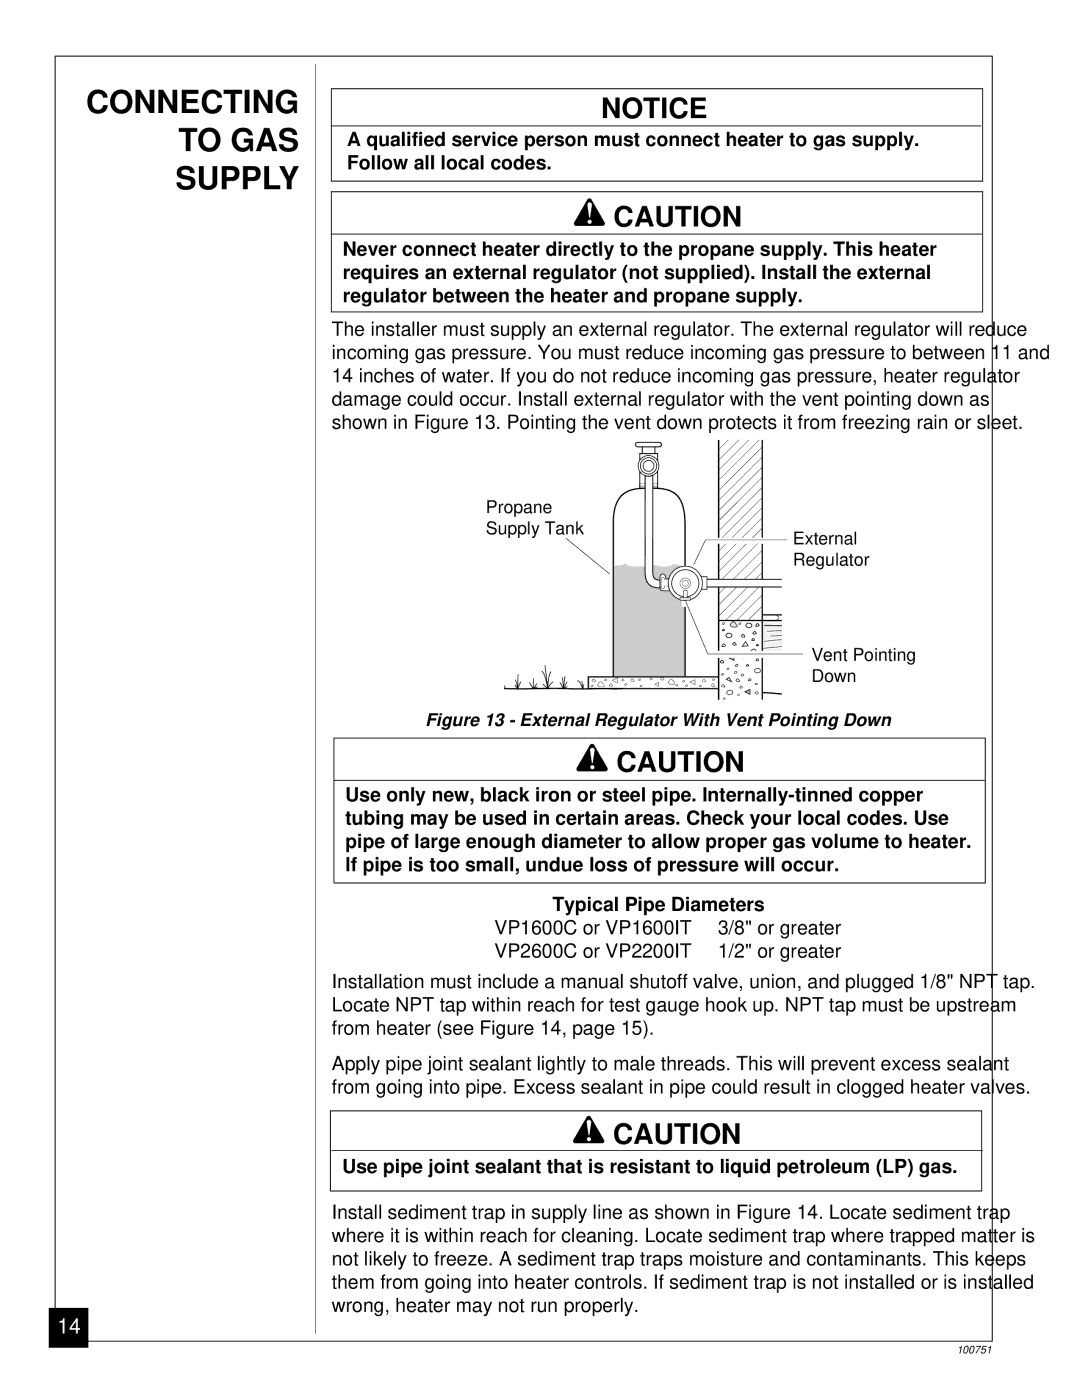
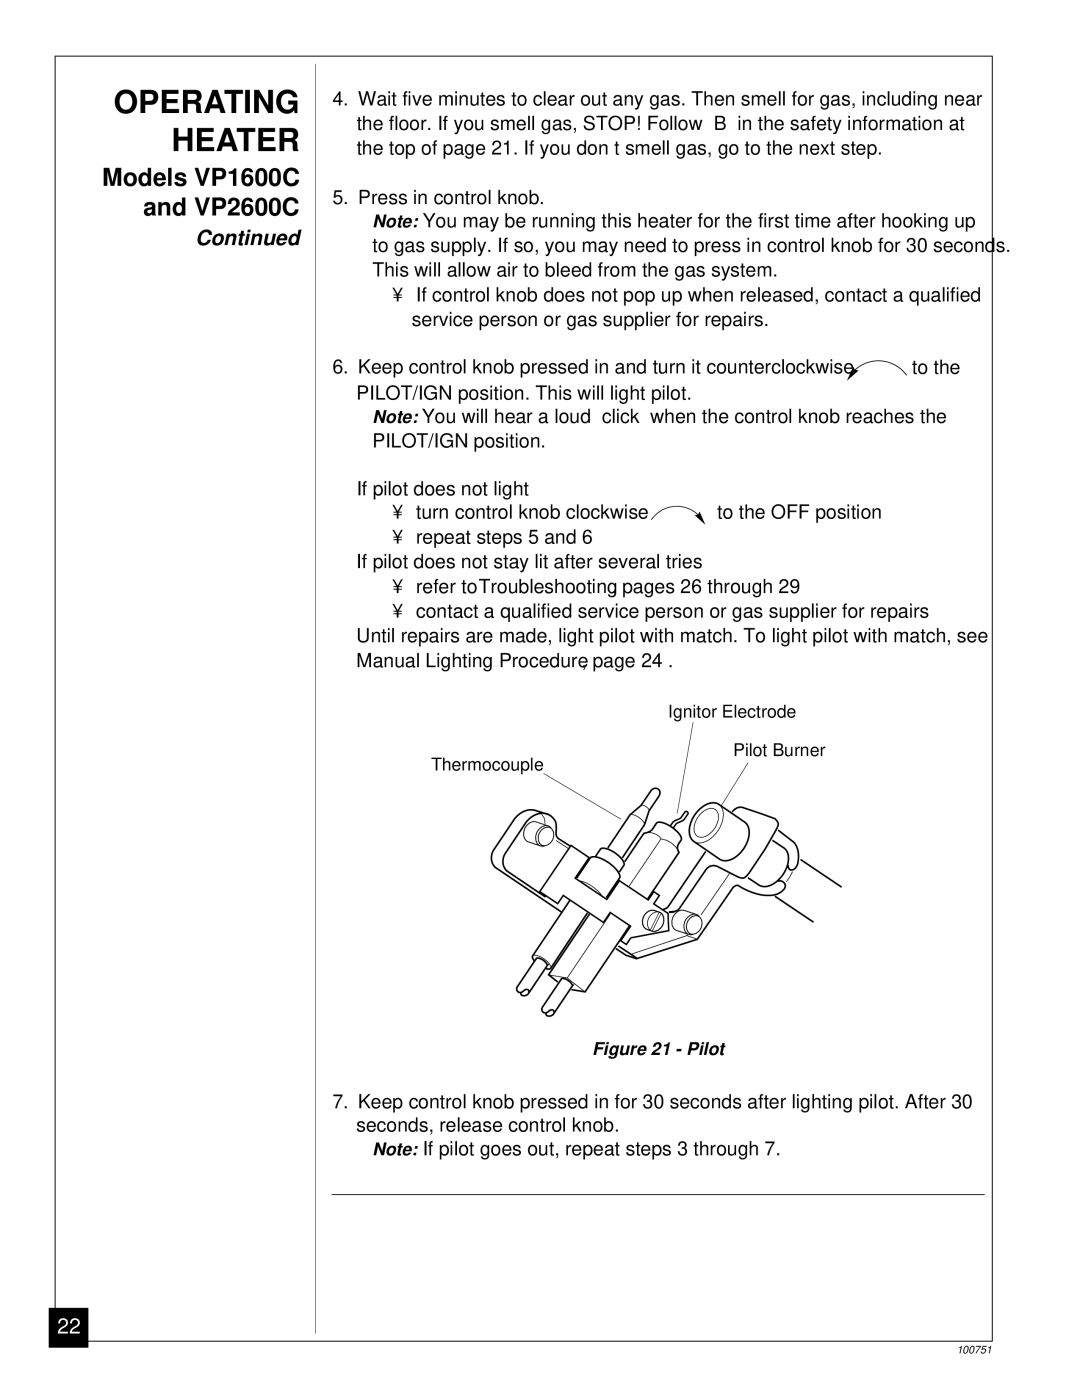
1.Locate two horizontal slots on back panel of heater.

2.Place heater onto mounting bracket. Slide horizontal slots onto stand-out tabs on mounting bracket.

Horizontal Slots

Stand-Out Tab

Mounting Bracket (attached to wall)

Figure 11 - Mounting Heater Onto Mounting Bracket

Installing Bottom Mounting Screws

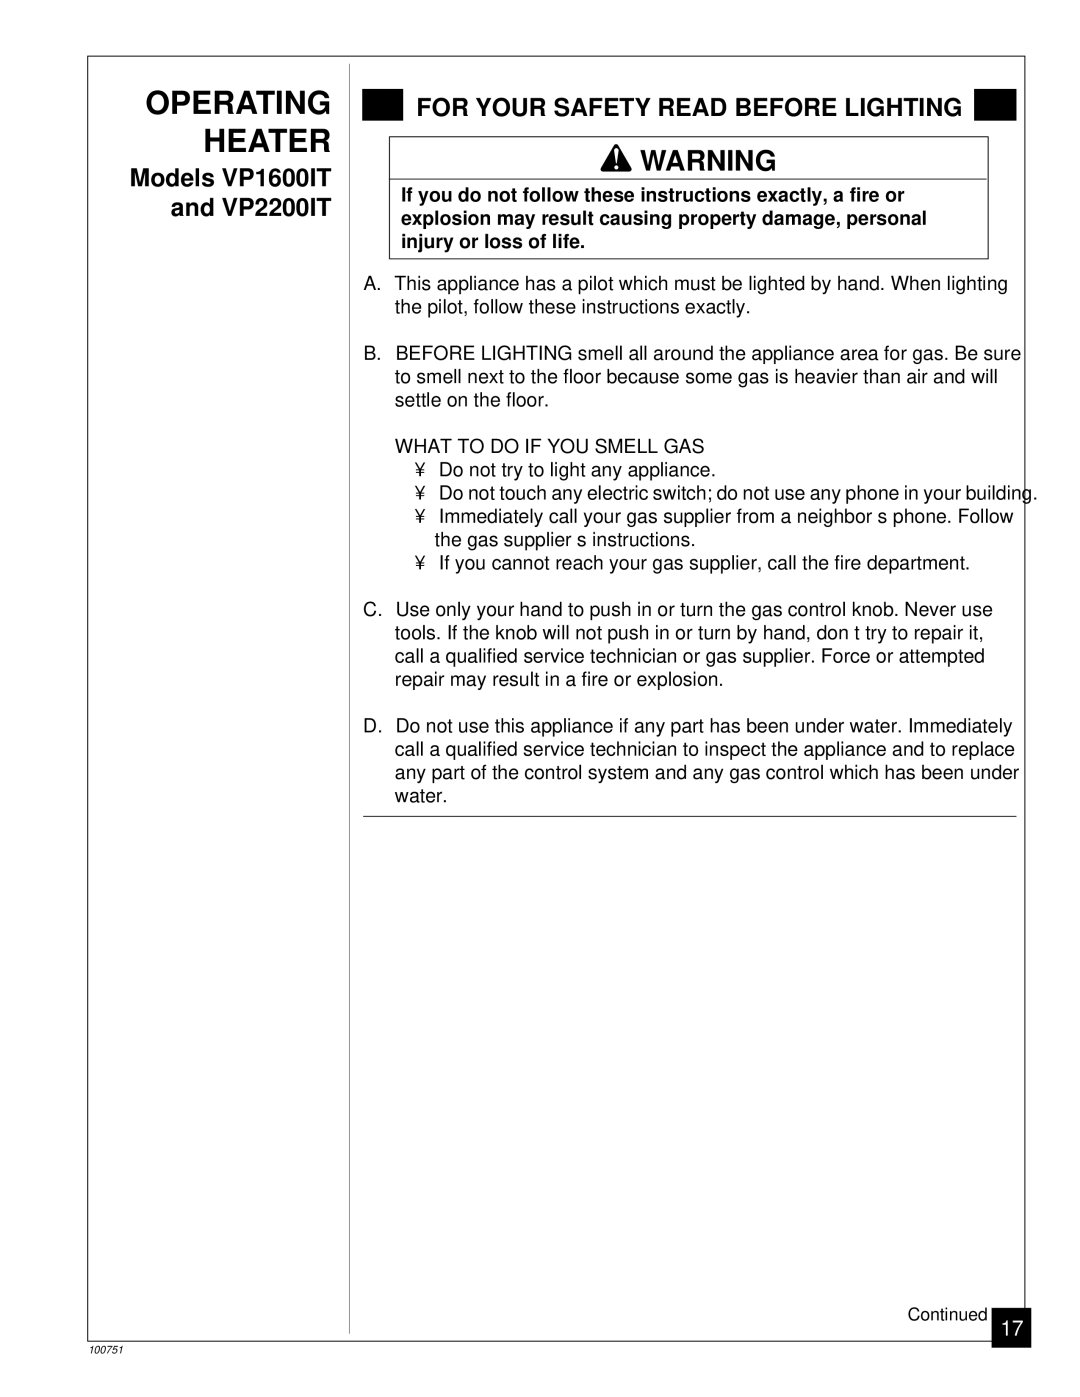
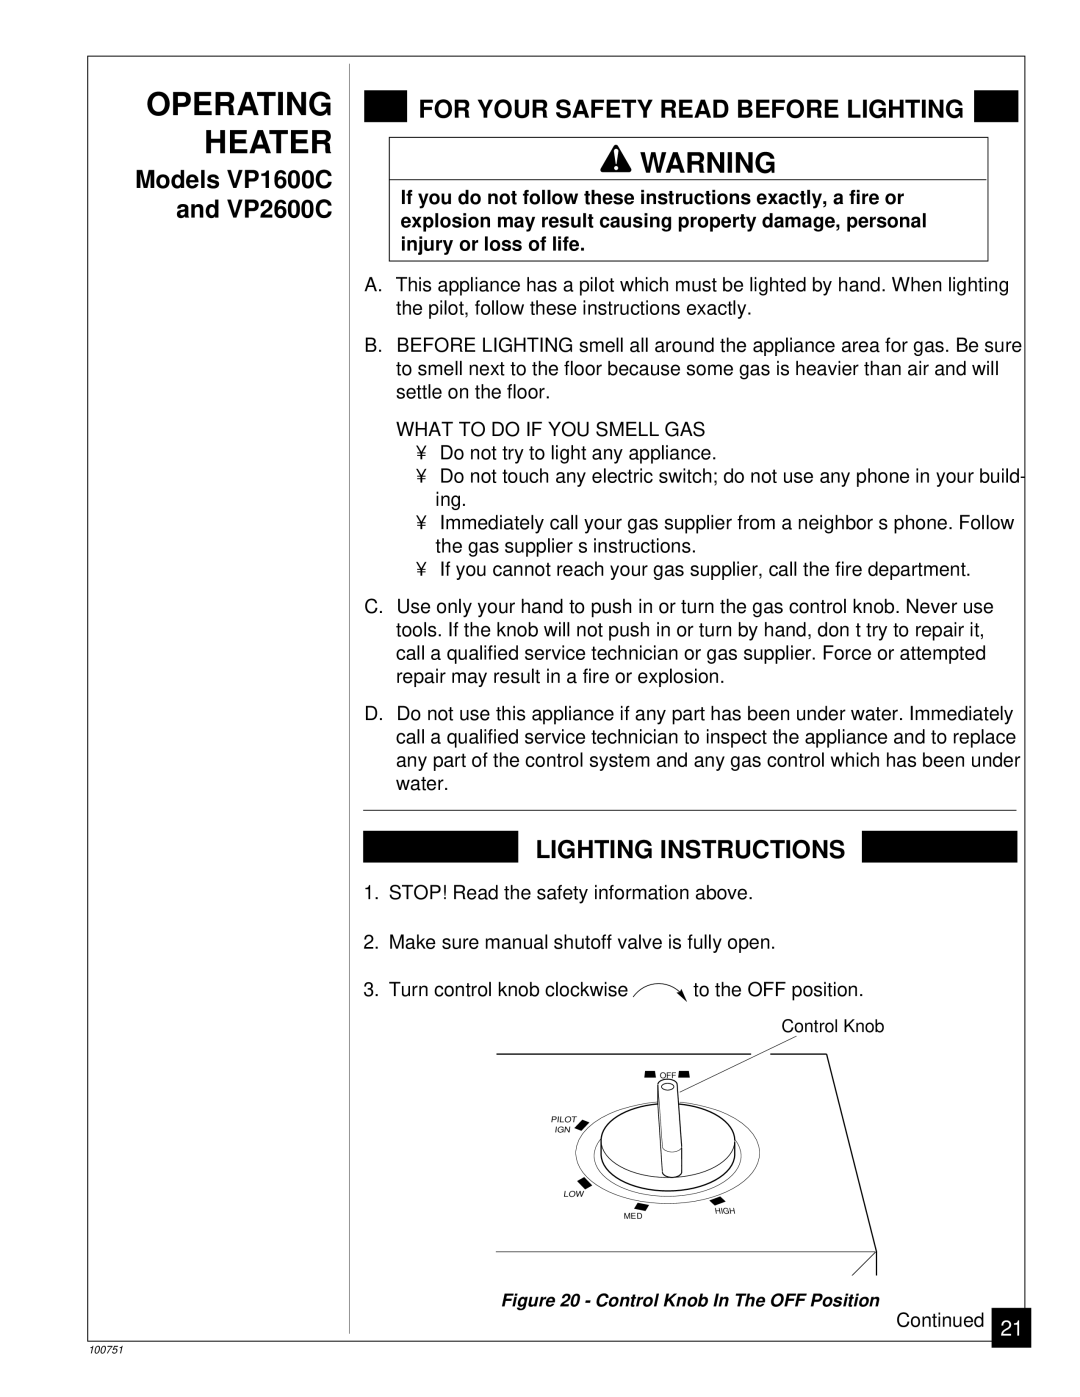
1.Locate two bottom mounting holes. These holes are near bottom on back panel of heater (see Figure 12).

2.Mark screw locations on wall.

3.Remove heater from mounting bracket.

4.If installing bottom mounting screws into hollow or solid wall, install wall anchors. Follow steps 1 through 4 under Attaching To Wall Anchor Method, page 12.

If installing bottom mounting screw into wall stud, drill holes at marked loca- tions using 9/64" drill bit.

5.Replace heater onto mounting bracket.

6.Place spacers between bottom mounting holes and wall anchor or drilled hole.

7.Hold spacer in place with one hand. With other hand, insert mounting screw through bottom mounting hole and spacer. Place tip of screw in opening of wall anchor or drilled hole.

8.Tighten both screws until heater is firmly secured to wall. Do not over tighten. Note: Do not replace front panel at this time. Replace front panel after making gas connections and checking for leaks (see pages 14-16).

Figure 12 - Installing Bottom Mounting Screws

100751

13
Image 13
Contents What to do if YOU Smell GAS OWNER’S Operation and Installation ManualSafety Information ContentsSafety Information Identification FeaturesLocal Codes UnpackingCombustion Fresh AIR ForVentilation Producing Adequate VentilationDetermining FRESH-AIR Flow for Heater Location Fresh AIRDetermining if You Have a Confined or Unconfined Space Ventilation AIR Fresh AIR for Combustion and VentilationVentilation Air From Inside Building Ventilation Air From Outdoors Ventilation AIRInstallation Items Installing To WallCheck GAS Type Locating HeaterModels VP1600IT and VP2200IT Only Thermostat Sensing BulbLocating Thermostat Sensing Bulb Attaching Thermostat Sensing BulbMounting Bracket Installing Heater to WallRemoving Front Panel Of Heater Methods For Attaching Mounting Bracket To WallAttaching Mounting Bracket To Wall Marking Screw LocationsPlacing Heater On Mounting Bracket Installing Bottom Mounting ScrewsQualified service person must connect heater to gas supply Connecting To GASSupply Follow all local codesChecking GAS Pressure Testing GAS Supply Piping SystemConnections Servicing. Correct all leaks at oncePressure Testing Heater GAS Connections ConnectingOperating Heater Lighting Instructions Operating HeaterTo Select Heating Level HeaterShutting Off Burner Only pilot stays lit Shutting Off HeaterIf you do not follow these instructions exactly, a fire or OperatingModels VP1600C and VP2600C LOW MED High Pilot Flame Pattern Inspecting BurnerBurner Flame Pattern Maintenance CleaningTrouble Shooting ODS/PILOT and Burner OrificeTrouble Cleaning and MainteTROUBLE- Shooting See CleaningTechnical ServiceIf you smell gas Shut off gas supplyVP1600IT VP2200IT Service Publications HintsVP1600C VP2600C Accessories Replacement PartsModel VP1600IT Illustrated Parts BreakdownKEY Part Number Description QTY Parts ListModel VP2200IT Parts List Model VP1600C Control Position Label Model VP2600C Parts List Keep this Warranty Warranty Information