Manuals
/
8e6 Technologies
/
Computer Equipment
/
Network Card
8e6 Technologies
HL-002-002, HL-022-002, SL-002-002
quick start
Guide
Models:
HL-002-002
SL-002-002
HL-022-002
1
1
76
76
Download
76 pages
50.1 Kb
1
2
3
4
5
6
7
8
Install
Management Alarm
Password
LED Indicator Key
Login
Workstation Configurations
Reset Admin Console Password
Access the Internet
Rack Setup Precautions
Procedures
Page 1
Image 1
→
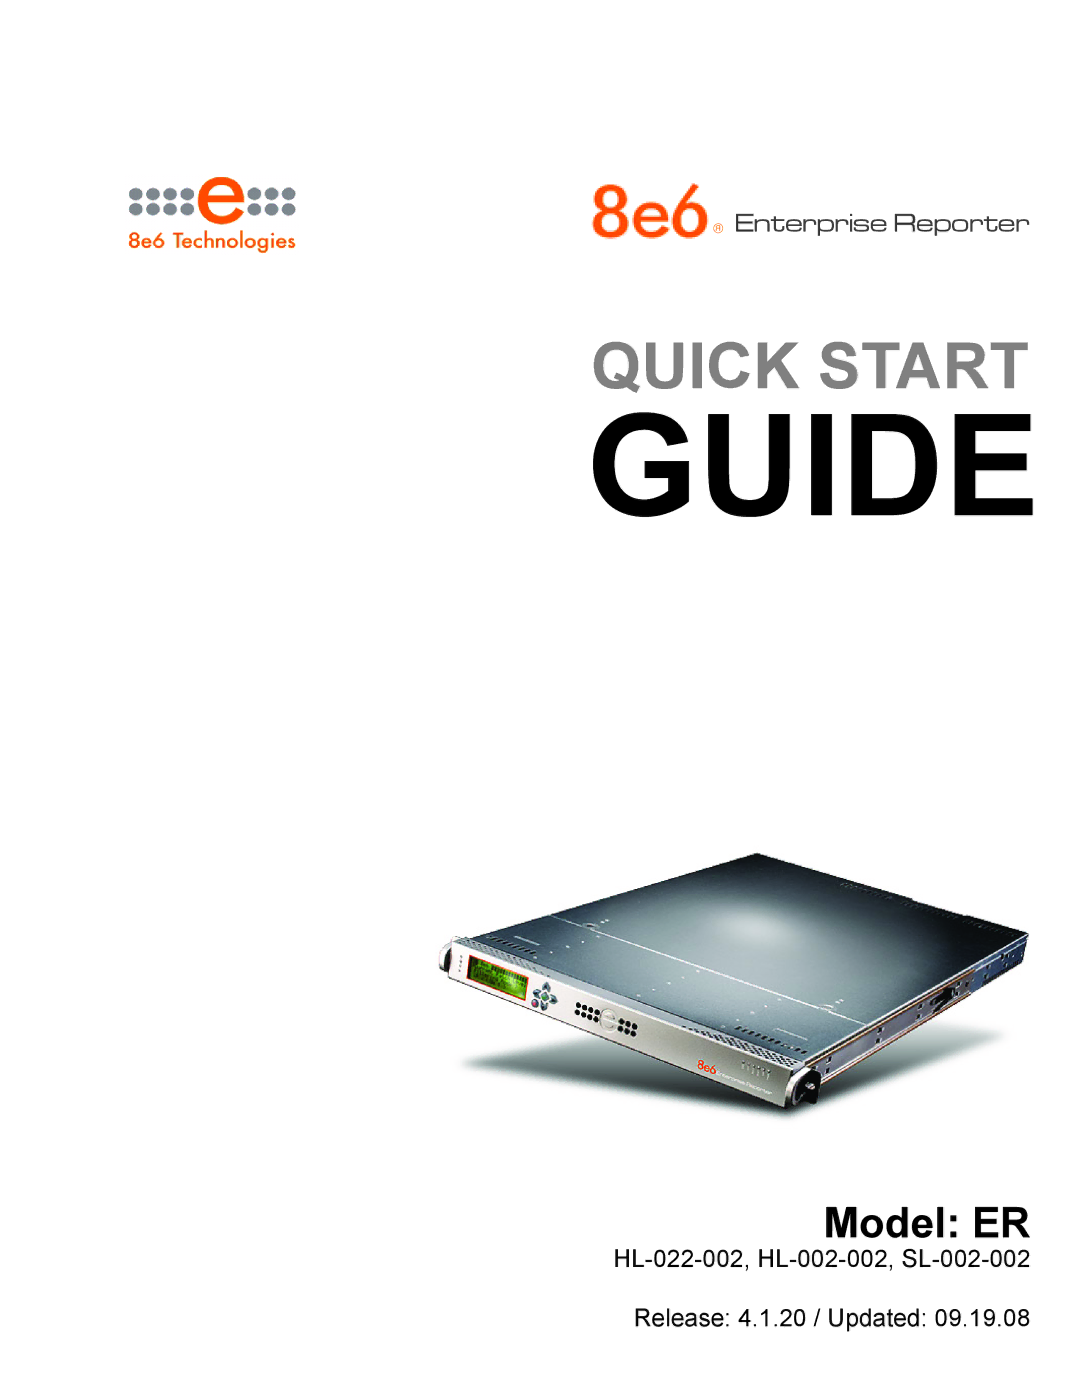
Enterprise Reporter
QUICK START
GUIDE
Model: ER
HL-022-002,
HL-002-002,
SL-002-002
Release: 4.1.20 / Updated: 09.19.08
Page 1
Page 2
Page 1
Image 1
Page 1
Page 2
Contents
Guide
8e6 Enterprise Reporter Quick Start Guide
Contents
Appendix Scsi Connected Storage Device
Regulatory Specifications and Disclaimers
Index
ER Enterprise Reporter Introduction
Conventions Used in this Document
About this Document
8e6 Corporate Headquarters USA
Procedures
8e6 Taiwan
Unpack the Unit from the Carton
Select a Site for the Server
Rack Mount the Server
Rack Setup Precautions
Install the Inner Rails
Rack Setup Suggestions
Install the Outer Rails
Rack Mount Instructions for HL Servers
8e6 Enterprise Reporter Quick Start Guide
Install the Server into the Rack
Install the Server into a Telco Rack
Install the Outer Slides
Install the Inner Slides
Rack Mount Instructions for SL Servers
Install the Slide Assemblies to the Rack
Install the Chassis into the Rack
Front of bezel
Install the SL or HL Server Bezel
Power Supply Precautions
Check the Power Supply
Server Operation and Maintenance Precautions
General Safety Information
Electrical Safety Precautions
AC Power Cord and Cable Precautions
Motherboard Battery Precautions
Quick Start Setup Requirements
Setup Procedures
Administrator Console Setup Requirements
LCD Panel Setup Requirements
Storage Device Setup for Attached Storage Units
Quick Start Setup Procedures
Monitor and Keyboard Setup
Serial Console Setup
Diagram of SL chassis front panel, power button at far right
HyperTerminal Setup Procedures
8e6 Enterprise Reporter Quick Start Guide
8e6 Enterprise Reporter Quick Start Guide
Quick Start menu screen
Login screen
Quick Start menu administration menu
Log Off, Disconnect the Peripherals
System Status screen
Preliminary Setup
Console Setup Procedures
Workstation Configurations
Left
Boot Up Process
Access the Internet
Network Setup
Log in to the Administrator Console
Network Settings
8e6 Enterprise Reporter Quick Start Guide
Regional Setting Time Zone
Regional Setting NTP Servers
Regional Setting Language
Physically Connect the ER to the Network
LCD Menu
LCD Panel Setup Procedures
8e6 menu
LAN 1 Link Status
Current Patch Level
DNS 1
Gateway
Host Name
Regional Setting Time Zone, date, time
Reboot
Reset Admin Console Password
LCD Options menu
Shutdown
Backlight
Heartbeat
LCD Controls
Access the Internet
Change User Name and Password, Set Self- Monitoring
Enter a User Name and Password
Change User Name and Password
Set Self-Monitoring
Enter the Master Administrator’s E-Mail Address
Select 8e6 Enterprise Reporter, and then click Save
R3000 Configuration
Client Workstation Configuration
Launch the ER Client
Enter the Password, and Confirm Password
Conclusion
Administrator Console, Expiration Screen
ER Client, ER Server Statistics Window
LED Indicator Color Condition Description
LED Indicator Key
SL Unit
HL Unit
Rear LED Indicators for Hardware Status Monitoring
RAID
HL and SL Units
Declaration of the Manufacturer or Importer
Safety Compliance
Electromagnetic Compatibility EMC
Models HL-022-002, HL-002-002, SL-002-002
Electromagnetic Compatibility Class a Notice
EC Declaration of Conformity
Other Required Installation Items
Preliminary Setup Procedures
Unpack the Unit from the Carton
Rack Mount the Server
Rack Setup Precautions
Rack Mount Components
Step
Step
Step
Link the ER Unit with the Scsi Connected Device
Install the Unit
Shut Down the Storage Device Unit
Shut Down, Restart Procedures
Restart the Storage Device Unit
Physical Components
Power Supply Status
Temperature and Ventilation Status
LED Display
Disc Drive Alarm
Management Alarm
Silence Button
Disk Drive Activity
Index
8e6 Enterprise Reporter Quick Start Guide
Top
Page
Image
Contents