Step 1C: LCD Panel Setup Procedures
The ER can be configured using the LCD panel on front of the chassis bezel. When the bezel is placed on the front of the chassis, with the USB plug inserted into the USB port, the default LCD screen displays.
To the right of the LCD screen, the keypad displays, consisting of the following keys: up arrow, down arrow, left arrow, right arrow, checkmark, and “X”.
Storage Device Setup (for Attached Storage Units)
If you have a NAS (SCSI Connected Storage Device or “SAN”) that will be used with the ER, you will need to connect it to the ER at this point. Refer to the Appendix at the end of this document for instructions on how to connect the SCSI Connected Storage Device.
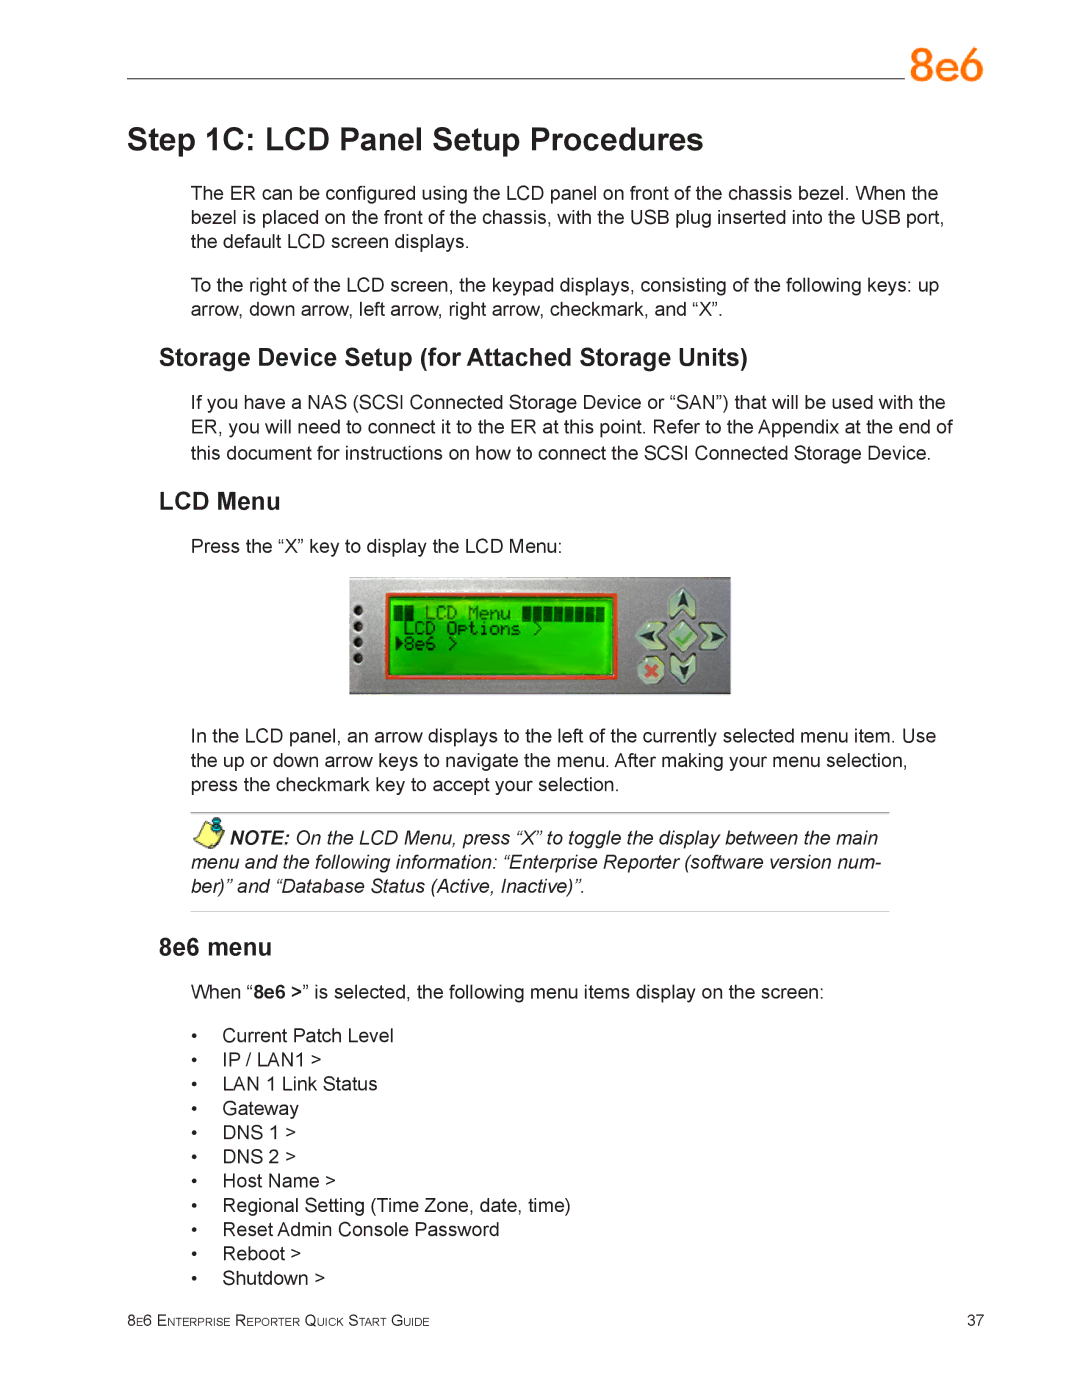
LCD Menu
Press the “X” key to display the LCD Menu:
In the LCD panel, an arrow displays to the left of the currently selected menu item. Use the up or down arrow keys to navigate the menu. After making your menu selection, press the checkmark key to accept your selection.
NOTE: On the LCD Menu, press “X” to toggle the display between the main menu and the following information: “Enterprise Reporter (software version num- ber)” and “Database Status (Active, Inactive)”.
8e6 menu
When “8e6 >” is selected, the following menu items display on the screen:
•Current Patch Level
•IP / LAN1 >
•LAN 1 Link Status
•Gateway
•DNS 1 >
•DNS 2 >
•Host Name >
•Regional Setting (Time Zone, date, time)
•Reset Admin Console Password
•Reboot >
•Shutdown >
8e6 Enterprise Reporter Quick Start Guide | 37 |