Replacing the Mainboard
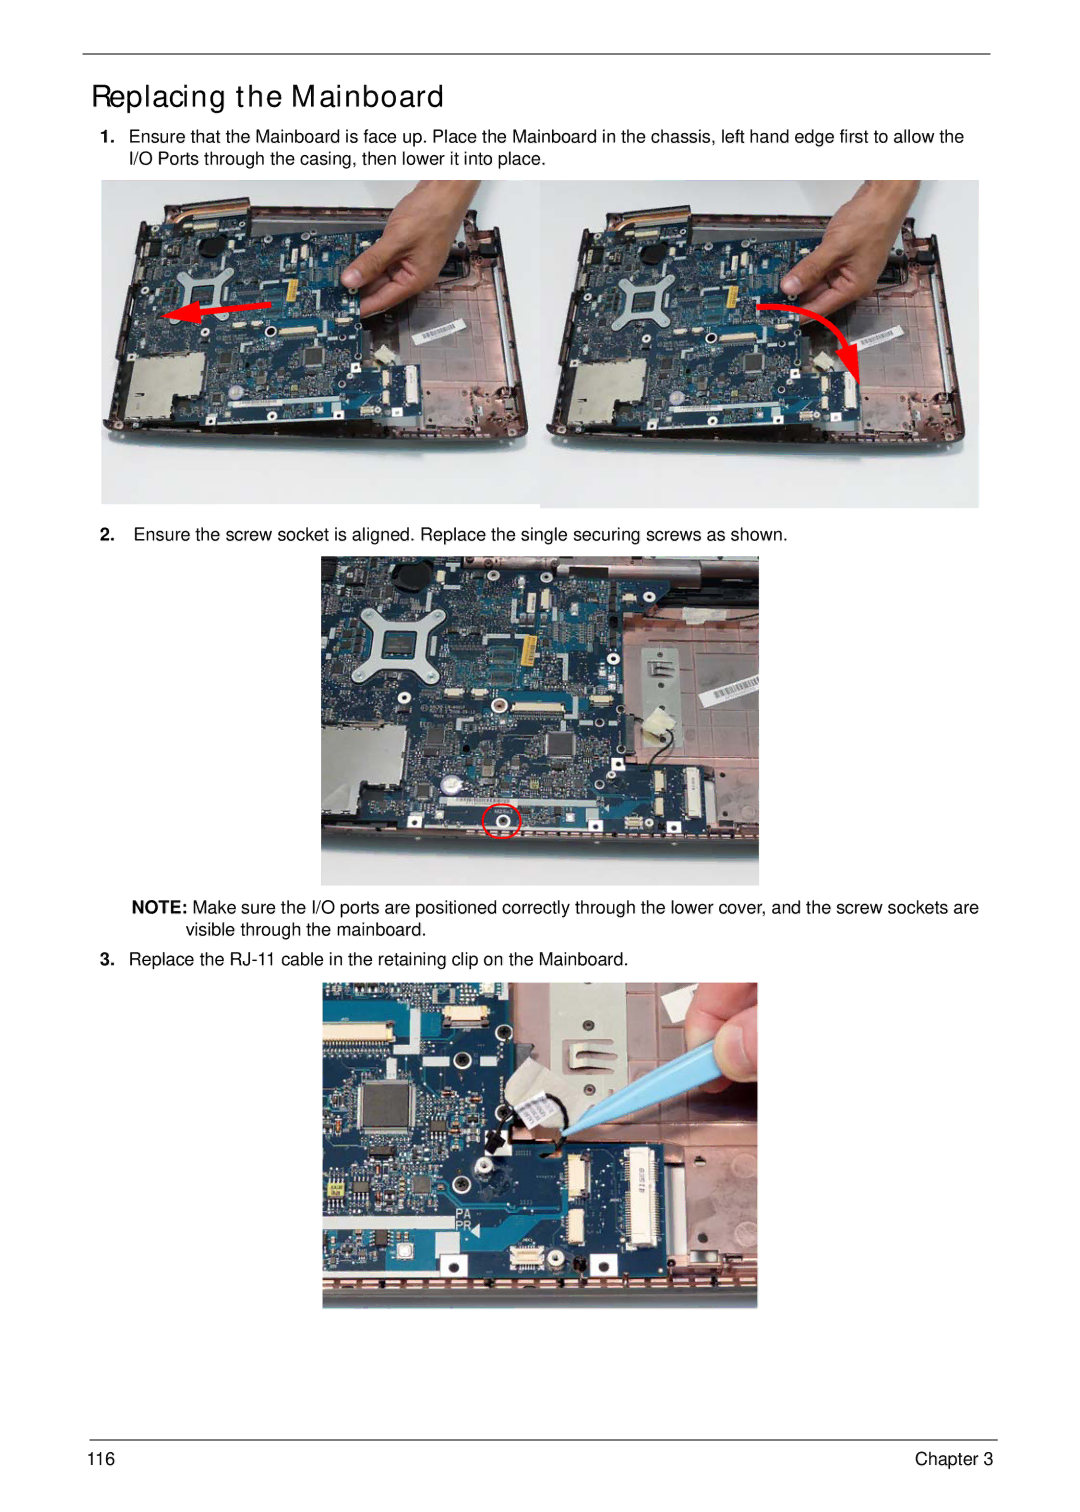
1.Ensure that the Mainboard is face up. Place the Mainboard in the chassis, left hand edge first to allow the I/O Ports through the casing, then lower it into place.
2.Ensure the screw socket is aligned. Replace the single securing screws as shown.
NOTE: Make sure the I/O ports are positioned correctly through the lower cover, and the screw sockets are visible through the mainboard.
3.Replace the
116 | Chapter 3 |
