38
ACER H233H
7. Writing EDID Process (continued)
Go to cover page
S3 Choose "WRITE" from menu then select "Scan S/N And Write EDID And Test DDC”
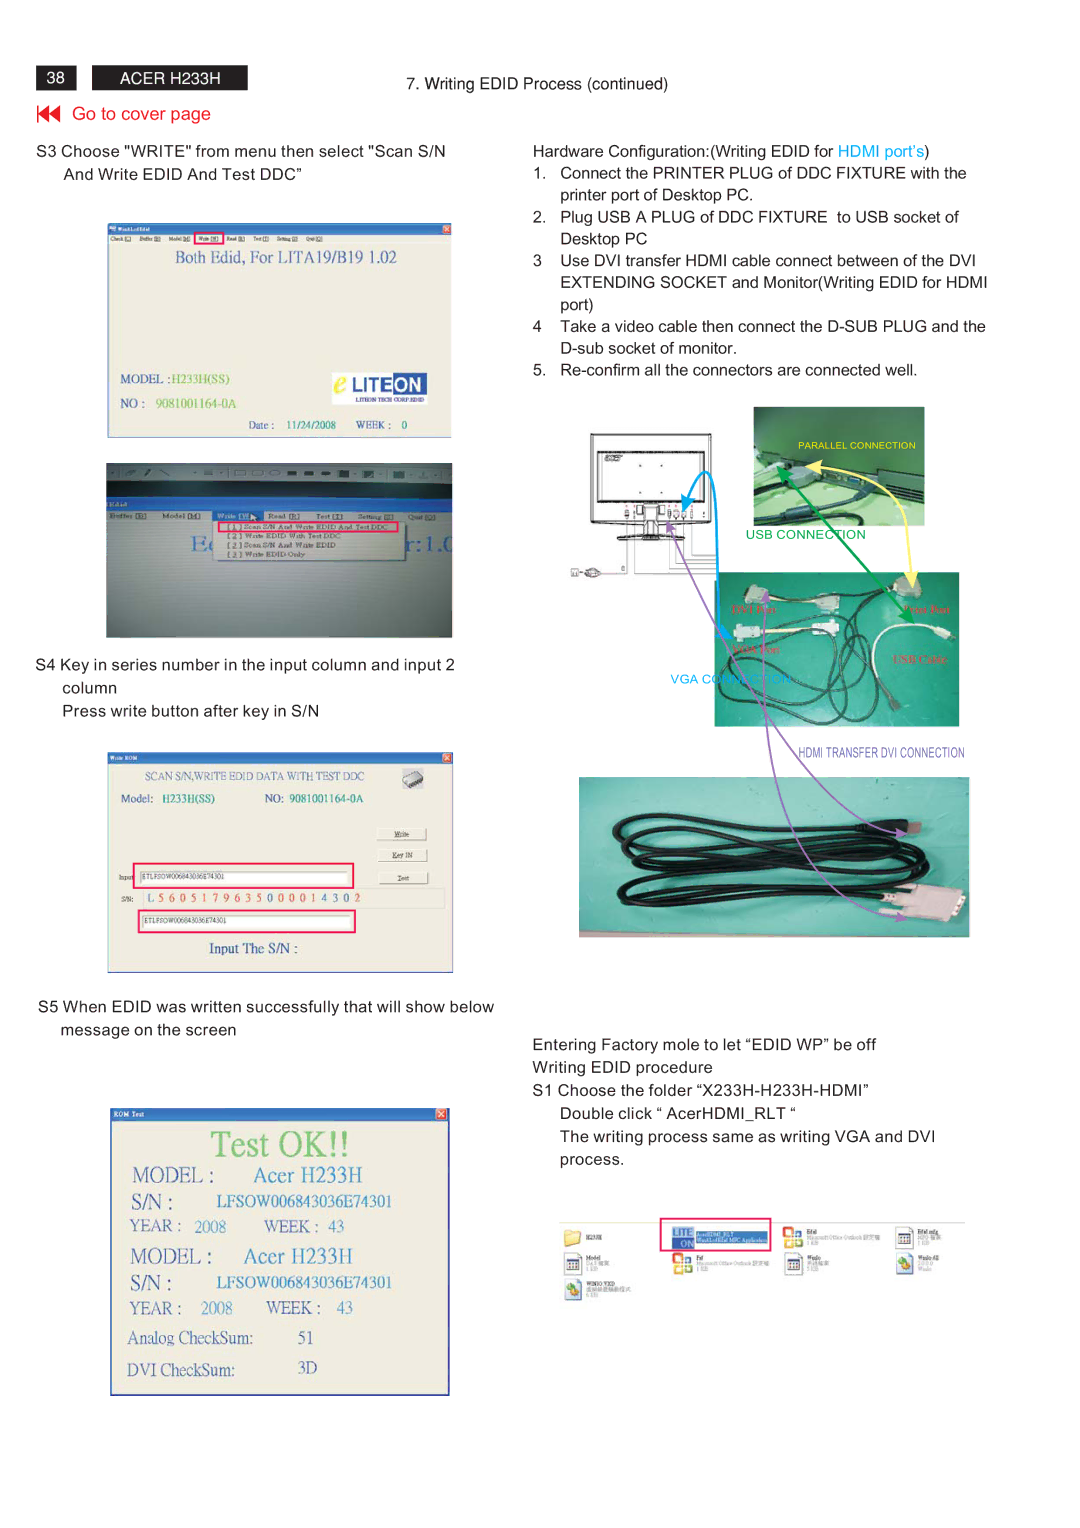
Hardware Configuration:(Writing EDID for HDMI port’s)
1.Connect the PRINTER PLUG of DDC FIXTURE with the printer port of Desktop PC.
2.Plug USB A PLUG of DDC FIXTURE to USB socket of Desktop PC
3Use DVI transfer HDMI cable connect between of the DVI EXTENDING SOCKET and Monitor(Writing EDID for HDMI port)
4Take a video cable then connect the
5.
PARALLEL CONNECTION
USB CONNECTION
S4 Key in series number in the input column and input 2 column
Press write button after key in S/N
S5 When EDID was written successfully that will show below message on the screen
VGA CONNECTION
HDMI TRANSFER DVI CONNECTION
Entering Factory mole to let “EDID WP” be off Writing EDID procedure
S1 Choose the folder
The writing process same as writing VGA and DVI process.