9640 specifications
The Actron 9640 is a distinguished automotive diagnostic tool that has garnered attention for its versatility and user-friendly design. Designed for professional mechanics and DIY enthusiasts alike, the Actron 9640 stands out for its comprehensive features and advanced technologies that simplify vehicle diagnostics.One of the main features of the Actron 9640 is its ability to read and erase diagnostic trouble codes (DTCs) for a wide variety of vehicles. This tool supports OBD II protocols, allowing it to communicate with a vast array of vehicles produced after 1996. The device provides clear, detailed descriptions of any trouble codes, enabling users to quickly identify and address issues. This is vital for efficient troubleshooting and ensures that users can make informed decisions about repairs.
Another significant advantage of the Actron 9640 is its built-in memory. The device can store code definitions and repair solutions for easy reference during diagnostics. Additionally, it features a robust data logging capability, allowing users to capture live data in real-time, which is essential for performing thorough diagnostic evaluations. This functionality helps in monitoring engine performance, thereby assisting in pinpointing issues that may not always trigger a check engine light.
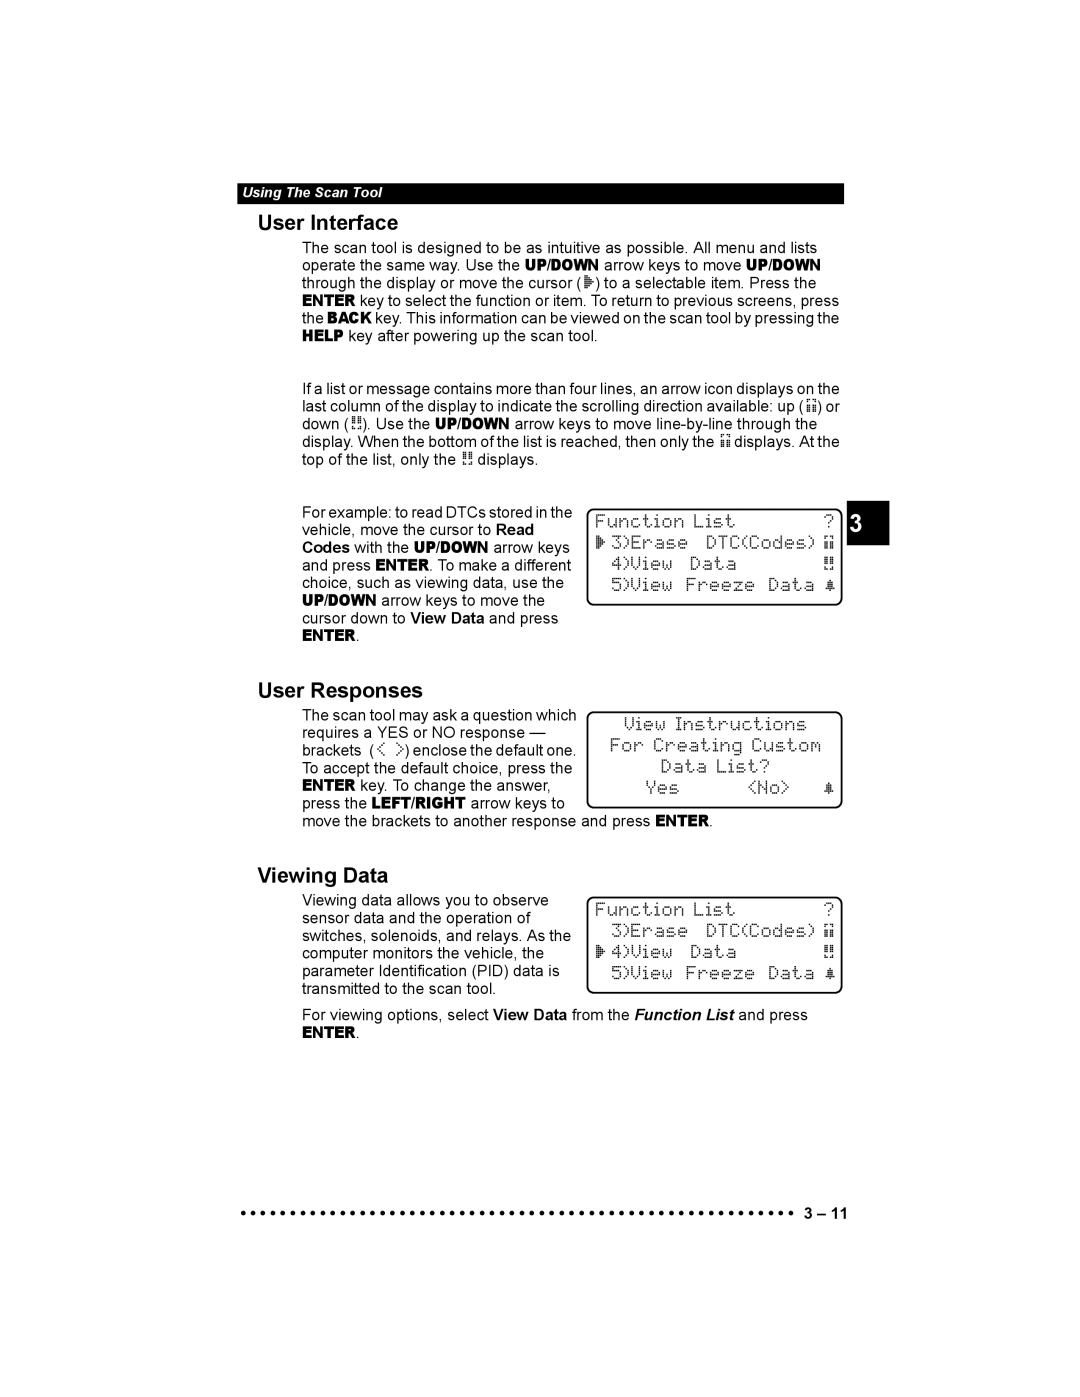
The Actron 9640 also incorporates a user-friendly interface, equipped with a large LCD display that presents information in an easy-to-read format. Its intuitive navigation and menu options cater to users of varying expertise, making it accessible to beginners while still offering the depth of features that seasoned professionals rely on.
In terms of connectivity, the Actron 9640 is designed to be compatible with various vehicles, supporting multiple protocols beyond OBD II, including CAN, J1850, and ISO9141. This broad networking capability ensures that the device can diagnose problems across different car brands and models.
Built with durability in mind, the device features a robust housing that can withstand the rigors of a workshop environment. The ergonomic design ensures a comfortable grip during use, making it practical for extended periods of diagnostics.
Overall, the Actron 9640 combines advanced features, comprehensive functionality, and ease of use, making it an excellent choice for anyone looking to conduct reliable automotive diagnostics. Whether you're a professional mechanic or a casual car owner, the Actron 9640 can help you maintain your vehicle's performance effectively.

