11)Place pivot arm in the 1 o'clock position for the front tilt switch and in the 11 o'clock position for the rear tilt switch.
Verify that the body orientation and head orientation are correct.
Verify that the tilt switch arm is not in the vertical position or damage will result.
12)Holding the tilt arm, tighten up (snug up) on the nut.
13)Hold pivot point with a screwdriver and tighten the nut.
14)Replace base panel.
15)Reestablish electrical service to the dryer. j. Tilt Switch Adjustment
1)Discontinue electrical service to the dryer.
2)Remove the base panel from the left hand side of the dryer.
CAUTION: DO NOT PLACE HANDS BETWEEN THE DRYER BASE AND THE TUMBLER (Basket) SECTION. SERIOUS INJURY CAN RESULT.
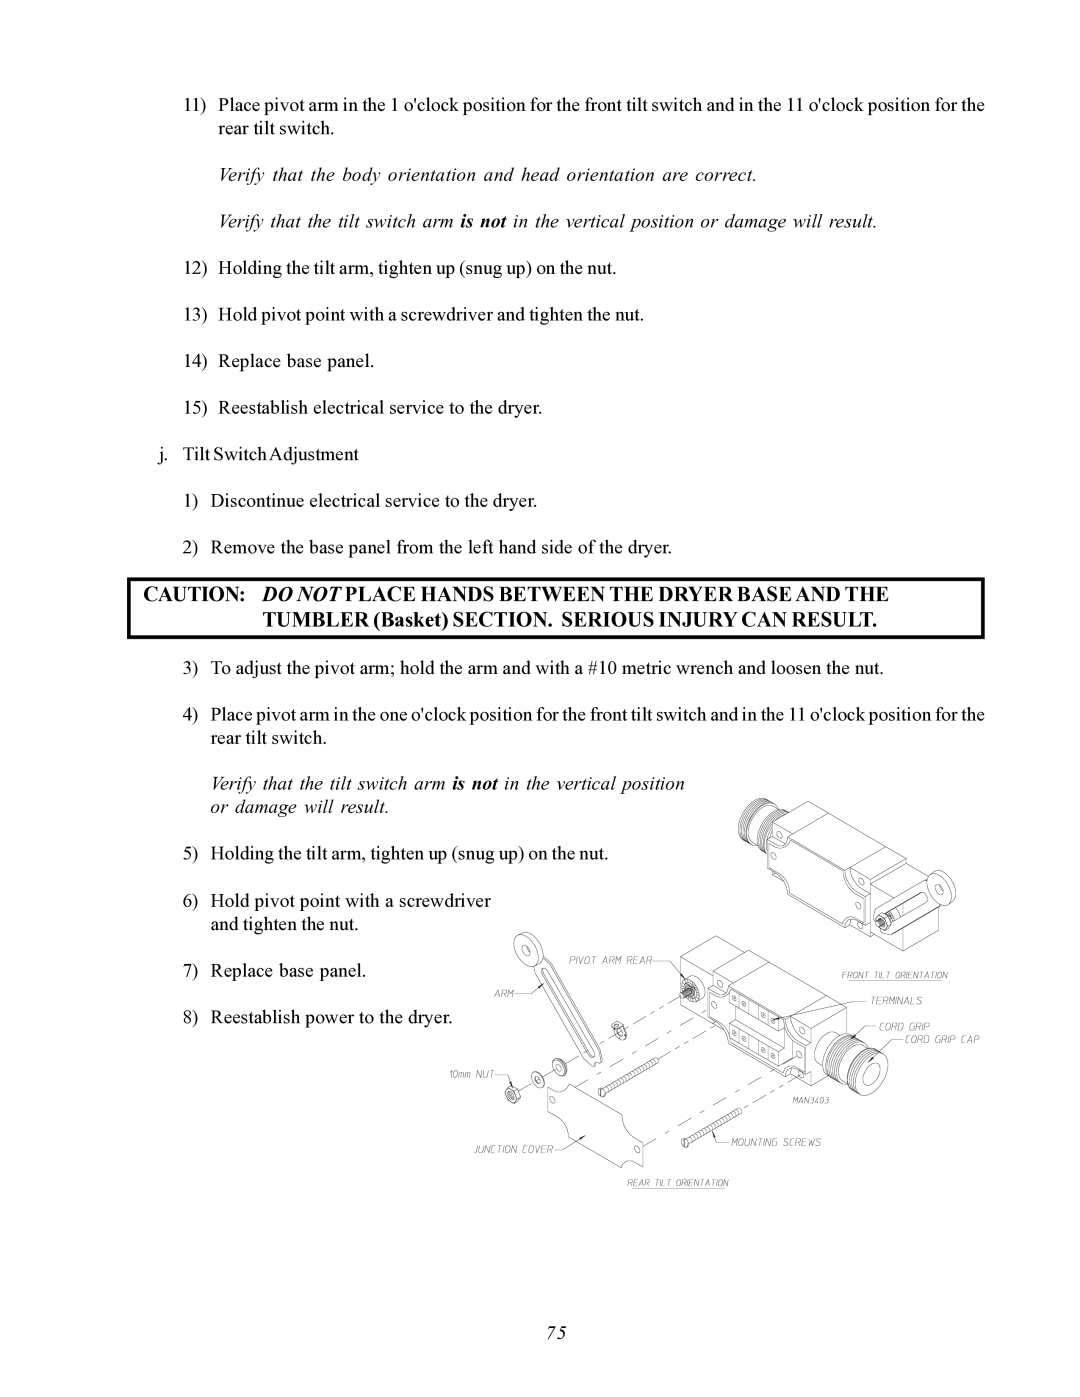
3)To adjust the pivot arm; hold the arm and with a #10 metric wrench and loosen the nut.
4)Place pivot arm in the one o'clock position for the front tilt switch and in the 11 o'clock position for the rear tilt switch.
Verify that the tilt switch arm is not in the vertical position or damage will result.
5)Holding the tilt arm, tighten up (snug up) on the nut.
6)Hold pivot point with a screwdriver
and tighten the nut.
7) Replace base panel.
8) Reestablish power to the dryer.
75
