DVD Setup
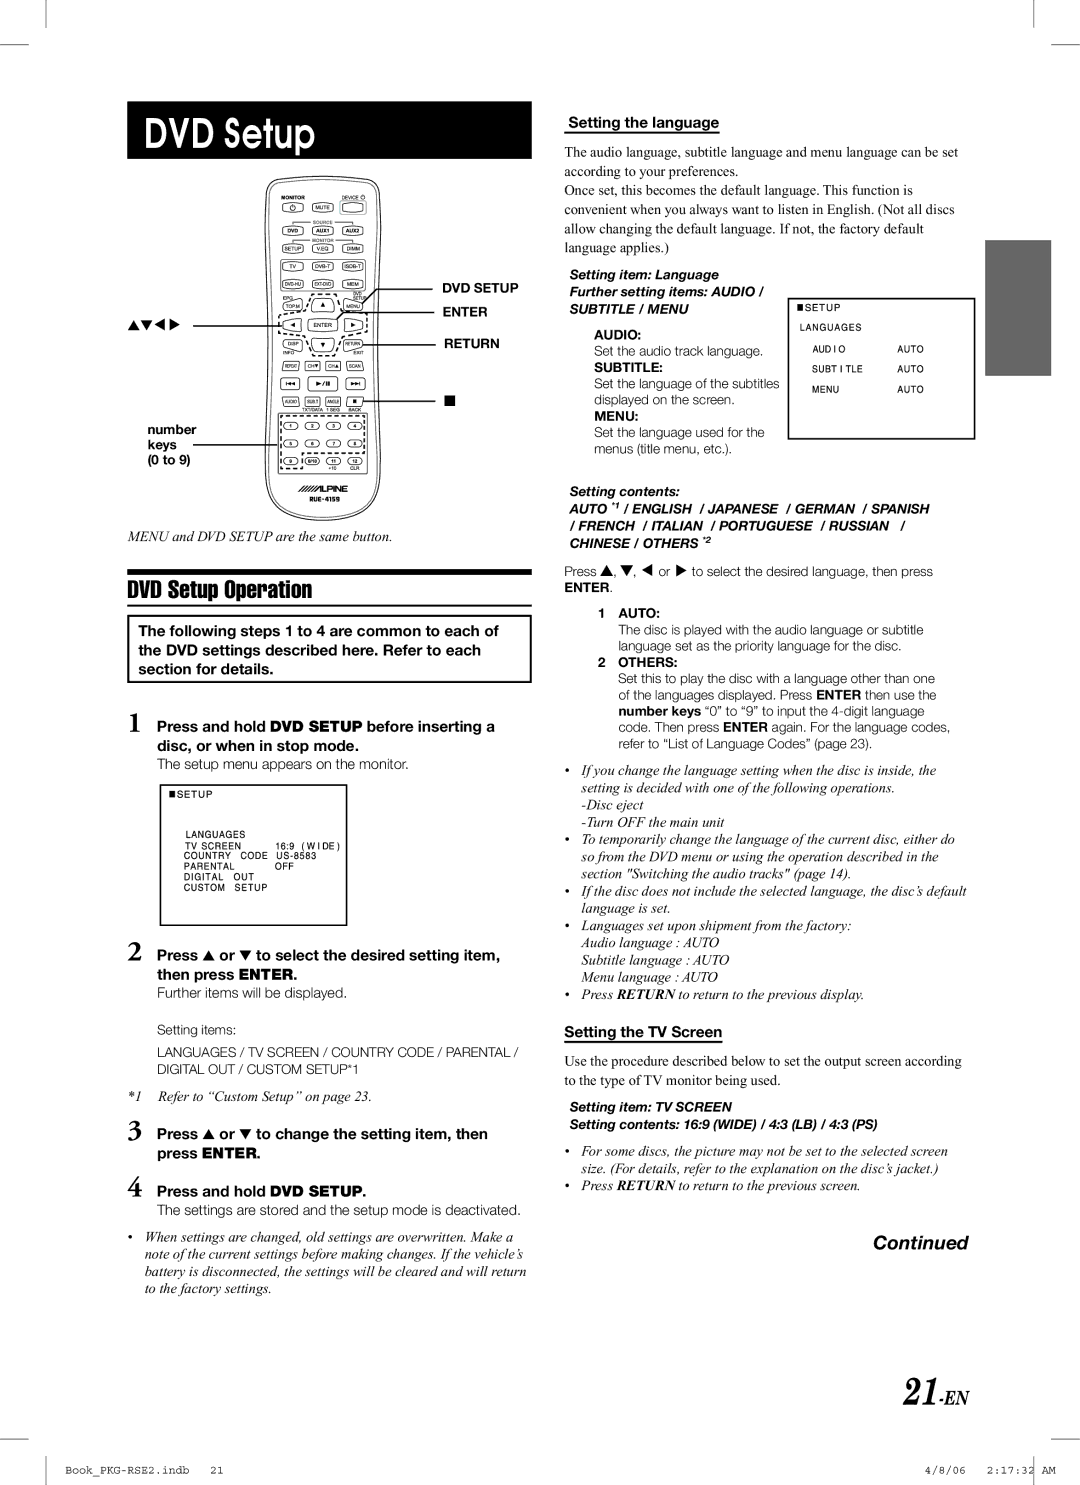
DVD SETUP
ENTER
▲▼![]()
![]()
RETURN
■
number keys (0 to 9)
MENU and DVD SETUP are the same button.
DVD Setup Operation
The following steps 1 to 4 are common to each of the DVD settings described here. Refer to each section for details.
1Press and hold DVD SETUP before inserting a disc, or when in stop mode.
The setup menu appears on the monitor.
2Press ▲ or ▼ to select the desired setting item, then press ENTER.
Further items will be displayed.
Setting items:
LANGUAGES / TV SCREEN / COUNTRY CODE / PARENTAL / DIGITAL OUT / CUSTOM SETUP*1
*1 Refer to “Custom Setup” on page 23.
3Press ▲ or ▼ to change the setting item, then press ENTER.
4Press and hold DVD SETUP.
The settings are stored and the setup mode is deactivated.
•When settings are changed, old settings are overwritten. Make a note of the current settings before making changes. If the vehicle’s battery is disconnected, the settings will be cleared and will return to the factory settings.
Setting the language
The audio language, subtitle language and menu language can be set according to your preferences.
Once set, this becomes the default language. This function is convenient when you always want to listen in English. (Not all discs allow changing the default language. If not, the factory default language applies.)
Setting item: Language
Further setting items: AUDIO /
SUBTITLE / MENU
AUDIO:
Set the audio track language.
SUBTITLE:
Set the language of the subtitles displayed on the screen.
MENU:
Set the language used for the menus (title menu, etc.).
Setting contents:
AUTO *1 / ENGLISH / JAPANESE / GERMAN / SPANISH / FRENCH / ITALIAN / PORTUGUESE / RUSSIAN / CHINESE / OTHERS *2
Press ![]() ,
, ![]() ,
, ![]() or
or ![]() to select the desired language, then press
to select the desired language, then press
ENTER.
1AUTO:
The disc is played with the audio language or subtitle language set as the priority language for the disc.
2OTHERS:
Set this to play the disc with a language other than one of the languages displayed. Press ENTER then use the number keys “0” to “9” to input the
•If you change the language setting when the disc is inside, the setting is decided with one of the following operations.
•To temporarily change the language of the current disc, either do so from the DVD menu or using the operation described in the section "Switching the audio tracks" (page 14).
•If the disc does not include the selected language, the disc’s default language is set.
•Languages set upon shipment from the factory: Audio language : AUTO
Subtitle language : AUTO
Menu language : AUTO
•Press RETURN to return to the previous display.
Setting the TV Screen
Use the procedure described below to set the output screen according to the type of TV monitor being used.
Setting item: TV SCREEN
Setting contents: 16:9 (WIDE) / 4:3 (LB) / 4:3 (PS)
•For some discs, the picture may not be set to the selected screen size. (For details, refer to the explanation on the disc’s jacket.)
•Press RETURN to return to the previous screen.
Continued
21-EN
| 4/8/06 2:17:32 | AM |
|
|
|