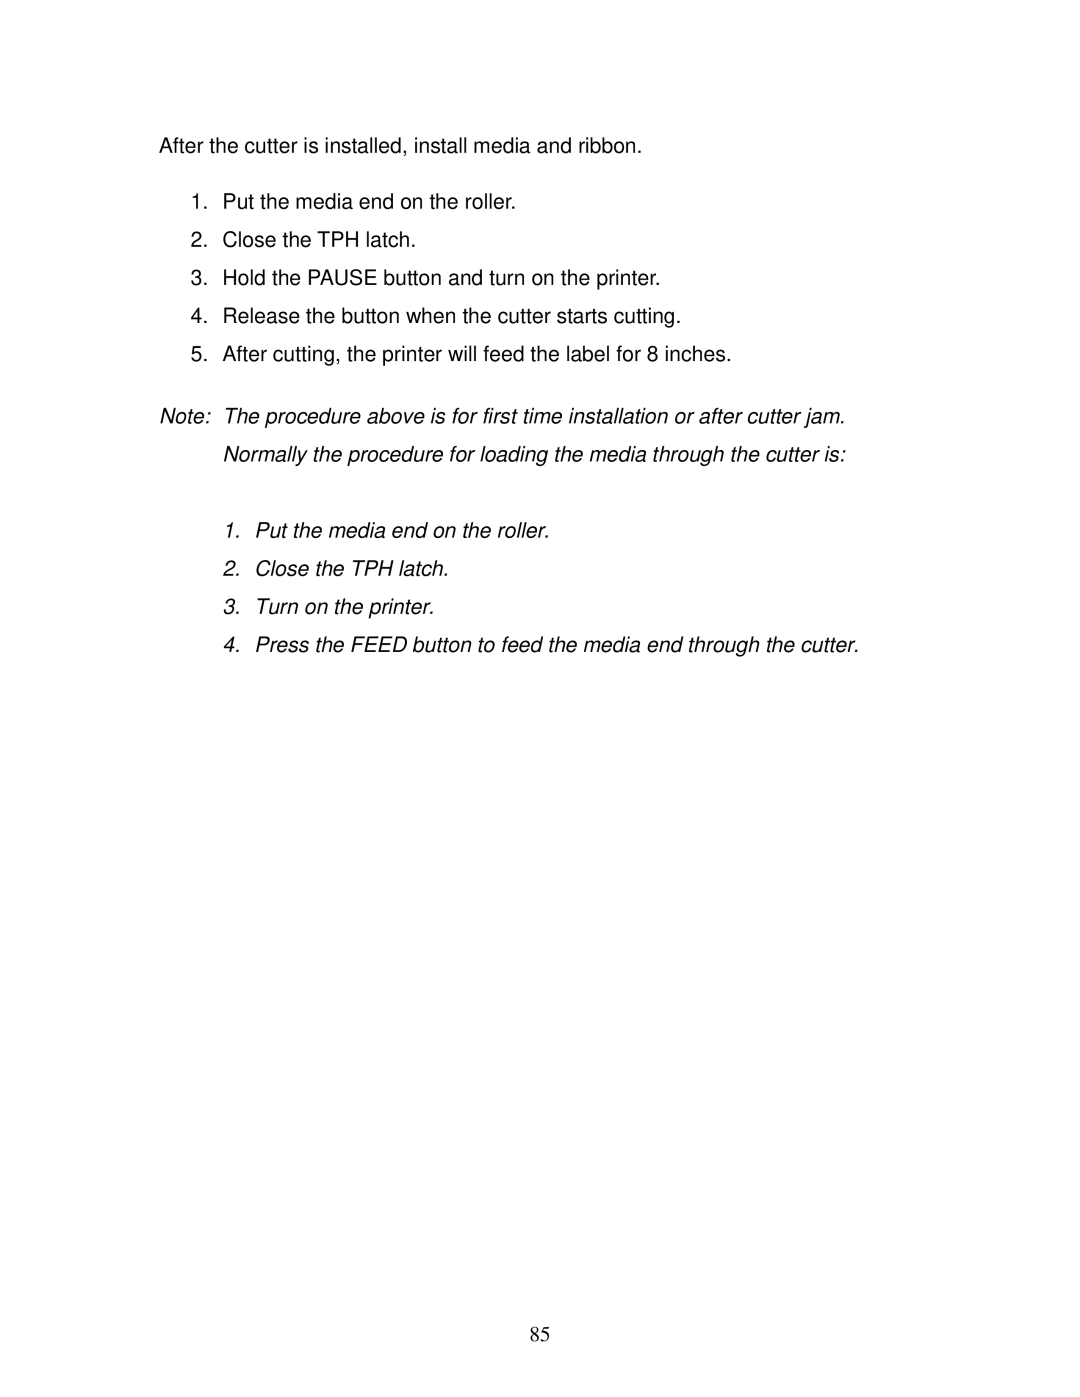
Fastmark 4600 PLUS Series
User’s Guide
Thermal Transfer Barcode Printer
Table of Contents
Technical Reference
Table of Contents
TRADEMARK CREDITS
IMPORTANT SAFETY INSTRUCTIONS AND OTHER NOTICES
Unpacking
Getting Started
2. Installation Quick Start Guide
Package Contents
3. CD Rom User Guides, Utility Software & Drivers 4. AC Power Cord
1. Fastmark 4600 PLUS Series Printer
WARNING! Do not operate the printer in an area where it might get wet
Connecting the Power Cord
Placing the Printer
Front Panel
Getting to Know Your Printer
Buttons
LED Indicators
For the FM 4602 PLUS Series, and the
FM 4603 PLUS Series models, modes of
LCD Display
300,PAL/PPLZ ESC FOR KEYBD
Setting Display Language
203,PAL/PPLZ WITH B.C. READER
300,PAL/PPLZ WITH B.C. READER
Setting Procedure
Changing Settings from the Panel
NOTE Features can vary based on printer model. Do not change settings
Basic Printer Features and Parameter Settings , PPLA/PPLB
during printing or communication
Printer Features and Parameter Settings, PAL/PPLZ
Factory Default
Feature
INSTALLED
characteristics. Once
Ribbon Pick-up Spindle
Internal Parts and Features
Ribbon Supply Spindle Media Supply Spindle Rear Feed Slot Head Latch
Thermal Printhead Paper Drive Roller
Peeler Option Cutter Module
Loading a Ribbon
Loading Ribbon and Media
Front Access
Head
2. Turn the head latch counter-clockwise and open the bracket. Figure
Bracket
Ribbon Supply
6. Insert the core onto the ribbon pick-up spindle. Figure
4. Lead the ribbon through the print head module. Figure
Ribbon
Pick-up
Standard Mode
Loading Media
Head
outside media guide. Figure
Latch
Outside
3. Lead the media through the print head module and under the paper sensor guide. Figure
Page
Backing Paper
Peel Off Mode
Remove labels
Print Head
Media Backing/Liner
Module
Dispenser
4. Close the peeler module using the peel-off mechanism release lever. Figure
Cutter Module Print Head Module Paper Sensor Guide
Cutting Mode
Outside Media Guide
Head
Front Panel
Control Panel Operation
LED Indicators
Buttons
Pressed and held down during Power UP
Button
Function
Button
Pressed during normal operation
Function
Pressed for Special functions
LCD Display
With Keyboard Option installed
Standard Printer
With Barcode Reader Option
PRINT MODE DIRECT THERMAL
Front Panel Set-up Menu
Set-up Mode
Buttons
1. Power on the printer
Feature Item
Typical Set-up Control Panel Features features may differ among
Factory Default
2. Make sure the settings you desire has an * character by the value
Traditional Printing
PALTM Print and Program Overview
Legacy Data Stream Interpretation
Host System
Standalone/Downtime Applications
Ability to operate on line from host or off line in stand-alone mode
Performing Calibration
Calibration & Configuration
Printing a Configuration Report
3. Printed label count is not reset
Resetting to Factory Default Settings
USB Interface Requirements
Computer Connections
Centronics Parallel Port
Ethernet 10/100 Internal Printer Server Option
Serial RS-232 Port
1. Centronics allows a much higher communication speed than serial
this cable
LED Status
Ethernet Module Status Indicators
Description
Blinking
Green LED Amber LED
Ethernet LED Indicators
Communicating with the Printer
Page
6. Click Finish
8. Select model & emulation
7. Select Install printer drivers and Click Next
TIA-230 TIA-230E TIZ-230
9. Select the port of the printer and click Next
Not Shared LT1 YES TIA-230E 7.1.8M-0
Installed printer TIA-230E PPLB
installed
Media Problems
Troubleshooting
Note If problem continues perform a label sensor calibration
LED and LCD Diagnosis
Other Problems
Ribbon Problems
Note After problem is solved, press CANCEL to continue printing
Light /Missing Print
Miscellaneous
Recovery
Note Turn off the printer before cleaning
Cleaning the Print Head
Caring for Your Printer
depending on actual usage and conditions
Cleaning the Media Compartment
Cleaning the Roller
dust or adhesives
Technical Reference
General Specifications
24lbs11kgs
PPLB
PPLA
PAL/PPLZ
Printer Programming Language A, PPLA
Fonts, Bar Codes and Graphics Specification
Printer Programming Language B, PPLB
Printer Programming Language Z, PPLZ
Connector Terminal Pin Assignment
Interface Specifications
USB series “B” Receptacle Interface
if you use a general host such as a PC
Serial Interface
Connection with Host
Terminal/Host TxData RxData Ground
Printer Pin 2- RxData ……… Pin 3- TxData ……… Pin 5- Ground ………
Data format always 8 data bits, 1 start bit and 1 stop bit
Parity
Auto Polling
Parallel Centronics
Data1
Data3
Signal
Ethernet Interface
ASCII TABLE
Appendix A Printer Status
Form Control Functions
Keyboard
Appendix B Stand-alone Keyboard and Barcode Reader
Example Making a Keyboard Form
KBDFORM
READY 203,PPLB ESC FOR KEYBD
5. Key-in the product name and number Product Name ? Barcode Printer
Product No. ? 0123456789 6. Input the label count and copy count
ENTER to go on Or ESC to return
Output
Barcode Reader
Example Making a Barcode Reader Form
Product No.? 11223344 Product Name? APPLE
Output
Refer to the following steps to install the cutter kit onto printers
Appendix C Cutter Installation
1. Turn off the printer
2. Remove the top covers on both left and right sides
5. Loosen and remove the two screws 4 from bracket
9. Set parameter “CUTTER INSTALLED”, on the LCD to the ON position
8. Turn on the printer
3. Turn on the printer
1. Put the media end on the roller 2. Close the TPH latch
4. Press the FEED button to feed the media end through the cutter
After the cutter is installed, install media and ribbon
Install a dispenser into the printer as follows
Appendix D Dispenser Installation
1. Turn off the printer
2. Remove the top cover on both left and right sides
Page
8. Set parameter “DISPENSER INSTALLED” on the LCD to the ON position
6. Install the ribbon and media 7. Turn on the printer
Appendix F Switching Ribbon Wound Ink-side out or Ink-side in
Appendix E Adjusting Ribbon Tension