Buttons | Using the Power Sensor |
3-3 Buttons
There are nine buttons available on the user interface to perform the most common tasks as described below:
•Zero: Performs the Zero operation. Removes system noise.
•Hold/Run: Holds the last reading. Run releases the hold.
•Frequency: Applies frequency correction to the measured power.
•Power Units: Displays units of power in linear or log scale.
•Normal/Relative: Displays power changes with respect to desired reference value.
•Averages: Facilitates custom averaging number entry. The default number is 1.
•Fixed Offset: Facilitates an offset correction in dB. Input positive value for attenuation.
•Apply: Applies the current entry in the data entry field.
•Exit: Terminates the program.
3-4 Data Entry Fields
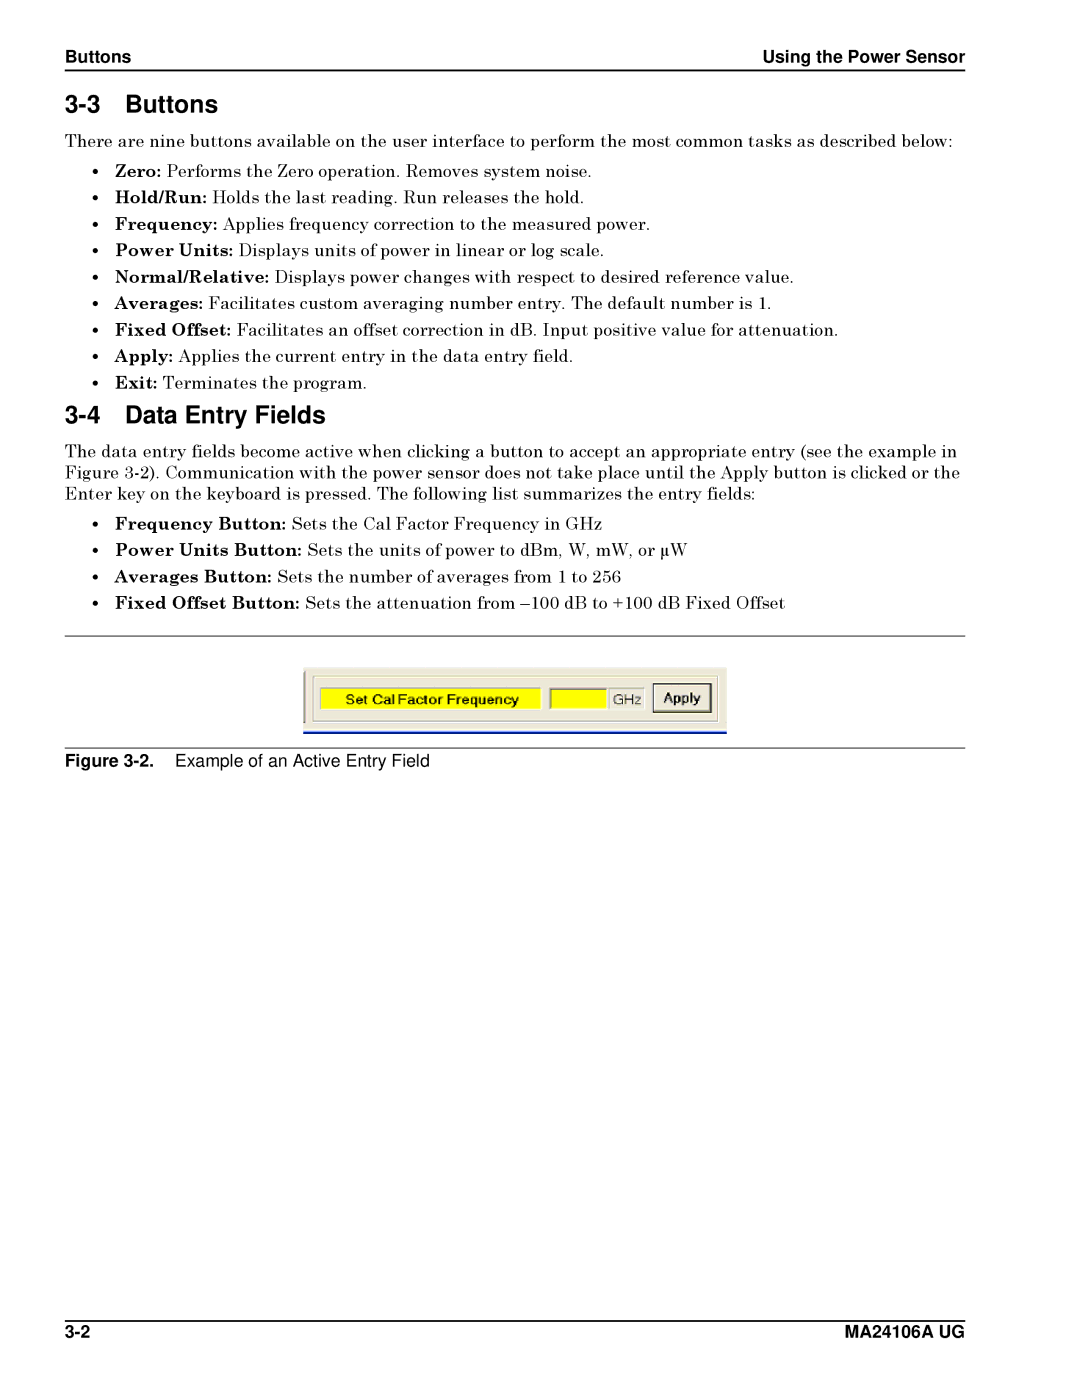
The data entry fields become active when clicking a button to accept an appropriate entry (see the example in Figure
•Frequency Button: Sets the Cal Factor Frequency in GHz
•Power Units Button: Sets the units of power to dBm, W, mW, or µW
•Averages Button: Sets the number of averages from 1 to 256
•Fixed Offset Button: Sets the attenuation from
Figure 3-2. Example of an Active Entry Field
MA24106A UG |
