DVR Station | User Manual - version 1 |
-“Bitrate”: 500kb/s, 1000kb/s, 1500kb/s, 2000kb/s, 2500kb/s. Use this to set the encoding quality. The higher the encoding rate, the higher the image quality but also more hard drive space will be used.
-“Sampling”: 32kHz, 48kHz. This is the sound sampling rate. The higher value gives a higher quality sound but will take up more space on the hard drive.
-“Brightness”: adjusts the recorded image brightness.
-“Contrast”: adjusts the recorded image contrast.
-“Saturation”: use this to
-“Hue”: changes the color spectrum in the recorded image.
-“Reset”: changes the above settings to the default values.
3.5. the “tv scheduler”
•With the tuner connected to your DVR Station as shown on side B of the Connection Sheet, you can schedule recordings manually. If you want to schedule via the TV Program Guide, see 4. The TV Program Guide.
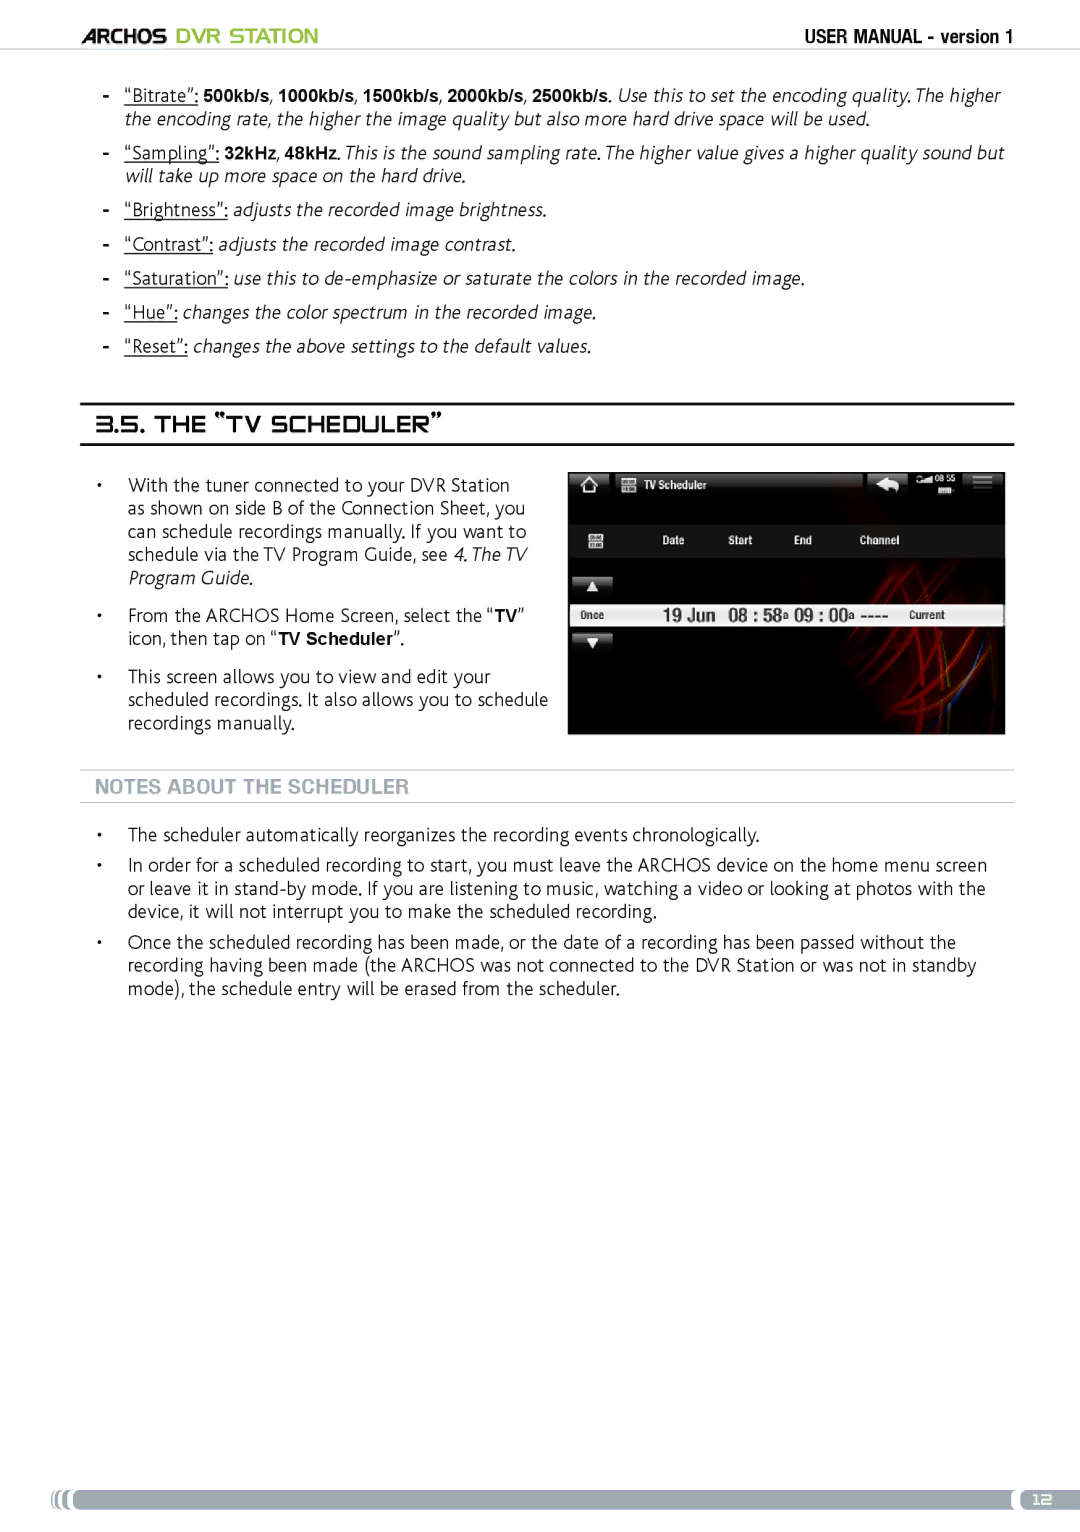
•From the ARCHOS Home Screen, select the “TV” icon, then tap on “TV Scheduler”.
•This screen allows you to view and edit your scheduled recordings. It also allows you to schedule recordings manually.
Notes about the scheduler
•The scheduler automatically reorganizes the recording events chronologically.
•In order for a scheduled recording to start, you must leave the ARCHOS device on the home menu screen or leave it in
•Once the scheduled recording has been made, or the date of a recording has been passed without the recording having been made (the ARCHOS was not connected to the DVR Station or was not in standby mode), the schedule entry will be erased from the scheduler.
12
