PROGRAMMING
DOWNLOAD/UPLOAD SETUP USING VSI-PRO TO VSI-PRO
To insure that the DOWNLOAD/UPLOAD process is accomplished, you need to access the programming menu for both VSI-Pros, so each VSI-Pro needs a video input and a monitor. The optimum way to perform the DOWNLOAD/ UPLOAD process would be to have a system set up with two separate cameras and monitors and the programmed VSI-Pro with the download data cable attached. The VSI-Pro programming data is stored internally in a battery backed 32K x SRAM. This would allow you to program one VSI-Pro on-site and bring the programmed VSI-Pro back to the shop or office and program additional VSI-Pros quickly. We realize this may not always be possible to do and that there may be a need for field programming. The only difficulty with the field DOWNLOAD/UPLOAD process is accessing the programming menus of both VSI-Pros simultaneously.
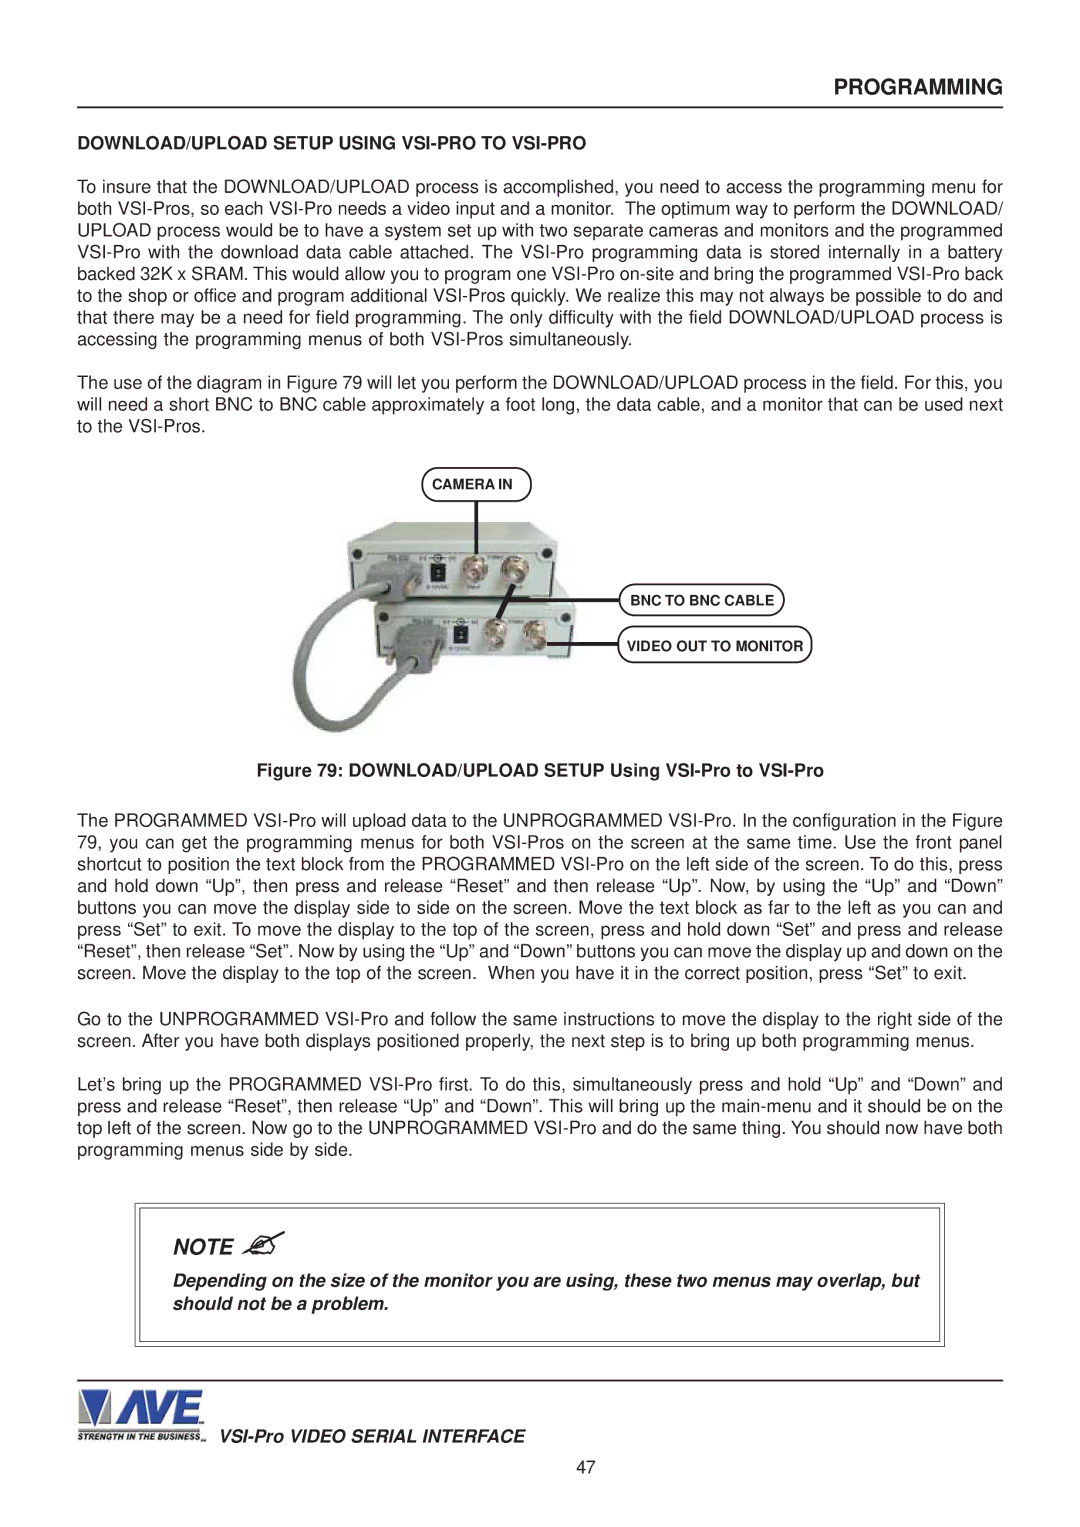
The use of the diagram in Figure 79 will let you perform the DOWNLOAD/UPLOAD process in the field. For this, you will need a short BNC to BNC cable approximately a foot long, the data cable, and a monitor that can be used next to the VSI-Pros.
CAMERA IN
BNC TO BNC CABLE
VIDEO OUT TO MONITOR
Figure 79: DOWNLOAD/UPLOAD SETUP Using VSI-Pro to VSI-Pro
The PROGRAMMED VSI-Pro will upload data to the UNPROGRAMMED VSI-Pro. In the configuration in the Figure 79, you can get the programming menus for both VSI-Pros on the screen at the same time. Use the front panel shortcut to position the text block from the PROGRAMMED VSI-Pro on the left side of the screen. To do this, press and hold down “Up”, then press and release “Reset” and then release “Up”. Now, by using the “Up” and “Down” buttons you can move the display side to side on the screen. Move the text block as far to the left as you can and press “Set” to exit. To move the display to the top of the screen, press and hold down “Set” and press and release “Reset”, then release “Set”. Now by using the “Up” and “Down” buttons you can move the display up and down on the screen. Move the display to the top of the screen. When you have it in the correct position, press “Set” to exit.
Go to the UNPROGRAMMED VSI-Pro and follow the same instructions to move the display to the right side of the screen. After you have both displays positioned properly, the next step is to bring up both programming menus.
Let’s bring up the PROGRAMMED VSI-Pro first. To do this, simultaneously press and hold “Up” and “Down” and press and release “Reset”, then release “Up” and “Down”. This will bring up the main-menu and it should be on the top left of the screen. Now go to the UNPROGRAMMED VSI-Pro and do the same thing. You should now have both programming menus side by side.
NOTE ?
Depending on the size of the monitor you are using, these two menus may overlap, but should not be a problem.
VSI-Pro VIDEO SERIAL INTERFACE