13AXIS 206 - Install the AXIS 206/206M
AXIS IP Utility
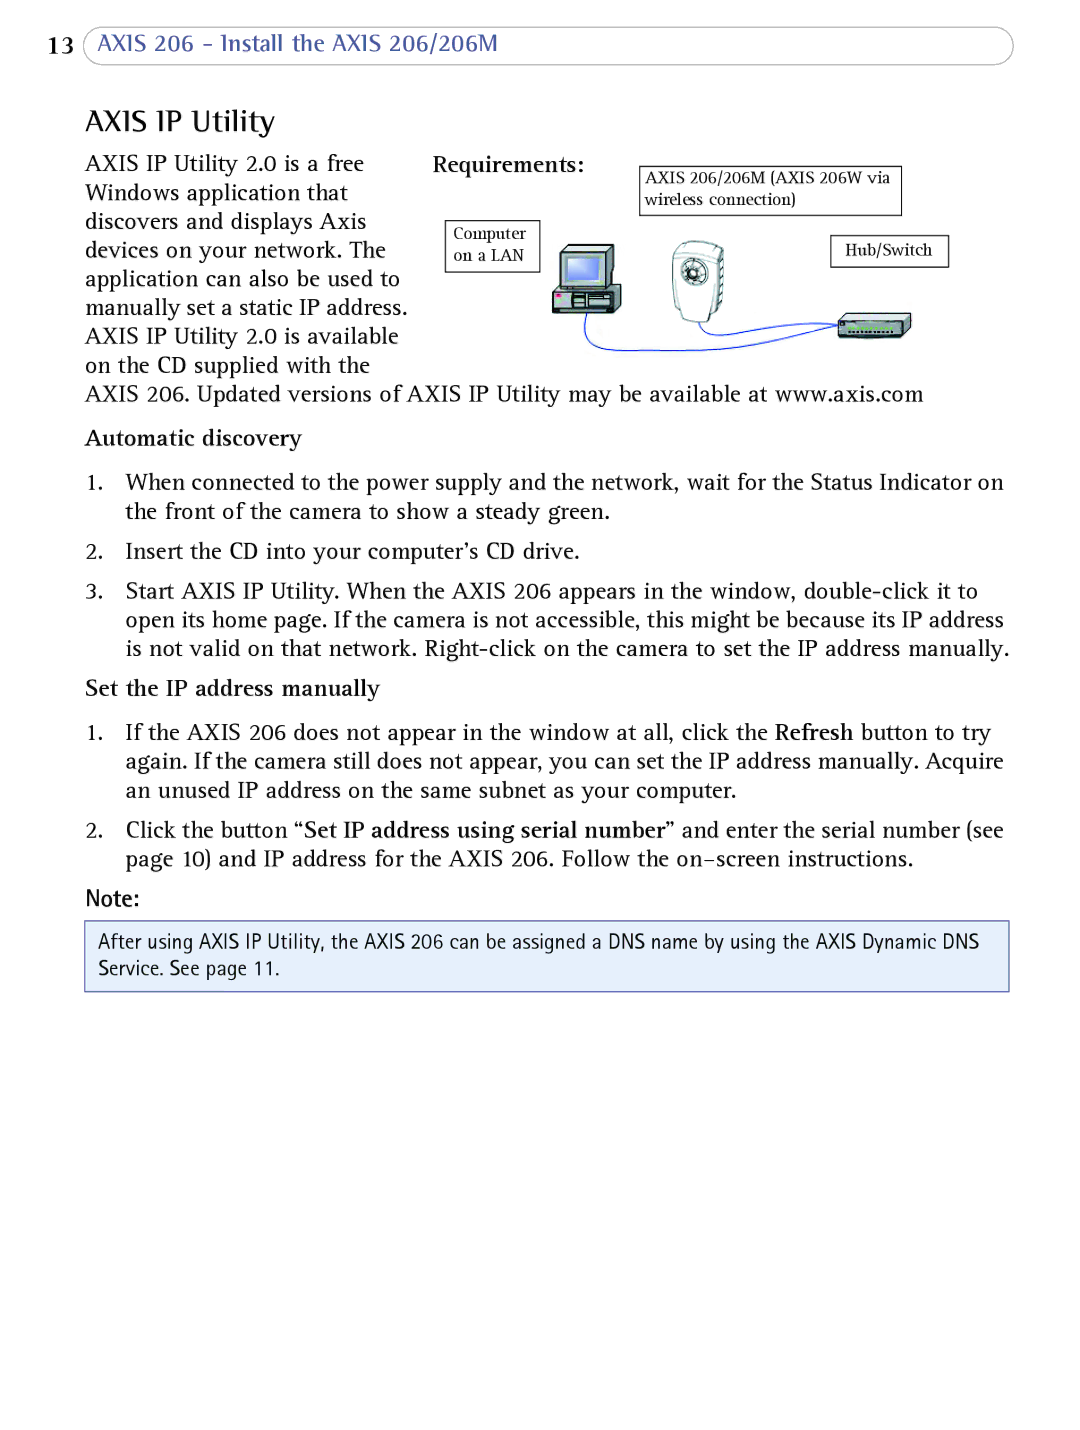
AXIS IP Utility 2.0 is a free | Requirements: |
|
|
| ||
AXIS 206/206M (AXIS 206W via |
| |||||
Windows application that |
|
|
|
| ||
|
|
| wireless connection) |
| ||
discovers and displays Axis |
|
|
|
|
|
|
|
|
|
|
|
| |
| Computer |
|
|
|
| |
devices on your network. The |
| on a LAN |
|
| Hub/Switch | |
application can also be used to |
|
|
|
|
|
|
|
|
|
|
|
| |
manually set a static IP address. |
|
|
|
|
|
|
AXIS IP Utility 2.0 is available |
|
|
|
|
|
|
on the CD supplied with the
AXIS 206. Updated versions of AXIS IP Utility may be available at www.axis.com
Automatic discovery
1.When connected to the power supply and the network, wait for the Status Indicator on the front of the camera to show a steady green.
2.Insert the CD into your computer’s CD drive.
3.Start AXIS IP Utility. When the AXIS 206 appears in the window,
Set the IP address manually
1.If the AXIS 206 does not appear in the window at all, click the Refresh button to try again. If the camera still does not appear, you can set the IP address manually. Acquire an unused IP address on the same subnet as your computer.
2.Click the button “Set IP address using serial number” and enter the serial number (see page 10) and IP address for the AXIS 206. Follow the
Note:
After using AXIS IP Utility, the AXIS 206 can be assigned a DNS name by using the AXIS Dynamic DNS Service. See page 11.
