zero.
7.Ensure that the current can be adjusted from zero to the full rated value.
8.Turn off the power supply and remove the short wire from the output terminals.
1.3 If the Power Supply Does Not Turn On
Use the following steps to help solve problems you might encounter when turning on the instrument. If you need more help, refer to chapter 6 for instructions on returning the instrument to the supplier for service.
1. Verify that there is AC power to the power supply.
First, verify that the power cord is firmly plugged into the power receptacle on the rear panel of the power supply. You should also make sure that the power source you plugged the power supply into is energized. Then, verify that the power supply is turned on.
2. Verify the power-line voltage setting.
The line voltage is set to the proper value for your country (110VAC or 220VAC. Change the voltage setting if it’s not correct.
3. Verify that the correct power-line fuse is installed.
If the fuse was damaged, please see the table below to replace the fuse for your power supply.
Fuse Description
Fuse 2.5A T 250V for 220VAC
Fuse 5A T 250V for 110VAC
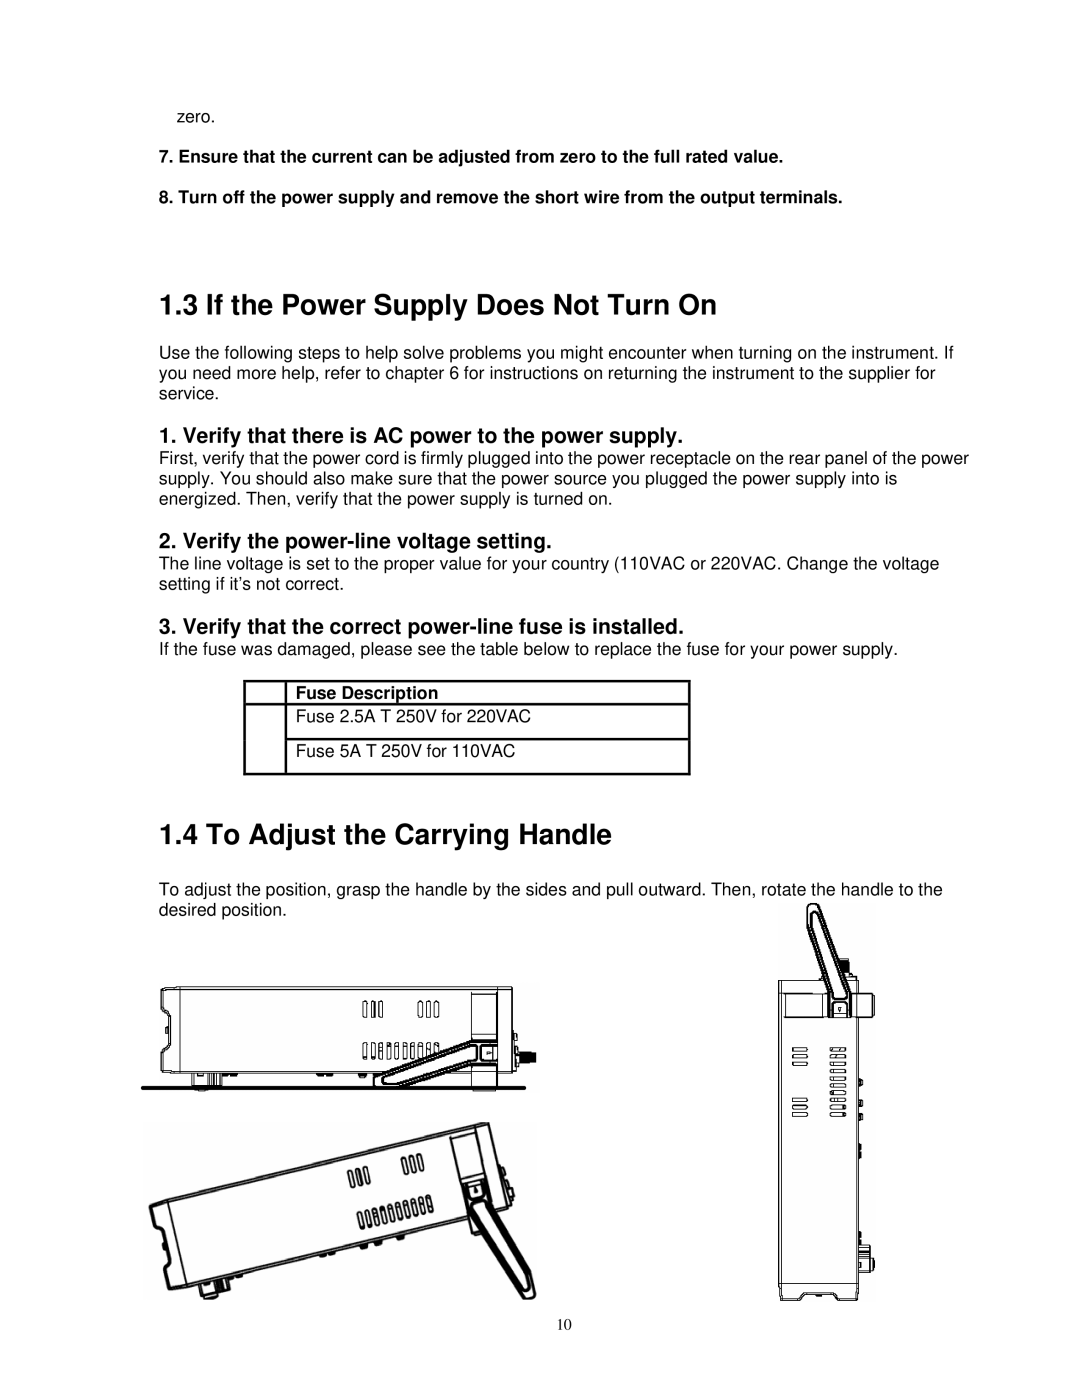
1.4 To Adjust the Carrying Handle
To adjust the position, grasp the handle by the sides and pull outward. Then, rotate the handle to the desired position.
10