DS72 HOST MODULE OWNER’S MANUAL
DS72 QUICK START
DS72 QUICK START
This section describes the basic steps required to set up and configure your DS72. If you need to acquaint yourself further with the setup, configuration, and operations, see “Detailed Operations and Configuration” beginning on page 8.
GETTING STARTED
Before the DS72 can be used within a network, there are a few parameters which must be configured.
For an initial setup, connect the serial port of your computer to the
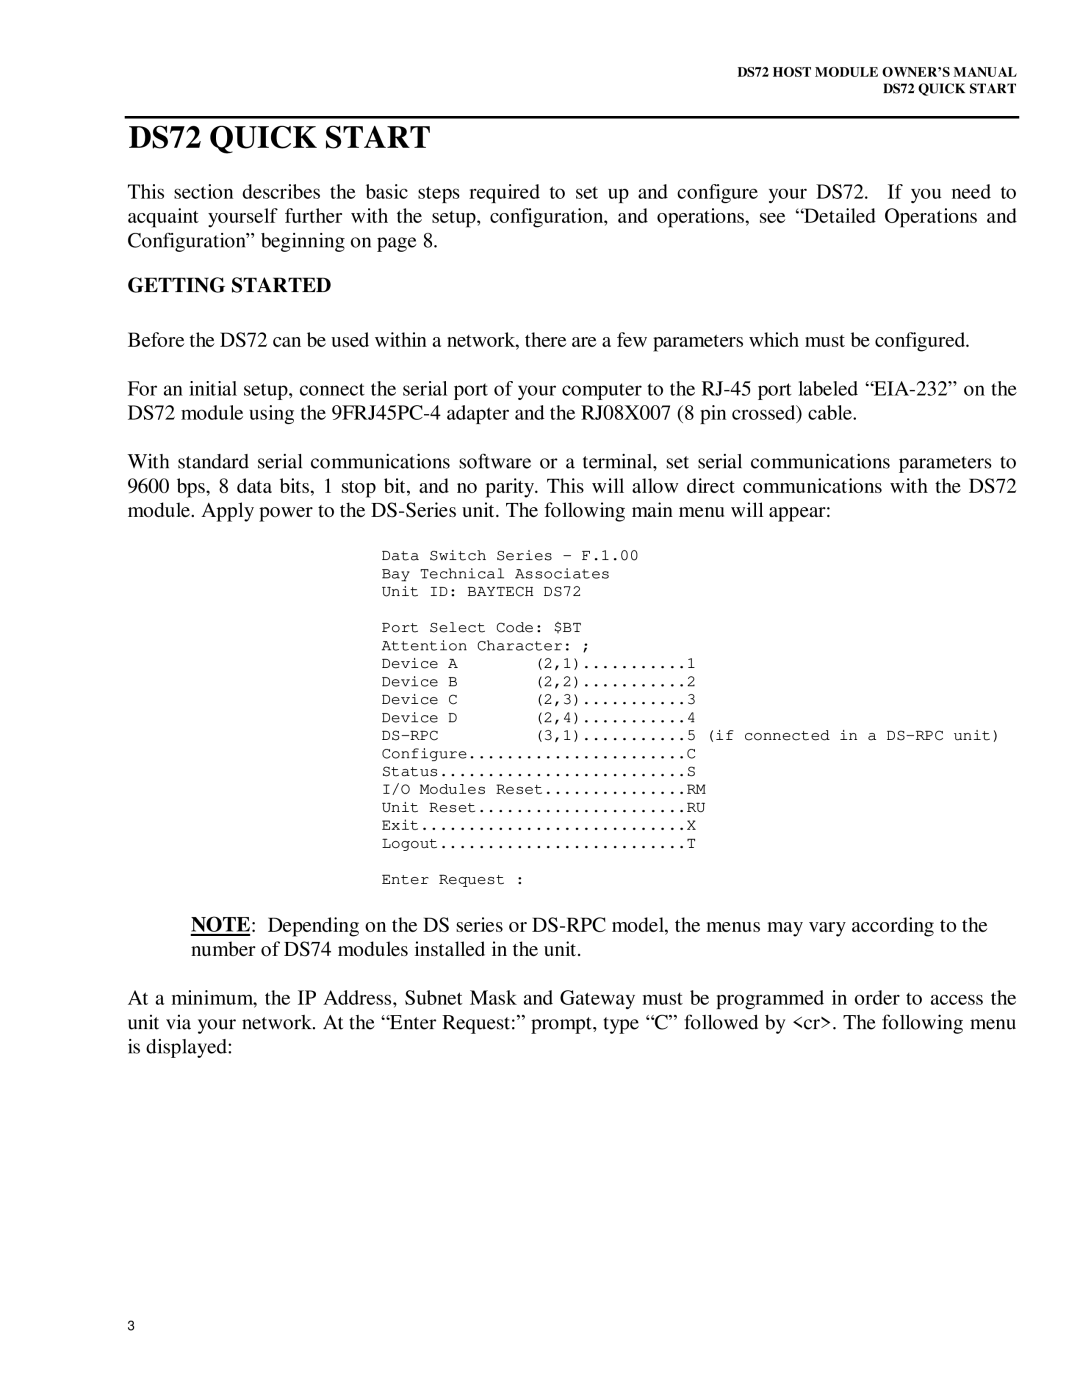
With standard serial communications software or a terminal, set serial communications parameters to 9600 bps, 8 data bits, 1 stop bit, and no parity. This will allow direct communications with the DS72 module. Apply power to the
Data Switch Series - F.1.00
Bay Technical Associates
Unit ID: BAYTECH DS72
Port Select Code: $BT |
|
| |
Attention Character: ; |
|
| |
Device A | (2,1) | 1 |
|
Device B | (2,2) | 2 |
|
Device C | (2,3) | 3 |
|
Device D | (2,4) | 4 |
|
| (3,1) | 5 | (if connected in a |
Configure | C |
| |
Status | S |
| |
I/O Modules Reset | RM |
| |
Unit Reset | RU |
| |
Exit | X |
| |
Logout | T |
| |
Enter Request :
NOTE: Depending on the DS series or
At a minimum, the IP Address, Subnet Mask and Gateway must be programmed in order to access the unit via your network. At the “Enter Request:” prompt, type “C” followed by <cr>. The following menu is displayed:
3
