WEB CONFIGURATION
Accessing the Web Configuration Menus
1.Power up the Print Server that is within wireless range of your wireless network or is connected to your network using an Ethernet cable.
2.Allow approximately one minute for the Print Server to boot and obtain an IP address.
3.Determine the Print Server’s IP address, using one of the following methods:
a)New Print Servers are configured to receive IP addresses dynamically. If your network has a DHCP server, the Print Server will obtain an IP address from your network. If the DHCP server supports a client list, the client list will list the IP address assigned to the Print Server. If a DHCP server is not available, after 1.5 minutes the Print Server will revert to 192.168.2.253.
b)If the Print Server has been configured previously, then it will have been set to a static IP address that could be different for every network.
Note: Restoring factory defaults on the Print Server by holding in the reset button for 10 seconds while repowering the Print Server will restore the IP address to dynamic.
c)Run the program “PSF.exe” from the Installation CD. This will find the IP address and link automatically to the
d)Go to the last step of the Print Server Installation Wizard, which has an Advanced button that finds the IP address and links automatically to the
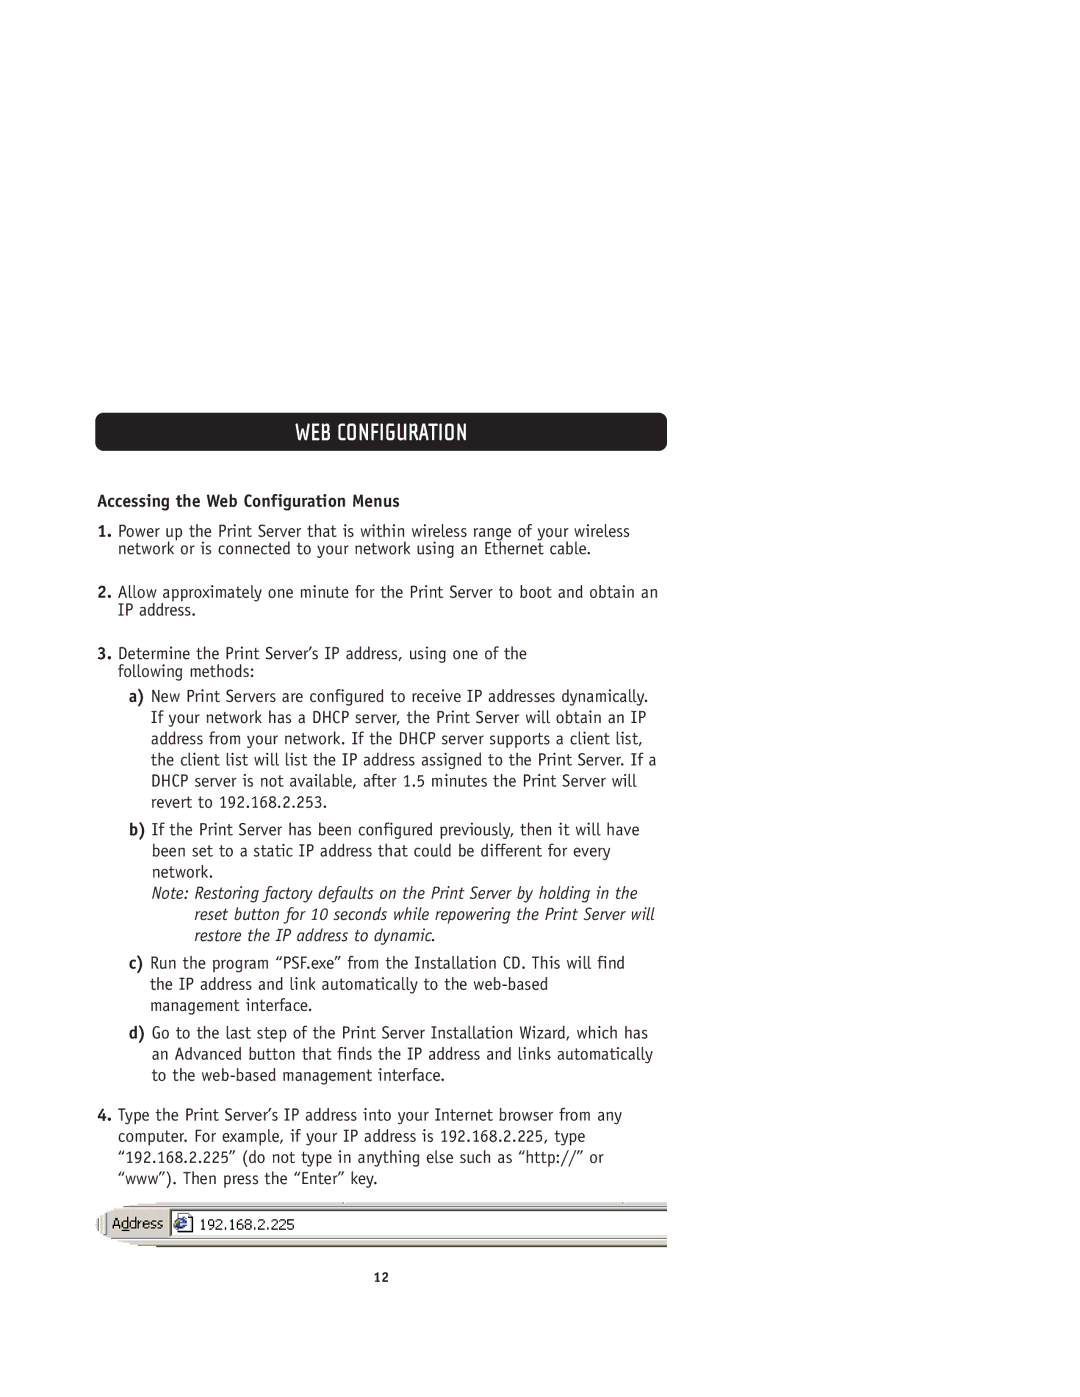
4.Type the Print Server’s IP address into your Internet browser from any computer. For example, if your IP address is 192.168.2.225, type “192.168.2.225” (do not type in anything else such as “http://” or “www”). Then press the “Enter” key.
12
