Manuals
/
Belkin
/
Computer Equipment
/
Network Router
Belkin
F5D5231-4
user manual
Port Cable/DSL Gateway Router
Models:
F5D5231-4
1
1
72
72
Download
72 pages
29.92 Kb
1
2
3
4
5
6
7
8
Troubleshooting
Password
Internet Status Indicator
Login
Connecting your Gateway/Router
Configuring the Firewall
Reset Button
Setting your Connection Type
Power/Ready LED
Service IP Address
Page 1
Image 1
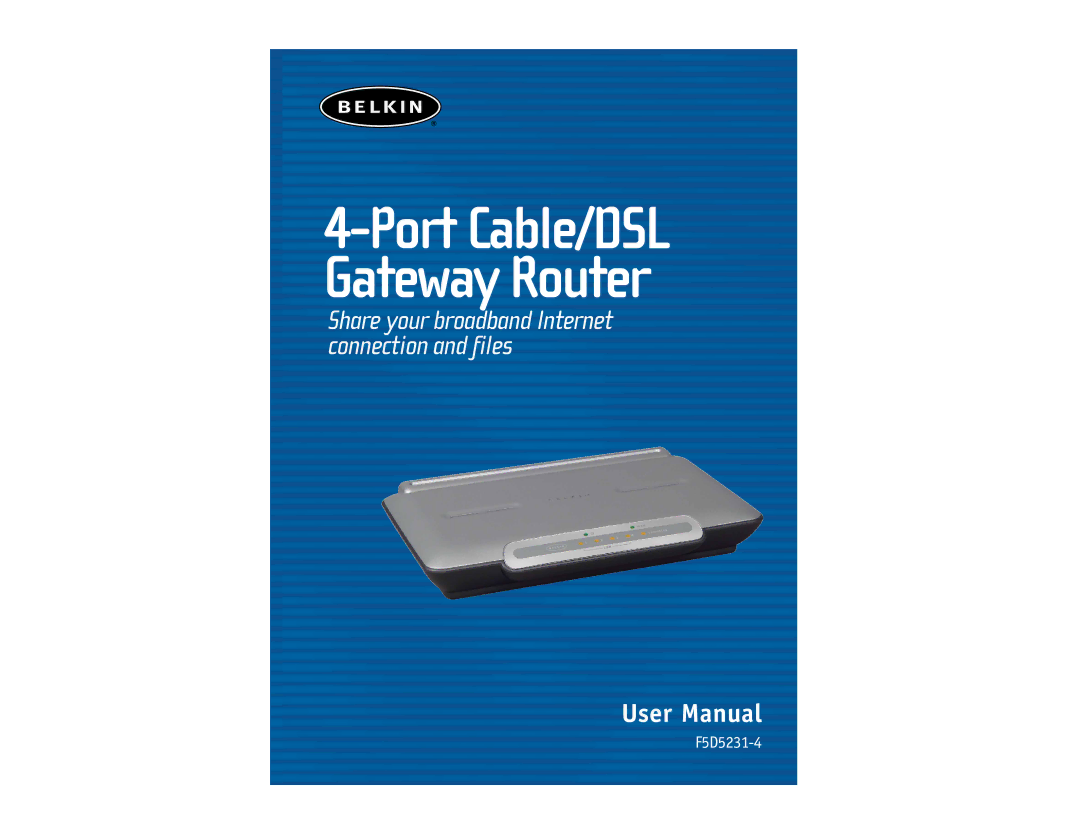
4-Port
Cable/DSL Gateway Router
Share your broadband Internet connection and files
User Manual
F5D5231-4
Page 1
Page 2
Page 1
Image 1
Page 1
Page 2
Contents
Port Cable/DSL Gateway Router
Table of Contents
Introduction
SPI Firewall
Integrated 10/100 4-Port Switch
Universal Plug-and-Play UPnP Compatibility
Support for VPN Pass-Through
Easy Install Wizard Software System Requirements
Package Contents
System Requirements
Knowing Your Belkin Router
Power/Ready LED
LAN Port-Status LEDs
WAN Status LED
Using the Reset Button to Reset the Router
Reset Button
Connected LED
Power Jack
Using the Reset Button to Restore the Factory Defaults
Internet/WAN Port
LAN Ports
Modem Requirements
Ethernet USB Easy Install Wizard
Follow the Easy Install Wizard to Complete the Installation
Run the Easy Install Wizard Software
Welcome Screen
Connecting and Configuring Your CABLE/DSL Gateway Router
Connect the Router to your Modem and Computer
PPPoE Connection Detected
Cable or Existing network cable DSL modem
Checking the Connection
Continue Following the Wizard’s Instructions
Connecting and Configuring Your CABLE/DSL Gateway Router
Connecting and Configuring Your CABLE/DSL Gateway Router
Click Add computers
For Computers Already Equipped with a Network Adapter
Page
Alternate Setup Method
Alternate Setup Method
Connecting your Gateway/Router
Cable or DSL modem
Logging out of the Router
Logging into the Router
Understanding the Web-Based Advanced User Interface
Internet Status Indicator
Quick-Navigation Links
Home Button
LAN Settings
Login/Logout Button
Features
Internet Settings
Configuring your Router for Connection to your ISP
Setting your ISP Connection Type to Dynamic IP
Setting your Connection Type
Host Name
Setting your ISP Connection Type to Static IP
Change WAN MAC Address
IP Address
Service Name
Password
User Name
Disconnect after X…
MTU
Service IP Address
Pptp Password
Pptp Account
My IP Address
Manually Enter Server IP Address
Setting Custom Domain Name Server DNS Settings
Cloning your MAC Address
Configuring your WAN Media Access Controller MAC Address
Entering a Specific MAC Address
Viewing the LAN Settings
Using the Web-Based Advanced User Interface
Changing LAN Settings
IP Pool
Dhcp Server
Lease Time
Local Domain Name
Viewing the Dhcp Client List
Configuring the Firewall
Configuring the Port Forwarding Settings
Choosing an Application
Manually Entering Settings into the Virtual Server
Configuring Internal Forwarding Settings
Setting Client IP Filters
Setting MAC Address Filtering
Enabling the Demilitarized Zone DMZ
Blocking an Icmp Ping
Utilities Tab
Restarting the Router
Restarting the Router to Restore Normal Operation
Restoring Factory Default Settings
Saving a Current Configuration
Using the WEB-BASED Advanced User Interface
Restoring a Previous Configuration
Using the WEB-BASED Advanced User Interface
Checking for a New Version of Firmware
Updating Firmware
Downloading a New Version of Firmware
Using the WEB-BASED Advanced User Interface
Updating the Router’s Firmware
Firmware update is complete
Setting or Changing the Administrator Password
Changing System Settings
Changing the Login Timeout Setting
Enabling Remote Management
Setting the Time and Time Zone
Using the WEB-BASED Advanced User Interface
Enabling/Disabling Auto Firmware Notification
Manually Configuring Network Settings
Manually Configuring Network Settings
Manually Configuring Network Settings in Mac OS up to
Manually Configuring Network Settings in Mac OS
Manually Configuring Network Settings
Manually Configuring Network Settings
Configuring Network Settings in Windows 98 or Me
Recommended Web Browser Settings
Recommended WEB Browser Settings
Internet Explorer 4.0 or Higher
Recommended WEB Browser Settings
Start Netscape. Click on Edit then Preferences
Netscape Navigator 4.0 or Higher
Easy Install Wizard is not able to find my Router
Troubleshooting
Troubleshooting
CE Declaration of Conformity
Information
P74121
Top
Page
Image
Contents