2. Selecting an application mode
The projector is preset with several predefined application modes so that you can choose one to suit your operating environment and input source picture type. To select a operation mode that suits your need, press MODE. The picture modes available for different types of signals are shown below.
PC/ DVI-A Signal Input
1.Brightest Mode: Maximizes the brightness of the projected image. This mode is suitable for environments where
2.Presentation Mode (Default): Is designed for presentations. The brightness is emphasized in this mode to match PC and notebook coloring.
3.Photo Mode: designed for viewing digital pictures in a living room.
4.Gaming Mode: Is suitable for playing
5.Video Mode: Is appropriate for playing movies, video clips from digital cameras or DVs through the PC input for best viewing in a blackened (little light) environment.
DVI-D/ YPbPr/ S-Video/ Video Signal Input
1.Home Theater Mode (Default): is slightly brighter than Cinema Mode, and suitable for use in rooms where there is a small amount of ambient light.
2.Cinema Mode: with
3.Gaming Mode: is suitable for playing video games in a bright living room.
4.Photo Mode: designed for viewing digital pictures in a living room.
5.Family Room: Brightness is emphasis in this mode and is best suited for use in rooms with normal lighting levels. It is good for watching TV programs, playing games or seeing bright movies.
3. Other adjustments
The following adjustments are accessible either on the remote control or through the OSD system.
•To use the remote control, press the button which labels the function you need.
•To use the OSD system, press the MENU button and go to the ![]() Picture menu. Highlight the function you need by pressing
Picture menu. Highlight the function you need by pressing ![]() Up or
Up or ![]() Down.
Down.
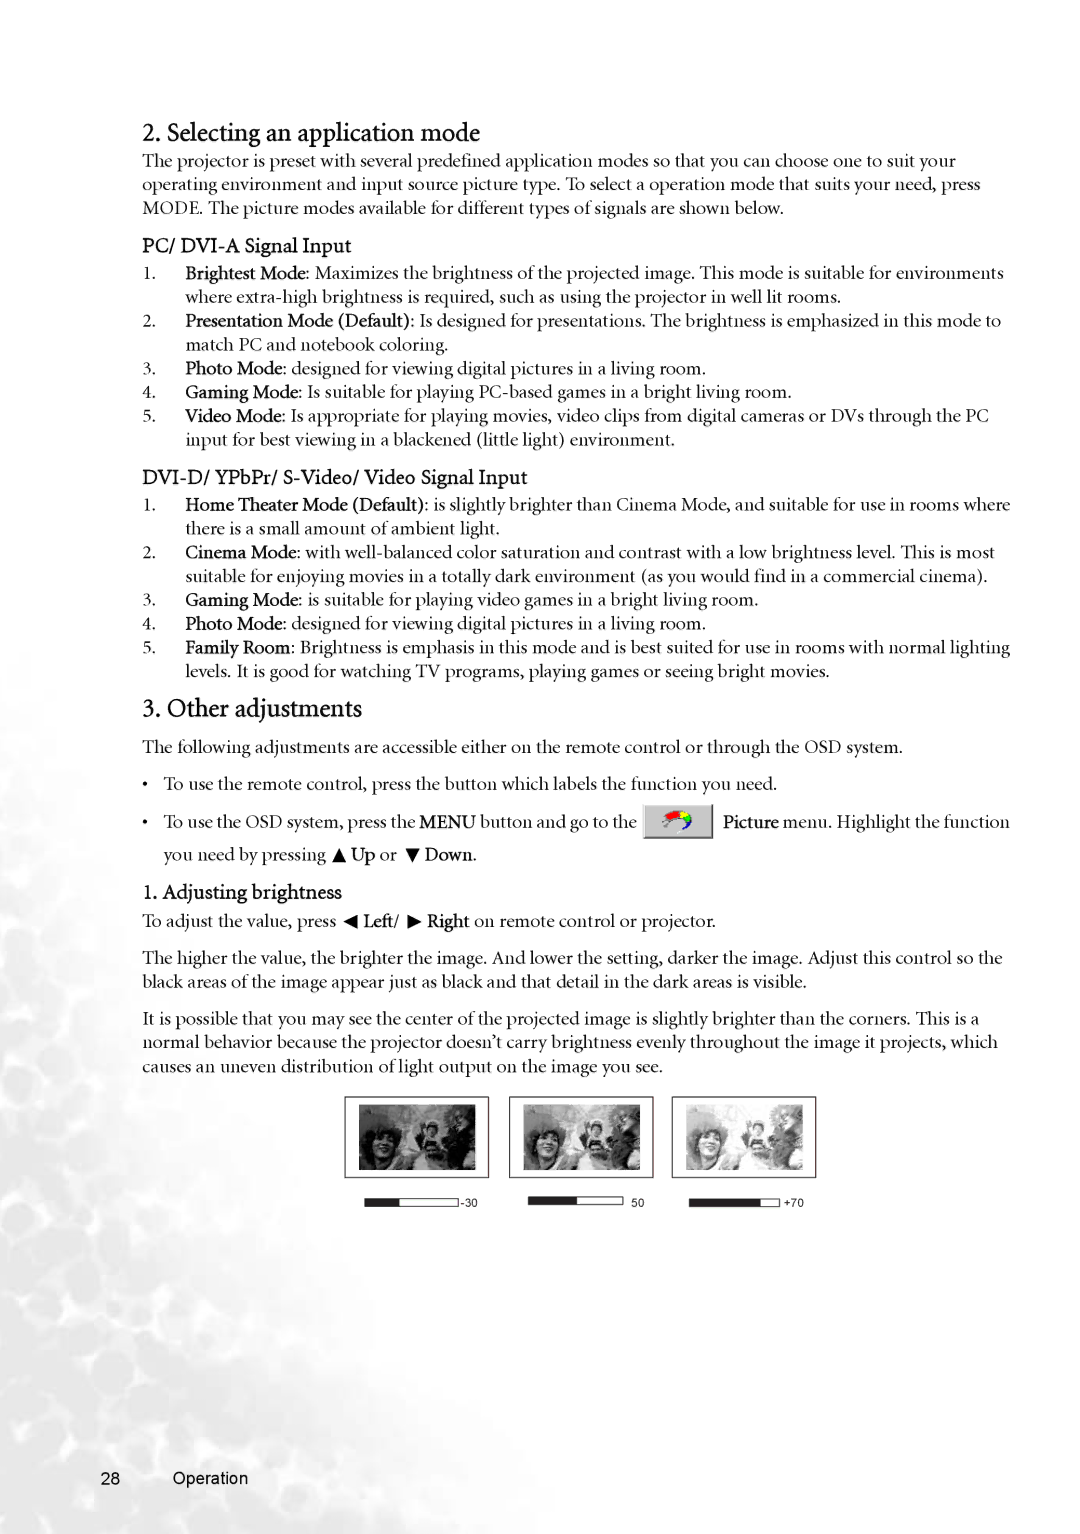
1. Adjusting brightness
To adjust the value, press ![]() Left/
Left/ ![]() Right on remote control or projector.
Right on remote control or projector.
The higher the value, the brighter the image. And lower the setting, darker the image. Adjust this control so the black areas of the image appear just as black and that detail in the dark areas is visible.
It is possible that you may see the center of the projected image is slightly brighter than the corners. This is a normal behavior because the projector doesn’t carry brightness evenly throughout the image it projects, which causes an uneven distribution of light output on the image you see.
50
+70
28 Operation