ASSEMBLING YOUR BREVILLE Kitchen Wizz Pro™
5.Place the processing lid onto the processing bowl so the feed chute is slightly right of the bowl handle and
the arrow graphics are aligned ![]()
![]()
![]()
![]()
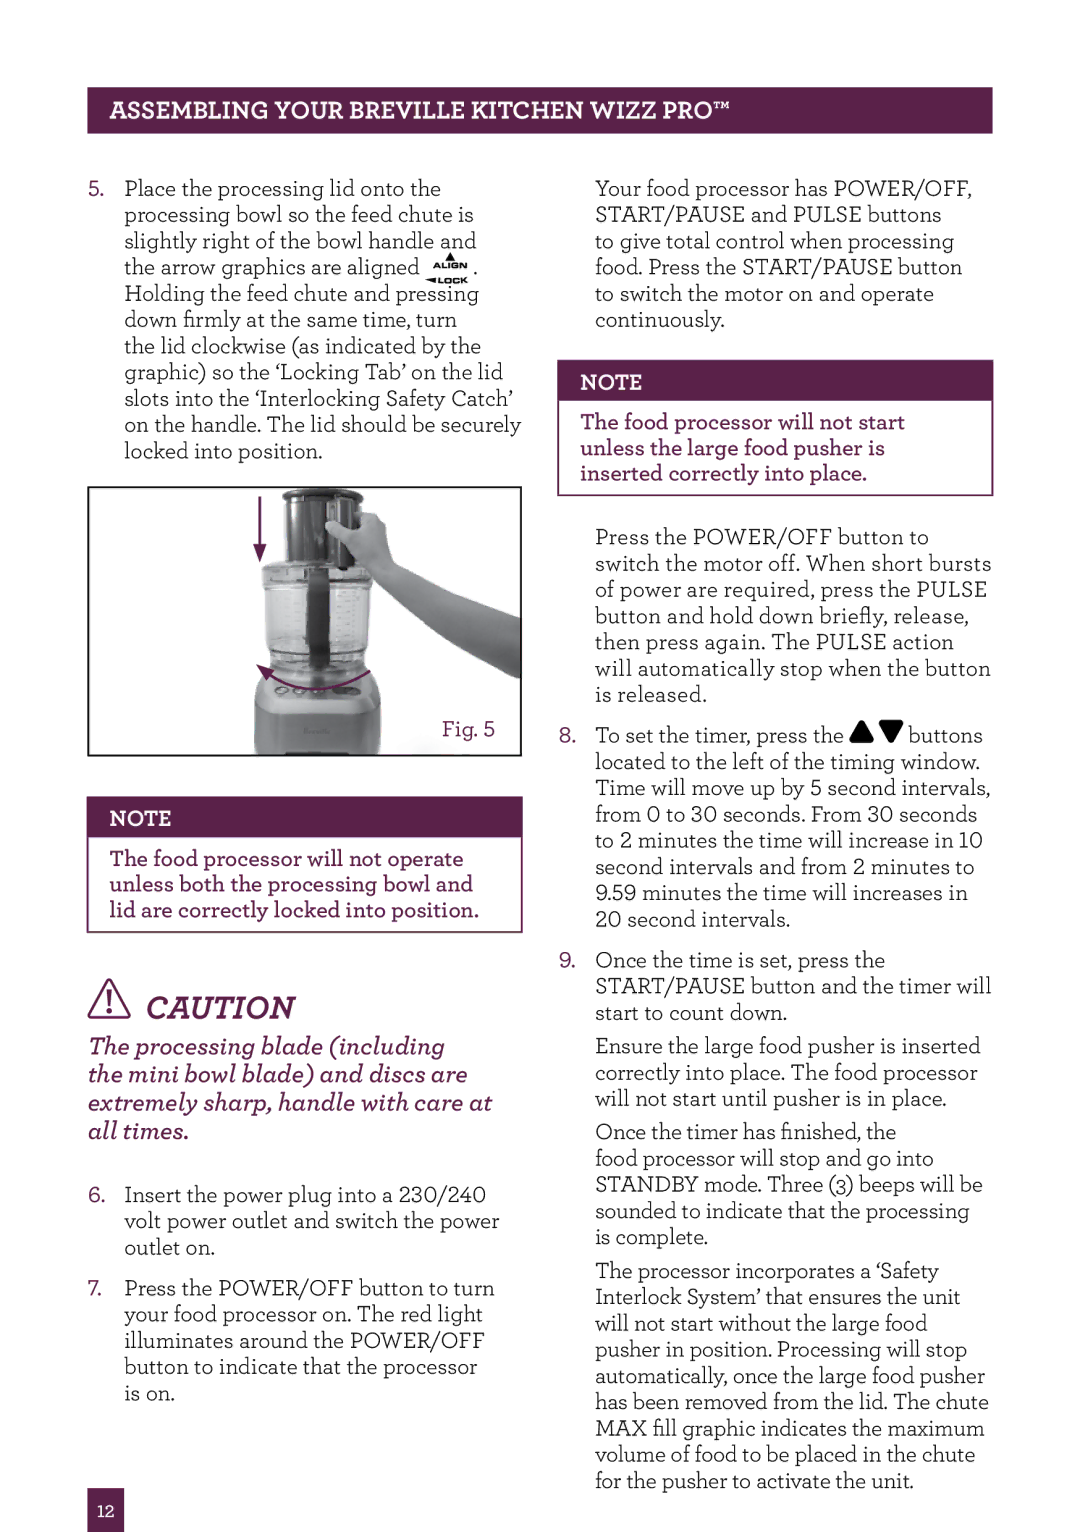
![]() . Holding the feed chute and pressing down firmly at the same time, turn the lid clockwise (as indicated by the graphic) so the ‘Locking Tab’ on the lid slots into the ‘Interlocking Safety Catch’ on the handle. The lid should be securely locked into position.
. Holding the feed chute and pressing down firmly at the same time, turn the lid clockwise (as indicated by the graphic) so the ‘Locking Tab’ on the lid slots into the ‘Interlocking Safety Catch’ on the handle. The lid should be securely locked into position.
Fig. 5
NOTE
The food processor will not operate unless both the processing bowl and lid are correctly locked into position.
![]() CAUTION
CAUTION
The processing blade (including the mini bowl blade) and discs are extremely sharp, handle with care at all times.
6.Insert the power plug into a 230/240 volt power outlet and switch the power outlet on.
7.Press the POWER/OFF button to turn your food processor on. The red light illuminates around the POWER/OFF button to indicate that the processor is on.
Your food processor has POWER/OFF, START/PAUSE and PULSE buttons to give total control when processing food. Press the START/PAUSE button to switch the motor on and operate continuously.
NOTE
The food processor will not start unless the large food pusher is inserted correctly into place.
Press the POWER/OFF button to switch the motor off. When short bursts of power are required, press the PULSE button and hold down briefly, release, then press again. The PULSE action will automatically stop when the button is released.
8.To set the timer, press the![]() buttons located to the left of the timing window. Time will move up by 5 second intervals, from 0 to 30 seconds. From 30 seconds to 2 minutes the time will increase in 10 second intervals and from 2 minutes to 9.59 minutes the time will increases in 20 second intervals.
buttons located to the left of the timing window. Time will move up by 5 second intervals, from 0 to 30 seconds. From 30 seconds to 2 minutes the time will increase in 10 second intervals and from 2 minutes to 9.59 minutes the time will increases in 20 second intervals.
9.Once the time is set, press the START/PAUSE button and the timer will start to count down.
Ensure the large food pusher is inserted correctly into place. The food processor will not start until pusher is in place.
Once the timer has finished, the food processor will stop and go into STANDBY mode. Three (3) beeps will be sounded to indicate that the processing is complete.
The processor incorporates a ‘Safety Interlock System’ that ensures the unit will not start without the large food pusher in position. Processing will stop automatically, once the large food pusher has been removed from the lid. The chute MAX fill graphic indicates the maximum volume of food to be placed in the chute for the pusher to activate the unit.
12