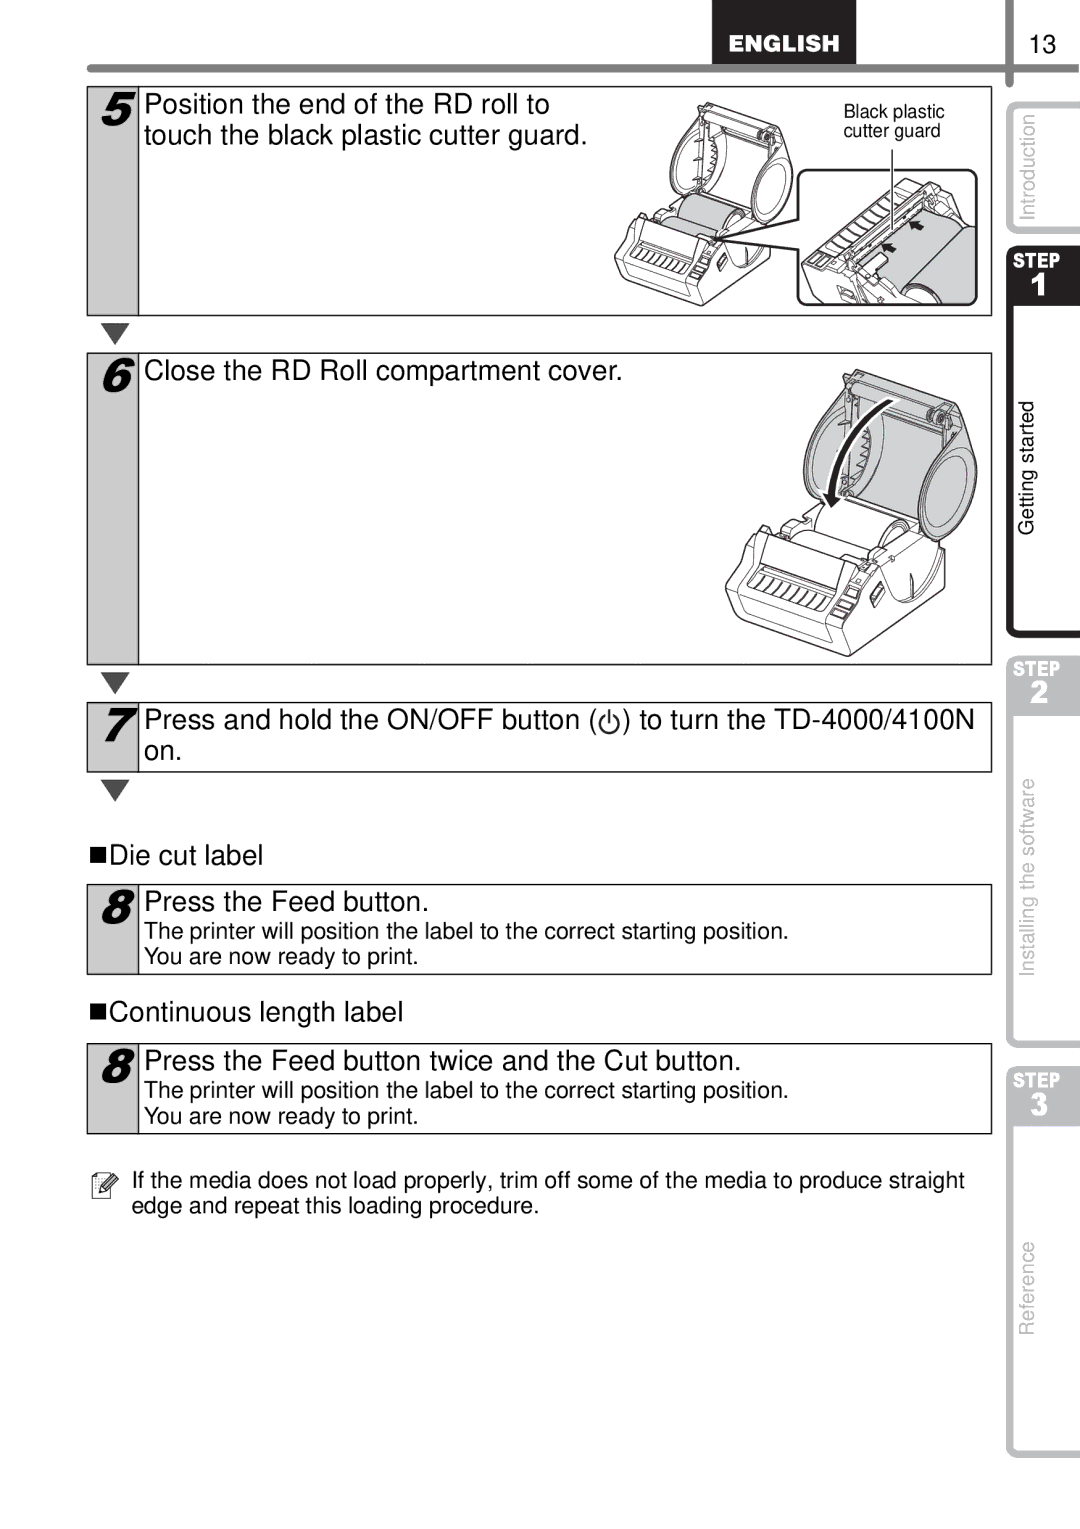
5 Position the end of the RD roll to | Black plastic |
touch the black plastic cutter guard. | cutter guard |
6 Close the RD Roll compartment cover.
7 Presson. and hold the ON/OFF button (![]() ) to turn the
) to turn the
Die cut label
8 Press the Feed button.
The printer will position the label to the correct starting position.
You are now ready to print.
Continuous length label
8 Press the Feed button twice and the Cut button. The printer will position the label to the correct starting position. You are now ready to print.
![]()
![]() If the media does not load properly, trim off some of the media to produce straight edge and repeat this loading procedure.
If the media does not load properly, trim off some of the media to produce straight edge and repeat this loading procedure.
13
Introduction
STEP
1
Getting started
STEP
2
Installing the software
STEP
3
Reference