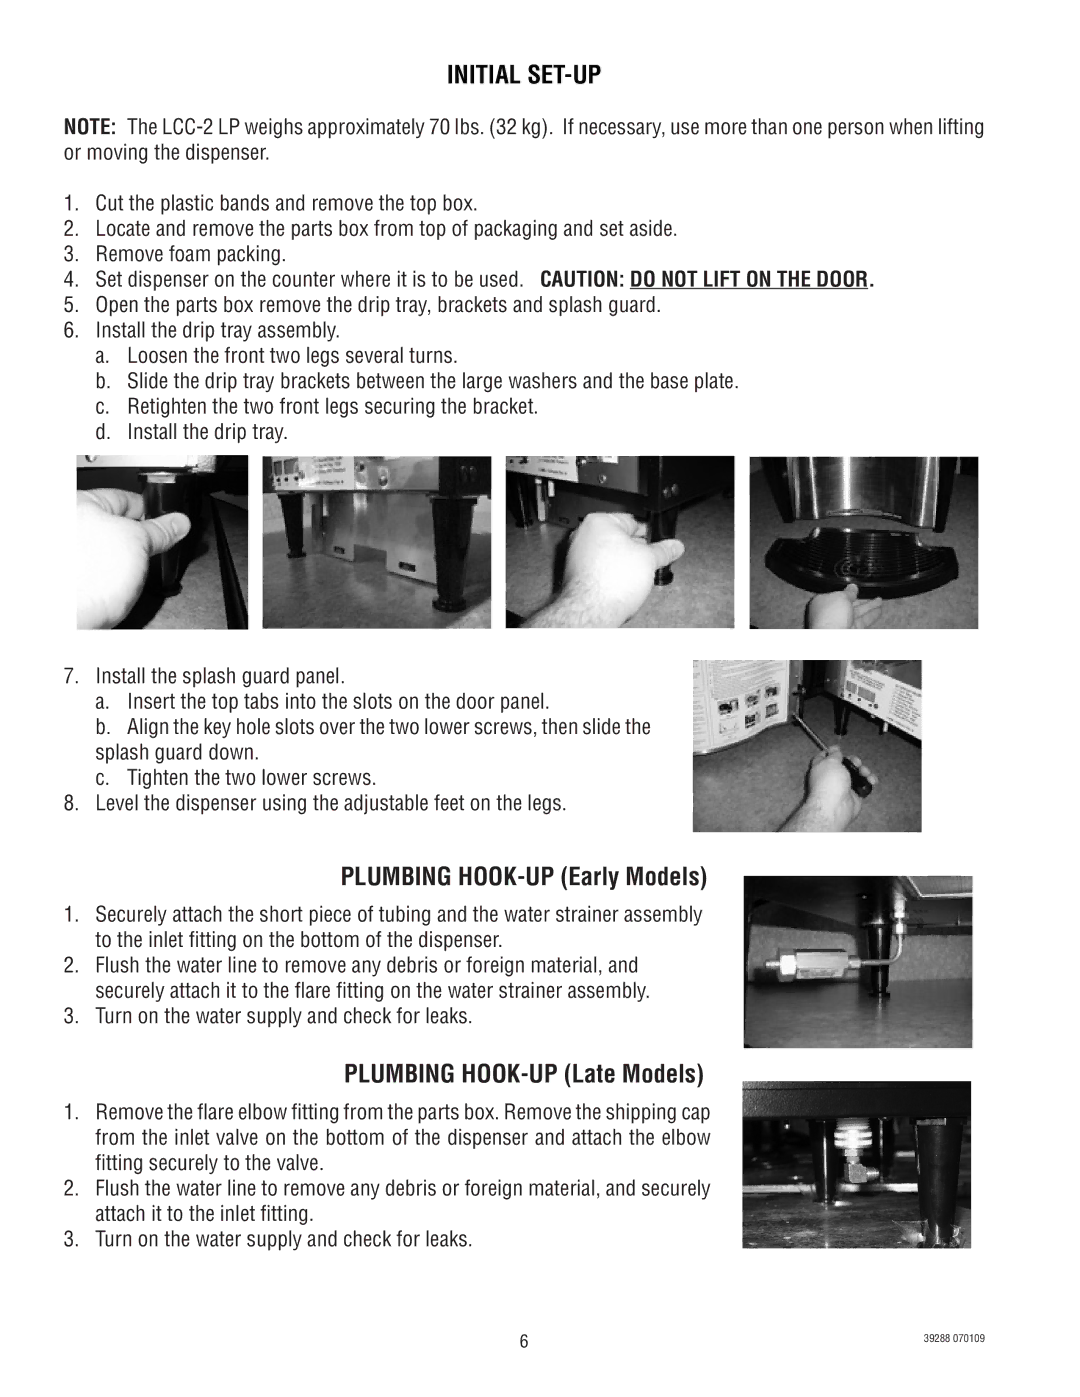
LCC-2 specifications
The Bunn LCC-2, LCA-2 PC, and LCA-2A are high-performance commercial coffee brewers designed to meet the demands of busy coffee shops, restaurants, and other food service establishments. These machines are known for their efficiency, durability, and advanced brewing technologies, making them popular choices in the industry.Starting with the Bunn LCC-2, this brewer is recognized for its compact design and ease of use. It has a brewing capacity of up to 3.8 gallons per hour, ensuring that coffee is ready quickly during peak hours. The LCC-2 uses a pour-over brewing method, which means that water is heated to the ideal brewing temperature and then poured over coffee grounds for optimal extraction. One of its standout features is the digital temperature control, which allows operators to adjust brewing temperatures easily for different coffee types. Additionally, the Bunn LCC-2 features a stainless steel construction that enhances durability and provides a sleek look for any commercial kitchen.
Moving on to the Bunn LCA-2 PC, this model includes programmable capabilities, making it perfect for establishments that require consistency and convenience. The LCA-2 PC allows users to preset brewing schedules and customize brew cycles, ensuring that each pot of coffee meets specific flavor profiles. This model is designed with a large-capacity brewing system that can produce up to 7.5 gallons of coffee per hour, making it an ideal choice for high-demand environments. It also boasts a built-in hot water faucet, which provides instant hot water for other beverages or culinary applications. The LCA-2 PC's advanced brewing automation helps maintain optimal brew quality while minimizing waste.
Lastly, the Bunn LCA-2A is an advanced version that focuses on automation and efficiency. This brewer features a state-of-the-art digital brew timer, which allows precise control over brew times, leading to consistent flavor extraction. The LCA-2A also integrates with Bunn’s patented brewWISE technology, which tracks brew recipes and monitors performance. The intuitive interface allows for easy operation, even for staff who may be less experienced with coffee brewing. With a capacity of up to 4 gallons per hour and a durable stainless steel frame, the LCA-2A ensures longevity while delivering exceptional coffee.
In summary, the Bunn LCC-2, LCA-2 PC, and LCA-2A represent the pinnacle of commercial coffee brewing technology. Their unique features, including programmable settings, large brewing capacities, and durable constructions, cater to the diverse needs of the food service industry. Each model emphasizes convenience, flexibility, and quality, making them invaluable assets in any professional coffee environment.

