Taking Pictures in Stitch Assist Mode continued....6/6
6.Orient the camera so that the fourth image will correctly overlap a portion of the third image and take the shot.
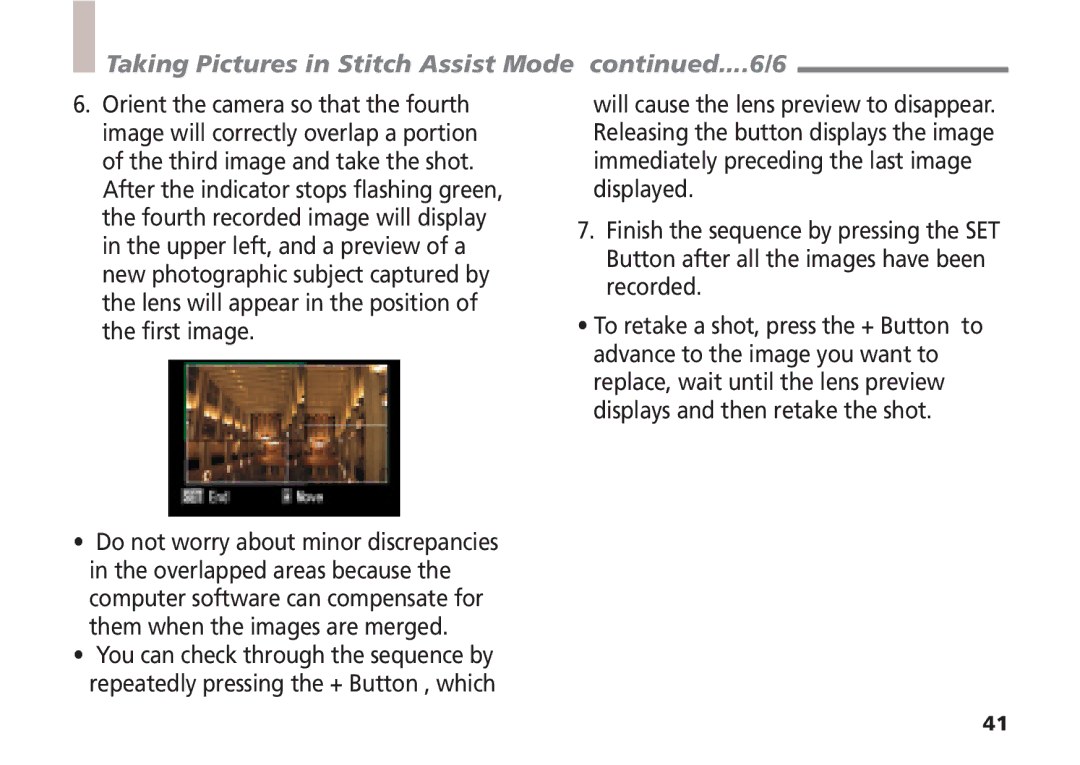
After the indicator stops flashing green, the fourth recorded image will display in the upper left, and a preview of a new photographic subject captured by the lens will appear in the position of the first image.
•Do not worry about minor discrepancies in the overlapped areas because the computer software can compensate for them when the images are merged.
•You can check through the sequence by repeatedly pressing the + Button , which
will cause the lens preview to disappear. Releasing the button displays the image immediately preceding the last image displayed.
7.Finish the sequence by pressing the SET Button after all the images have been recorded.
•To retake a shot, press the + Button to advance to the image you want to replace, wait until the lens preview displays and then retake the shot.
41