Changing Shooting Function Settings
Changing the Way the Image Displays Right After Shooting 
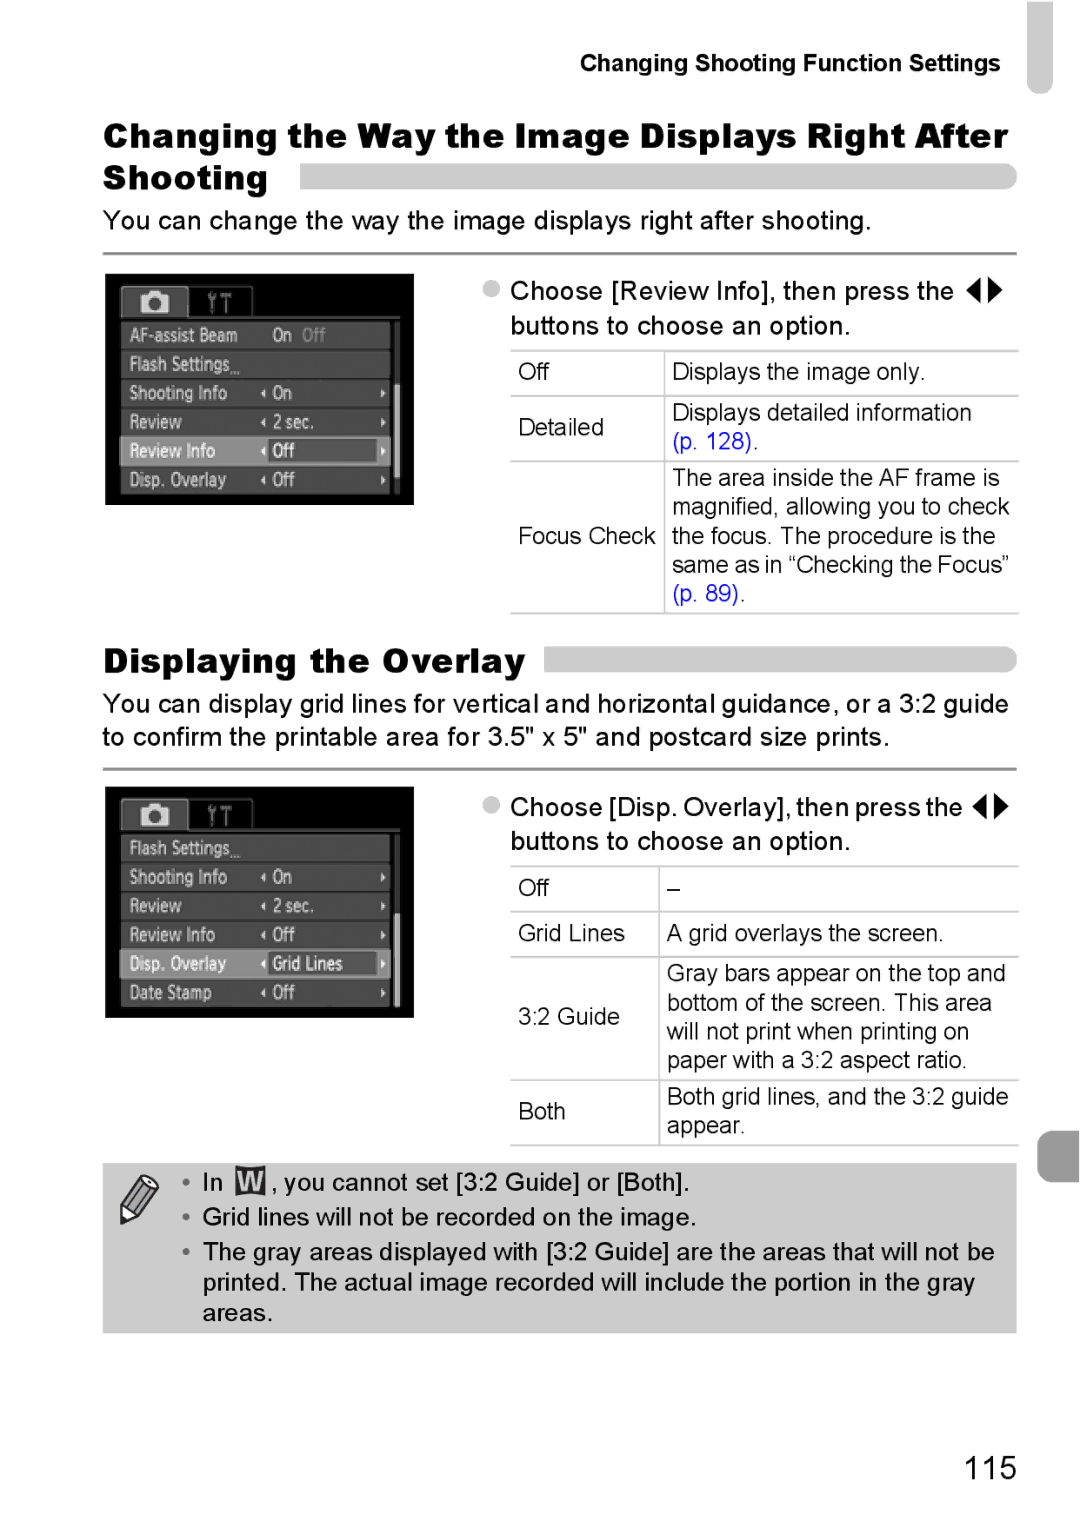
You can change the way the image displays right after shooting.
zChoose [Review Info], then press the qr buttons to choose an option.
Off | Displays the image only. | |
|
| |
Detailed | Displays detailed information | |
(p. 128). | ||
| ||
| The area inside the AF frame is | |
| magnified, allowing you to check | |
Focus Check | the focus. The procedure is the | |
| same as in “Checking the Focus” | |
| (p. 89). |
Displaying the Overlay
You can display grid lines for vertical and horizontal guidance, or a 3:2 guide to confirm the printable area for 3.5" x 5" and postcard size prints.
zChoose [Disp. Overlay], then press the qr buttons to choose an option.
Off | – | |
|
| |
Grid Lines | A grid overlays the screen. | |
|
| |
| Gray bars appear on the top and | |
3:2 Guide | bottom of the screen. This area | |
will not print when printing on | ||
| ||
| paper with a 3:2 aspect ratio. | |
Both | Both grid lines, and the 3:2 guide | |
appear. | ||
|
• In ![]() , you cannot set [3:2 Guide] or [Both].
, you cannot set [3:2 Guide] or [Both].
• Grid lines will not be recorded on the image.
•The gray areas displayed with [3:2 Guide] are the areas that will not be printed. The actual image recorded will include the portion in the gray areas.
115