Correcting the Red-Eye Effect
You can automatically correct red eyes in images and save them as new files.
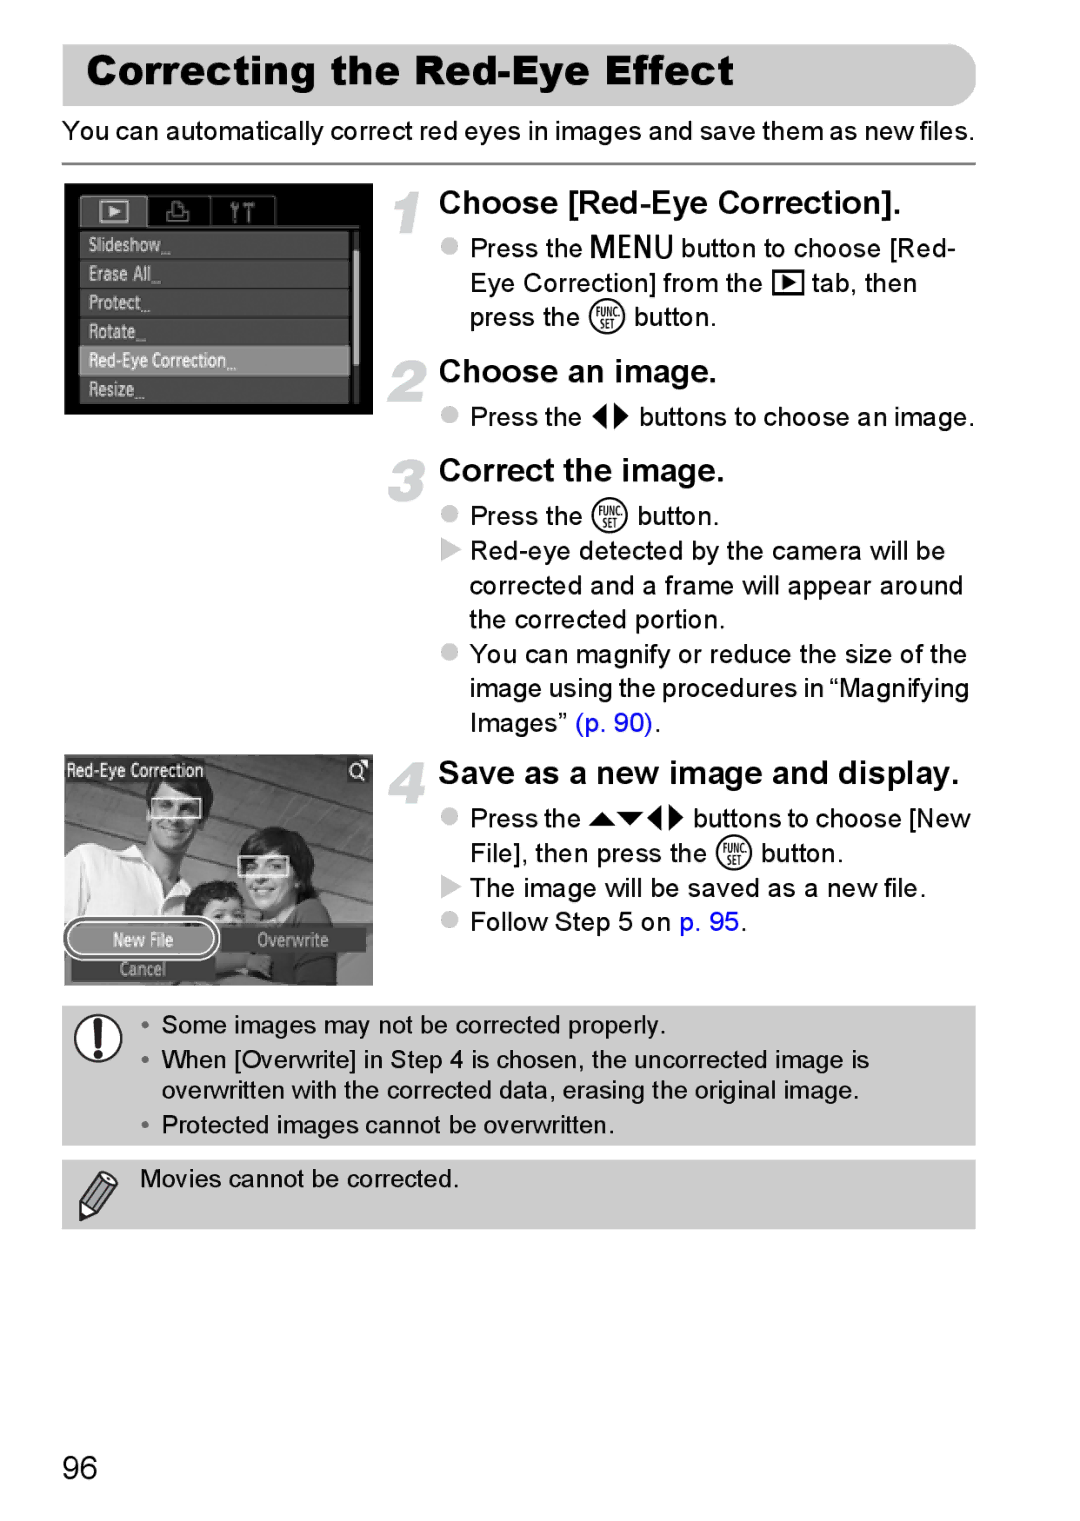
Choose [Red-Eye Correction].
zPress the n button to choose [Red- Eye Correction] from the 1 tab, then press the m button.
Choose an image.
zPress the qr buttons to choose an image.
Correct the image.
zPress the m button.
X
zYou can magnify or reduce the size of the image using the procedures in “Magnifying Images” (p. 90).
Save as a new image and display.
zPress the opqrbuttons to choose [New File], then press the m button.
XThe image will be saved as a new file.
z Follow Step 5 on p. 95.
•Some images may not be corrected properly.
• When [Overwrite] in Step 4 is chosen, the uncorrected image is overwritten with the corrected data, erasing the original image.
•Protected images cannot be overwritten. Movies cannot be corrected.
96