Changing the Color and Shooting
Indicate the area to be colored in the changed image.
●Press the op buttons or turn the  dial, and you can change the area to be colored.
●When you want only the color that you have chosen to remain, increase the value of
●Pressing the l button will make the setting, and will return to the shooting screen.
• Using the flash may cause the image to come out different than expected.
•Even if you turn off the power, the recorded color and area will be saved.
•Depending on the scene, the image may come out rough.
Saving the Original Image 
The original image will be saved separately at the same time as the changed image.
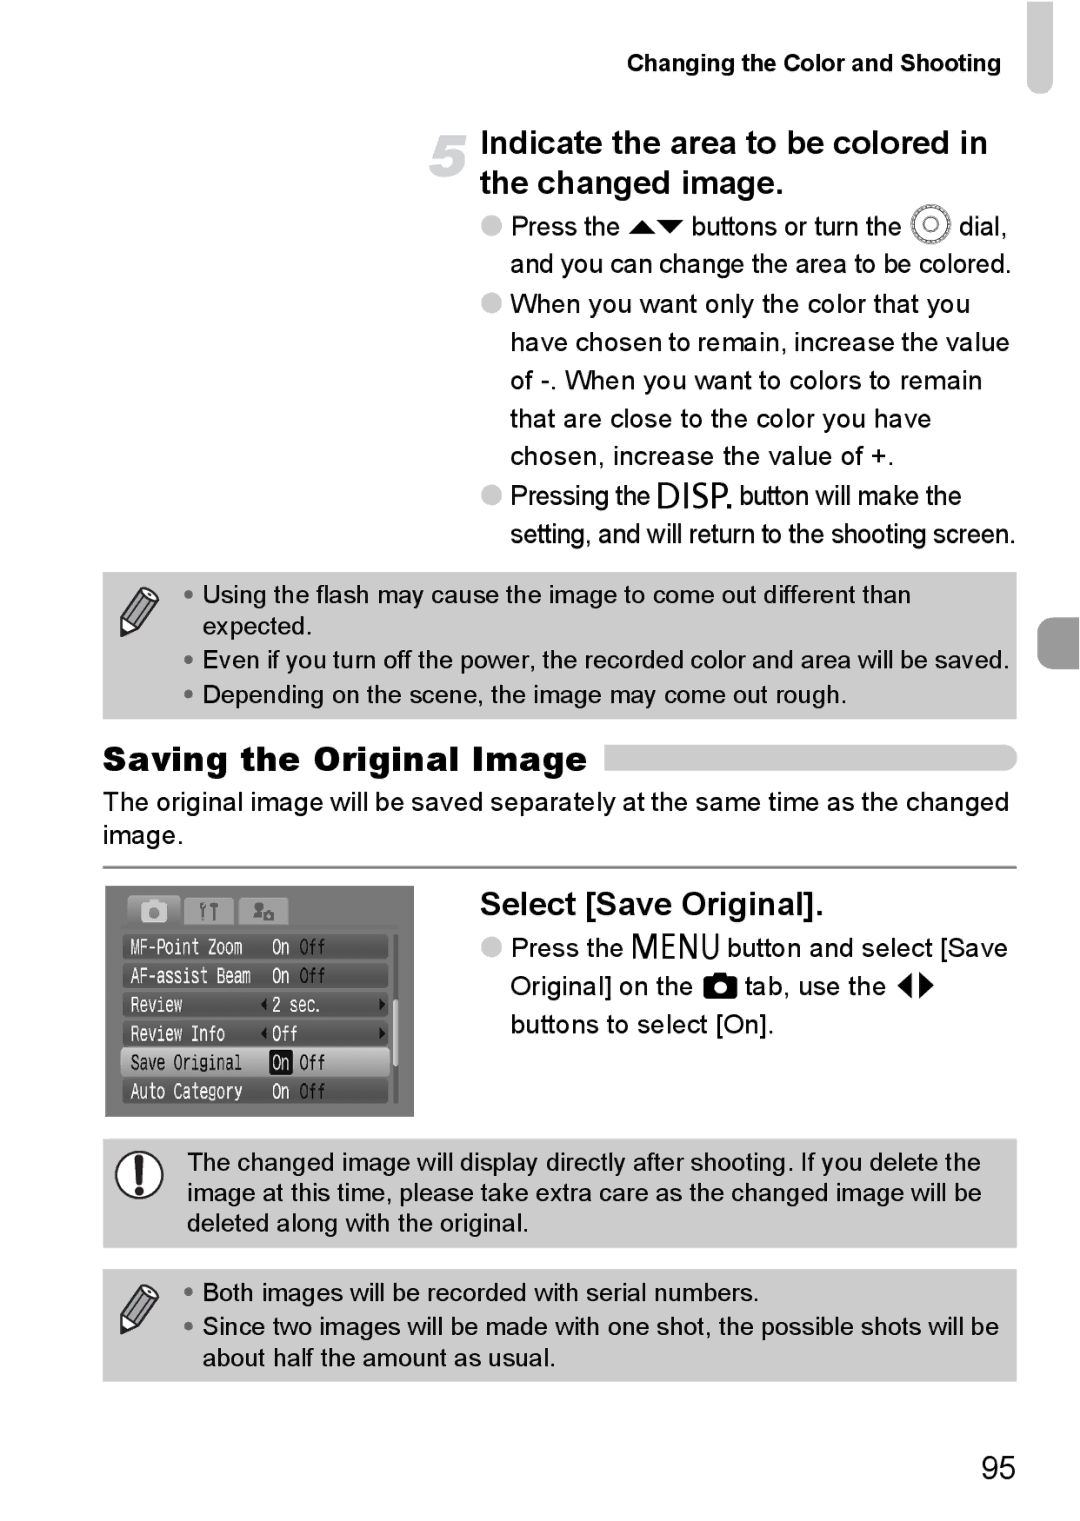
Select [Save Original].
●Press the n button and select [Save Original] on the 4 tab, use the qr buttons to select [On].
The changed image will display directly after shooting. If you delete the image at this time, please take extra care as the changed image will be deleted along with the original.
• Both images will be recorded with serial numbers.
• Since two images will be made with one shot, the possible shots will be about half the amount as usual.
95